Tile guide
Small Bathroom Floor Tile Ideas: 8 Designs to Compare
Compare eight floor designs against the fixtures and wall tile that stay, then test the layout and exact product approvals before buying.
- By
- EstimatorPad Editorial Team
- Published
- October 26, 2026
- Reading time
- 16 min

Find the idea that fits
Start with the room you already have.
A floor tile that looks calm on a sample board can look very different once a toilet, a vanity, a bath mat and a doorway interrupt it. In a compact bathroom only part of the floor is ever exposed, so you live with a few square feet of pattern, cut at the edges and framed by fixtures you may be keeping.
On this page
- Choose an idea
- 1. Quiet large-format porcelain
- 2. Hexagonal tile
- 3. Penny-round or small mosaic
- 4. Checkerboard
- 5. Terrazzo-look porcelain
- 6. Wood-look porcelain
- 7. Small rectangular tile in a herringbone layout
- 8. Patterned cement-look porcelain
- Compare the options
- Measure and test
- Choose for the bathroom you already have
- Test the layout before choosing the size
- Main bathroom floor versus shower floor
- Before you order
- Your first step
- Before buying
- FAQ
1. Quiet large-format porcelain
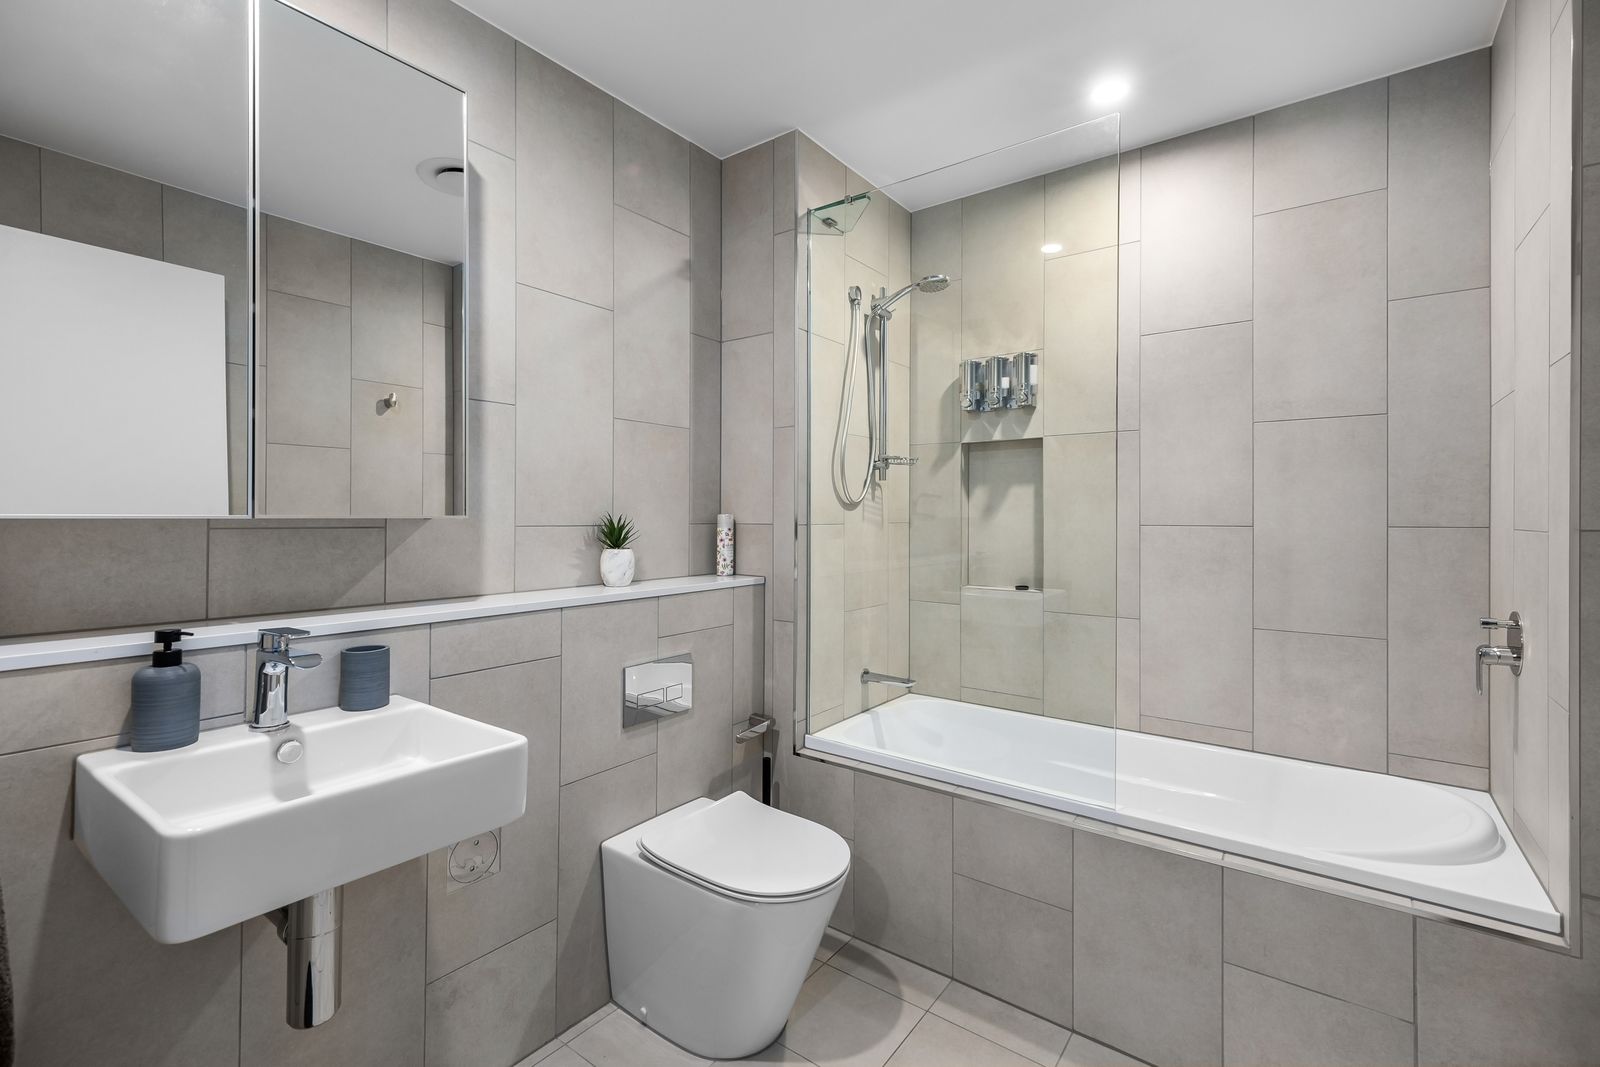
A restrained, low-contrast floor with few joints that lets the rest of the room lead. It suits a bathroom whose wall tile is colorful, glossy or patterned, or anyone who wants the floor to stay out of the way.
Pairs with: wall tile you are keeping that already has strong color or pattern, and a wall-hung vanity, which leaves a more continuous stretch of floor visible.
Test it: cut paper templates at the full tile size, including the planned joint, and tape them across the exposed floor. See where joints fall against the tub front, the toilet base and the doorway, and how narrow the last cut becomes.
Watch for: fewer tiles do not always mean an easier job. Large formats can come with stricter substrate and setting instructions; Have the installer check the required substrate flatness, mortar coverage and setting method for the tile and wet-area assembly. A floor's flatness and its intended drainage slope are separate questions. A large tile also makes every cut around the toilet flange and threshold more conspicuous.
2. Hexagonal tile
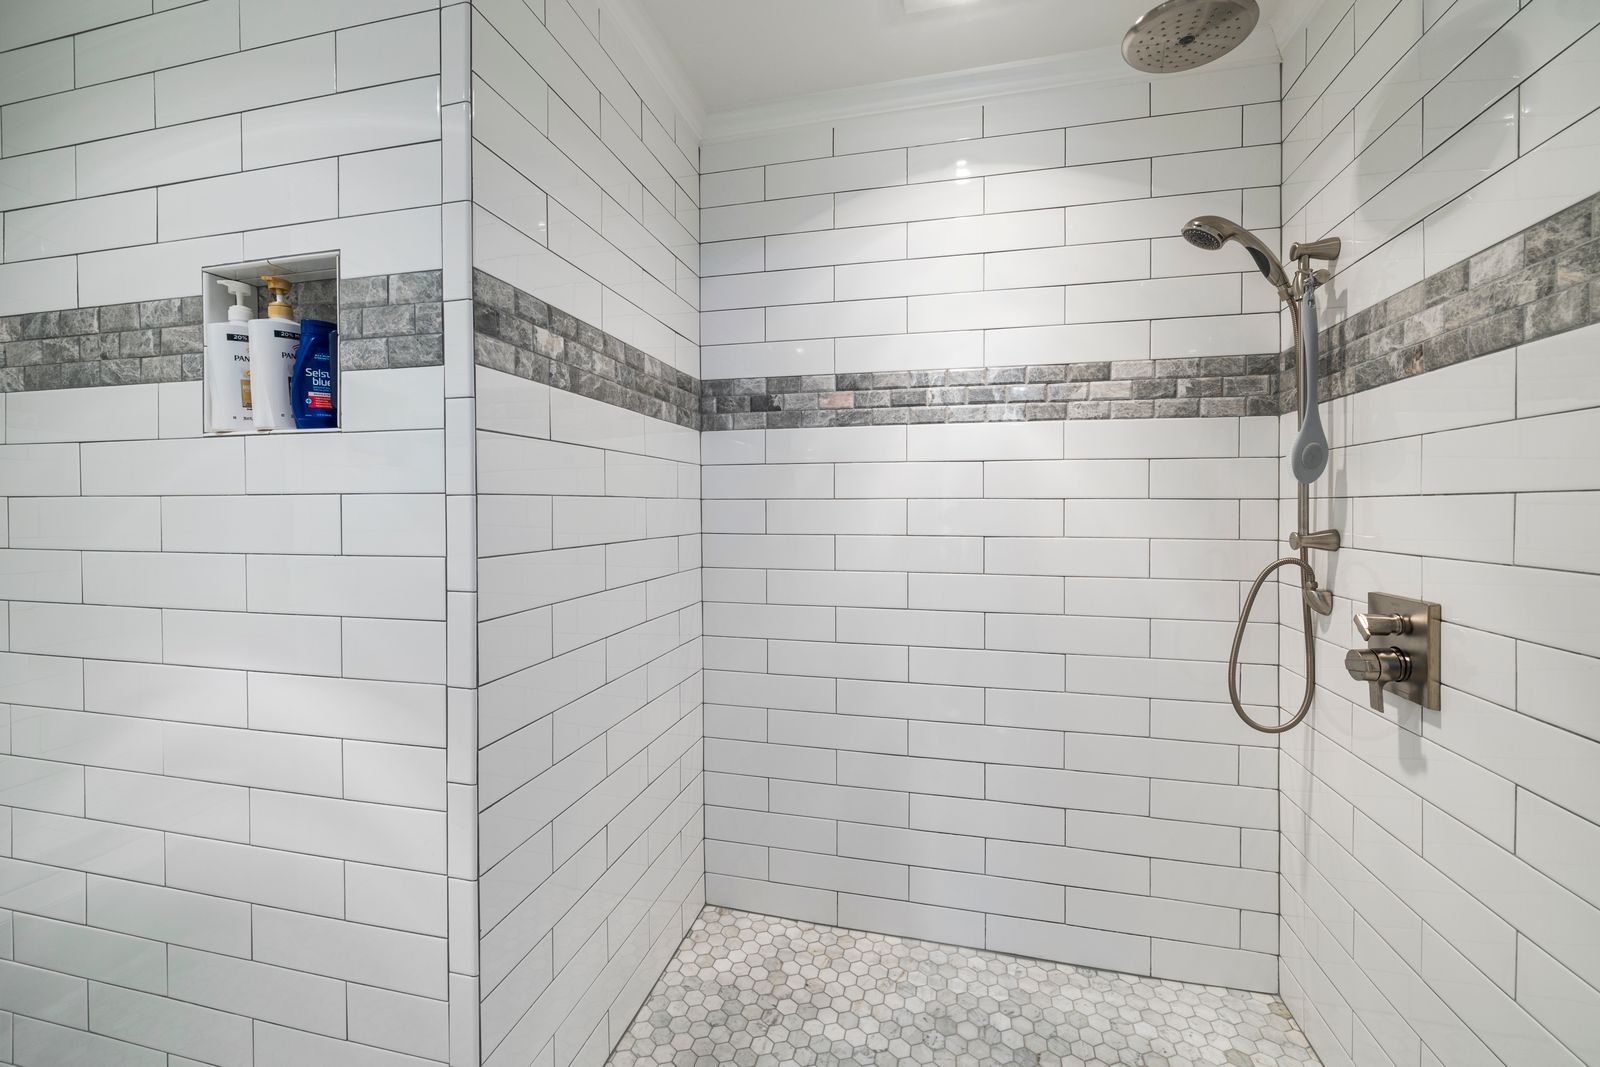
Six-sided tile, from larger hexagons to small mosaic hexes. Because the edges run in three directions, the floor tends to read as a texture rather than a grid. It suits a room where floor shows beneath a pedestal sink or open-leg vanity.
Pairs with: a pedestal sink or open-leg vanity, and plain wall tile in a simple stacked or subway layout so the hexagons carry the interest.
Grout contrast: a contrasting joint outlines each hexagon and makes the geometry graphic; a matching joint lets the tile's color or veining lead. Judge both beside the actual tile.
Test it: lay a full-size sheet or paper hexagons along the walls. Look at the straight edges (tub front, vanity wall, doorway), where the honeycomb will turn into partial pieces. Ask the installer where the layout is centered: the room, the vanity wall or the entrance.
Watch for: many cut pieces at straight edges and, in small sizes, many joints to clean. Check the exact product's floor and wet-use information.
3. Penny-round or small mosaic
Small discs, or another small-format mosaic, mounted on sheets: dense, soft-edged and textural. It suits a room where a solid vanity base and tub apron hide much of the floor perimeter.
Pairs with: straight-edged wall tile, such as stacked or subway, that contrasts with the curves; a round mirror repeats the shape; a vanity with a solid base.
Test it: get a full sheet, not a chip. Lay two sheets with the gap between them, then photograph from the doorway and from the sink. Put grout swatches beside it. In a mosaic, grout is a large share of what you see, so its color changes the whole floor.
Watch for: more grout surface to keep clean. Daltile notes that neither sealing grout nor using epoxy grout guarantees against buildup or discoloration. More joints also do not establish safe footing; check the product's slip-resistance data and approved use rather than assuming.
Advertisement
4. Checkerboard
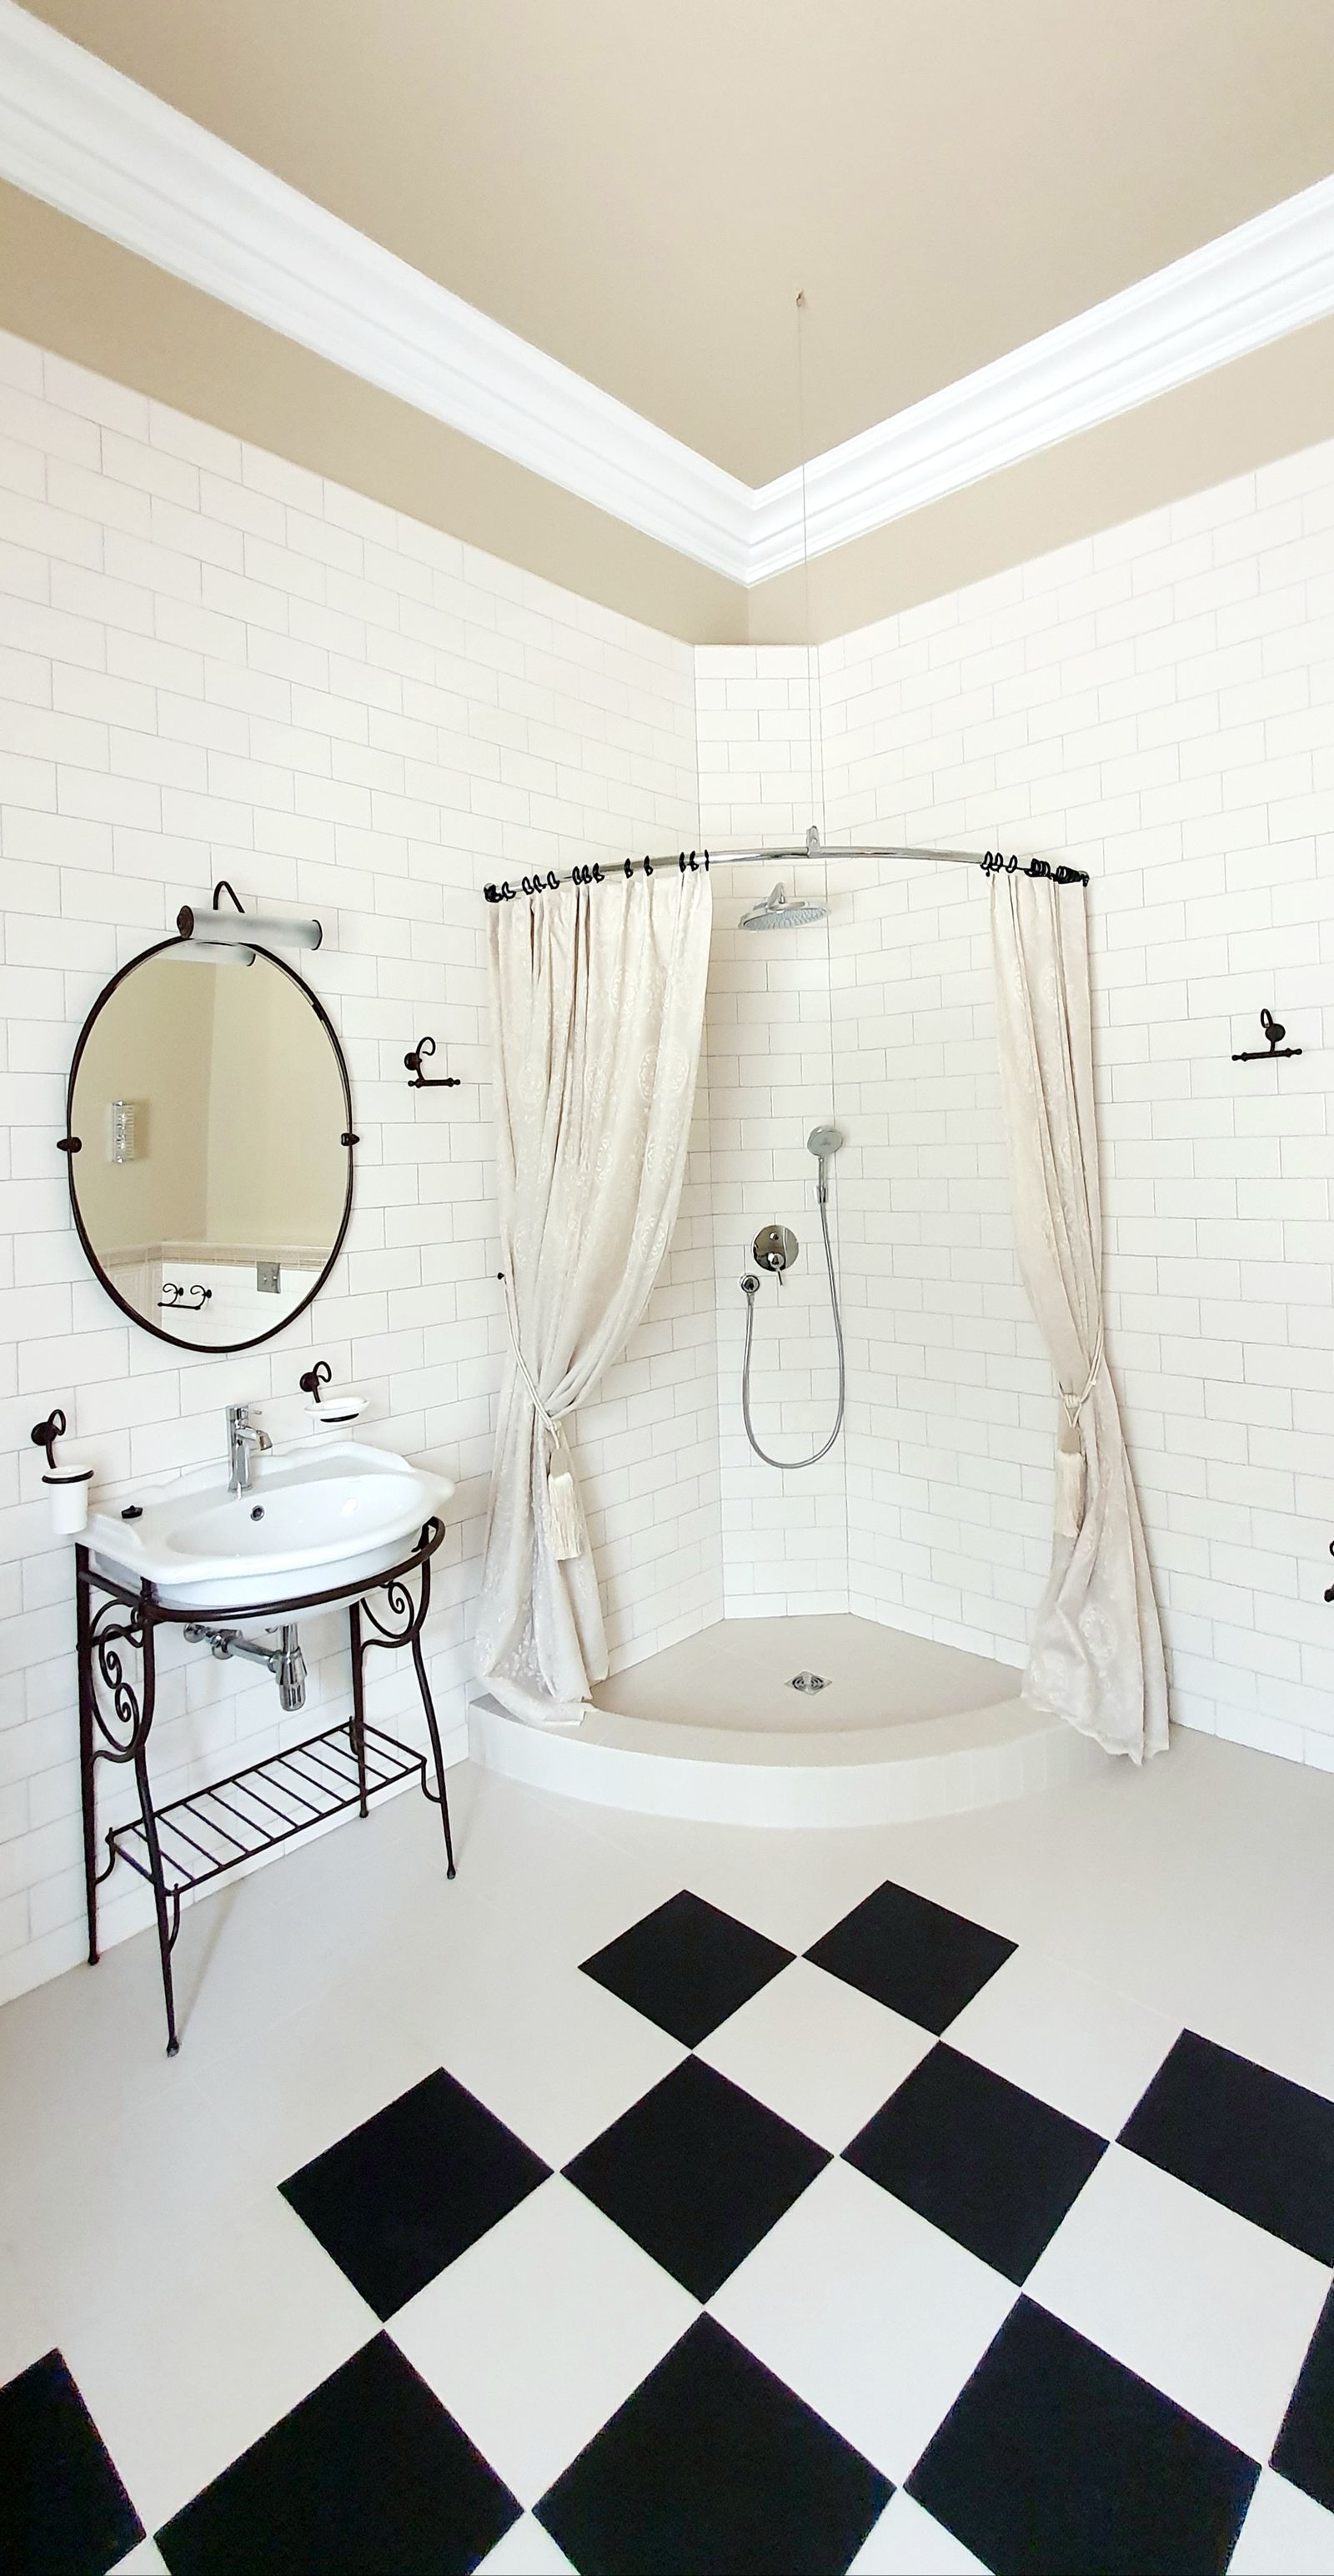
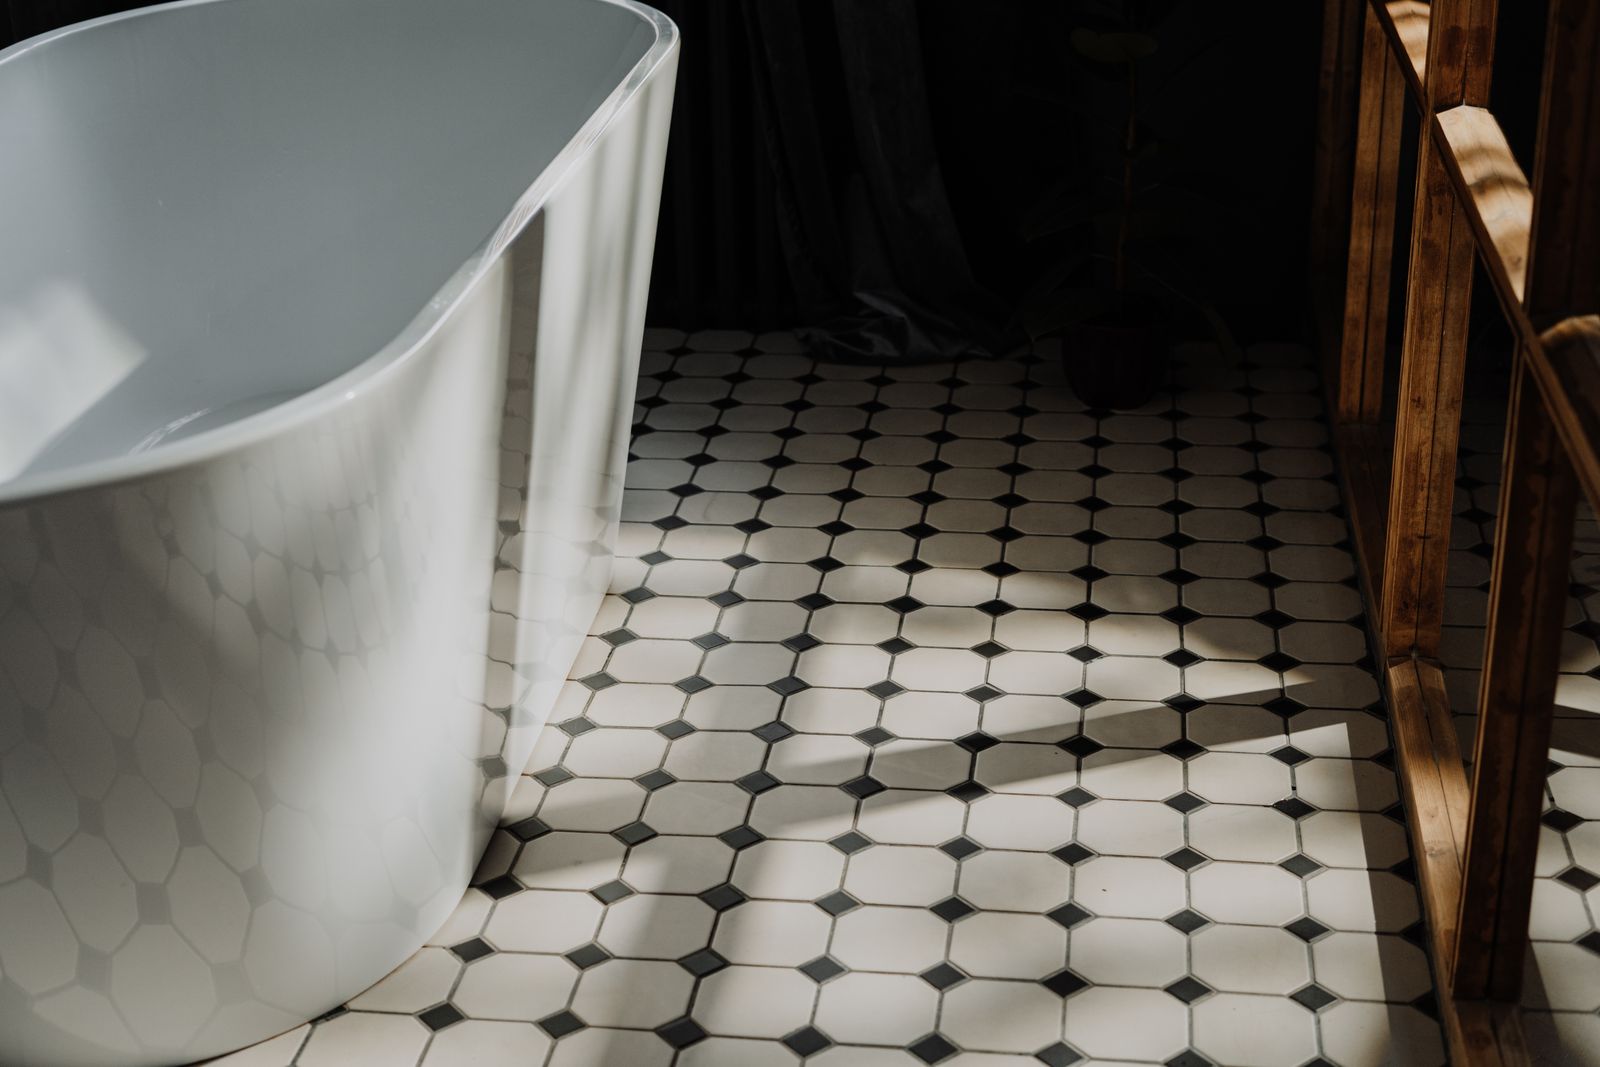
Alternating tiles. High contrast, such as black and white, is graphic and traditional. A tonal pairing, such as cream and greige, reads softer and closer to a woven texture. Either needs enough open floor for several squares to register.
Pairs with: for strong contrast, a white tub and white wall tile you already own plus a dark-stained or colored vanity; for a tonal pairing, a wood vanity and warm wall tile.
Test it: tape or paper squares at true size across the exposed floor outline. Count the full squares visible from the doorway. If only a few show, the pattern may read as stripes or fragments. Compare straight and diagonal settings; a diagonal layout creates more edge cuts.
Watch for: a grid exposes walls that are out of square, makes slivers at the edges obvious, and gets chopped up by the vanity and toilet. The smaller the exposed floor, the less a checkerboard reads as a checkerboard.
5. Terrazzo-look porcelain

Porcelain designed to look like terrazzo chips in a solid matrix. Keep it distinct from the real thing: the National Terrazzo & Mosaic Association describes terrazzo as a poured-in-place system, cement or epoxy matrix with chips, cured and ground smooth, and precast terrazzo tile is a separate product again. The porcelain look-alike is tile with grout joints, and its care follows the porcelain maker's instructions.
Pairs with: a solid-colored vanity whose color appears in the chips, or brass or black hardware the chips can echo. Plain wall tile keeps it from competing.
Test it: judge chip scale against your exposed floor. Large chips can look blotchy in a small area; tiny chips can read as plain speckle. Look at several tiles, since Daltile's selection guidance notes shade variation can range from uniform (V0) to considerable (V4). Check them beside your faucet finish in the room's light.
Watch for: a busy chip pattern fights busy wall tile. A terrazzo look says nothing about wet-use suitability, so confirm the finish, rating and approved use for the exact product.
6. Wood-look porcelain

Porcelain planks with a wood grain, for warmth without a wood floor. It suits a bathroom with plain wall tile and a painted or metal-framed vanity. Plank direction changes how a narrow room reads: planks running the long way emphasize length, while planks across the width may feel broader. Treat both as things to test.
Pairs with: a painted vanity and simple wall tile. If your vanity is real wood, compare undertones in the room; two different wood tones can clash.
Test it: lay full-length cardboard strips at plank size in both directions. Check the planks' end cuts at the threshold and in the narrow strip beside the tub. Read the product's instructions for offset and joint.
Watch for: offset limits. Some long rectangular products limit the permitted offset to manage lippage. Use the exact tile manufacturer's pattern and offset instructions rather than assuming a half-tile stagger is acceptable. That can limit a random-stagger look in a short room. And porcelain is porcelain: it looks like wood, but does not feel or sound exactly like it.
Advertisement
7. Small rectangular tile in a herringbone layout
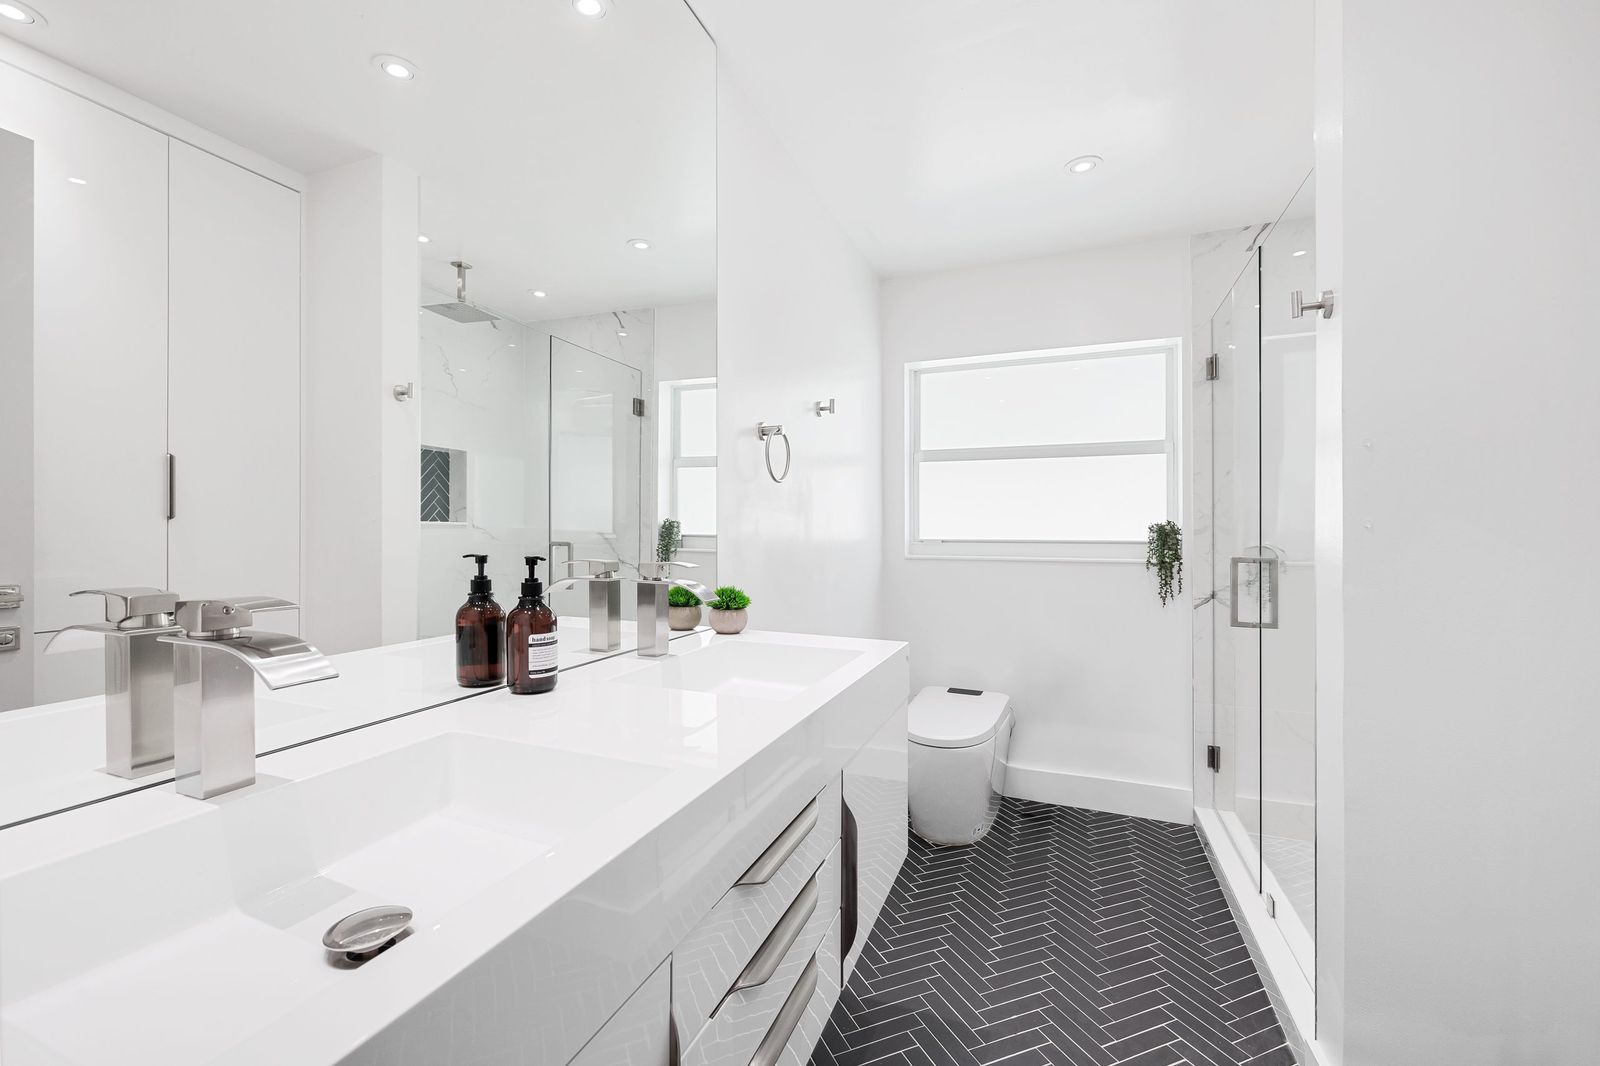
Narrow rectangles set in a zigzag that pulls the eye along its angle. It suits a floor with a clear run from the door toward the vanity or tub, and walls quiet enough to let the pattern work.
Pairs with: painted walls or a quiet stacked wall tile, and a simple vanity.
Test it: build a mock-up with full-size paper strips along one wall, or draw a scaled layout. Look at the sawtooth cuts along each wall and across the doorway line.
Watch for: many angled edge cuts and a busy result, especially beside patterned wall tile. Confirm the specific tile is floor-rated: many small rectangles are wall tile, and Daltile's guidance is that wall tile should not go on floors. Check the product's layout instructions too; some long or narrow tiles have layout limits.
8. Patterned cement-look porcelain
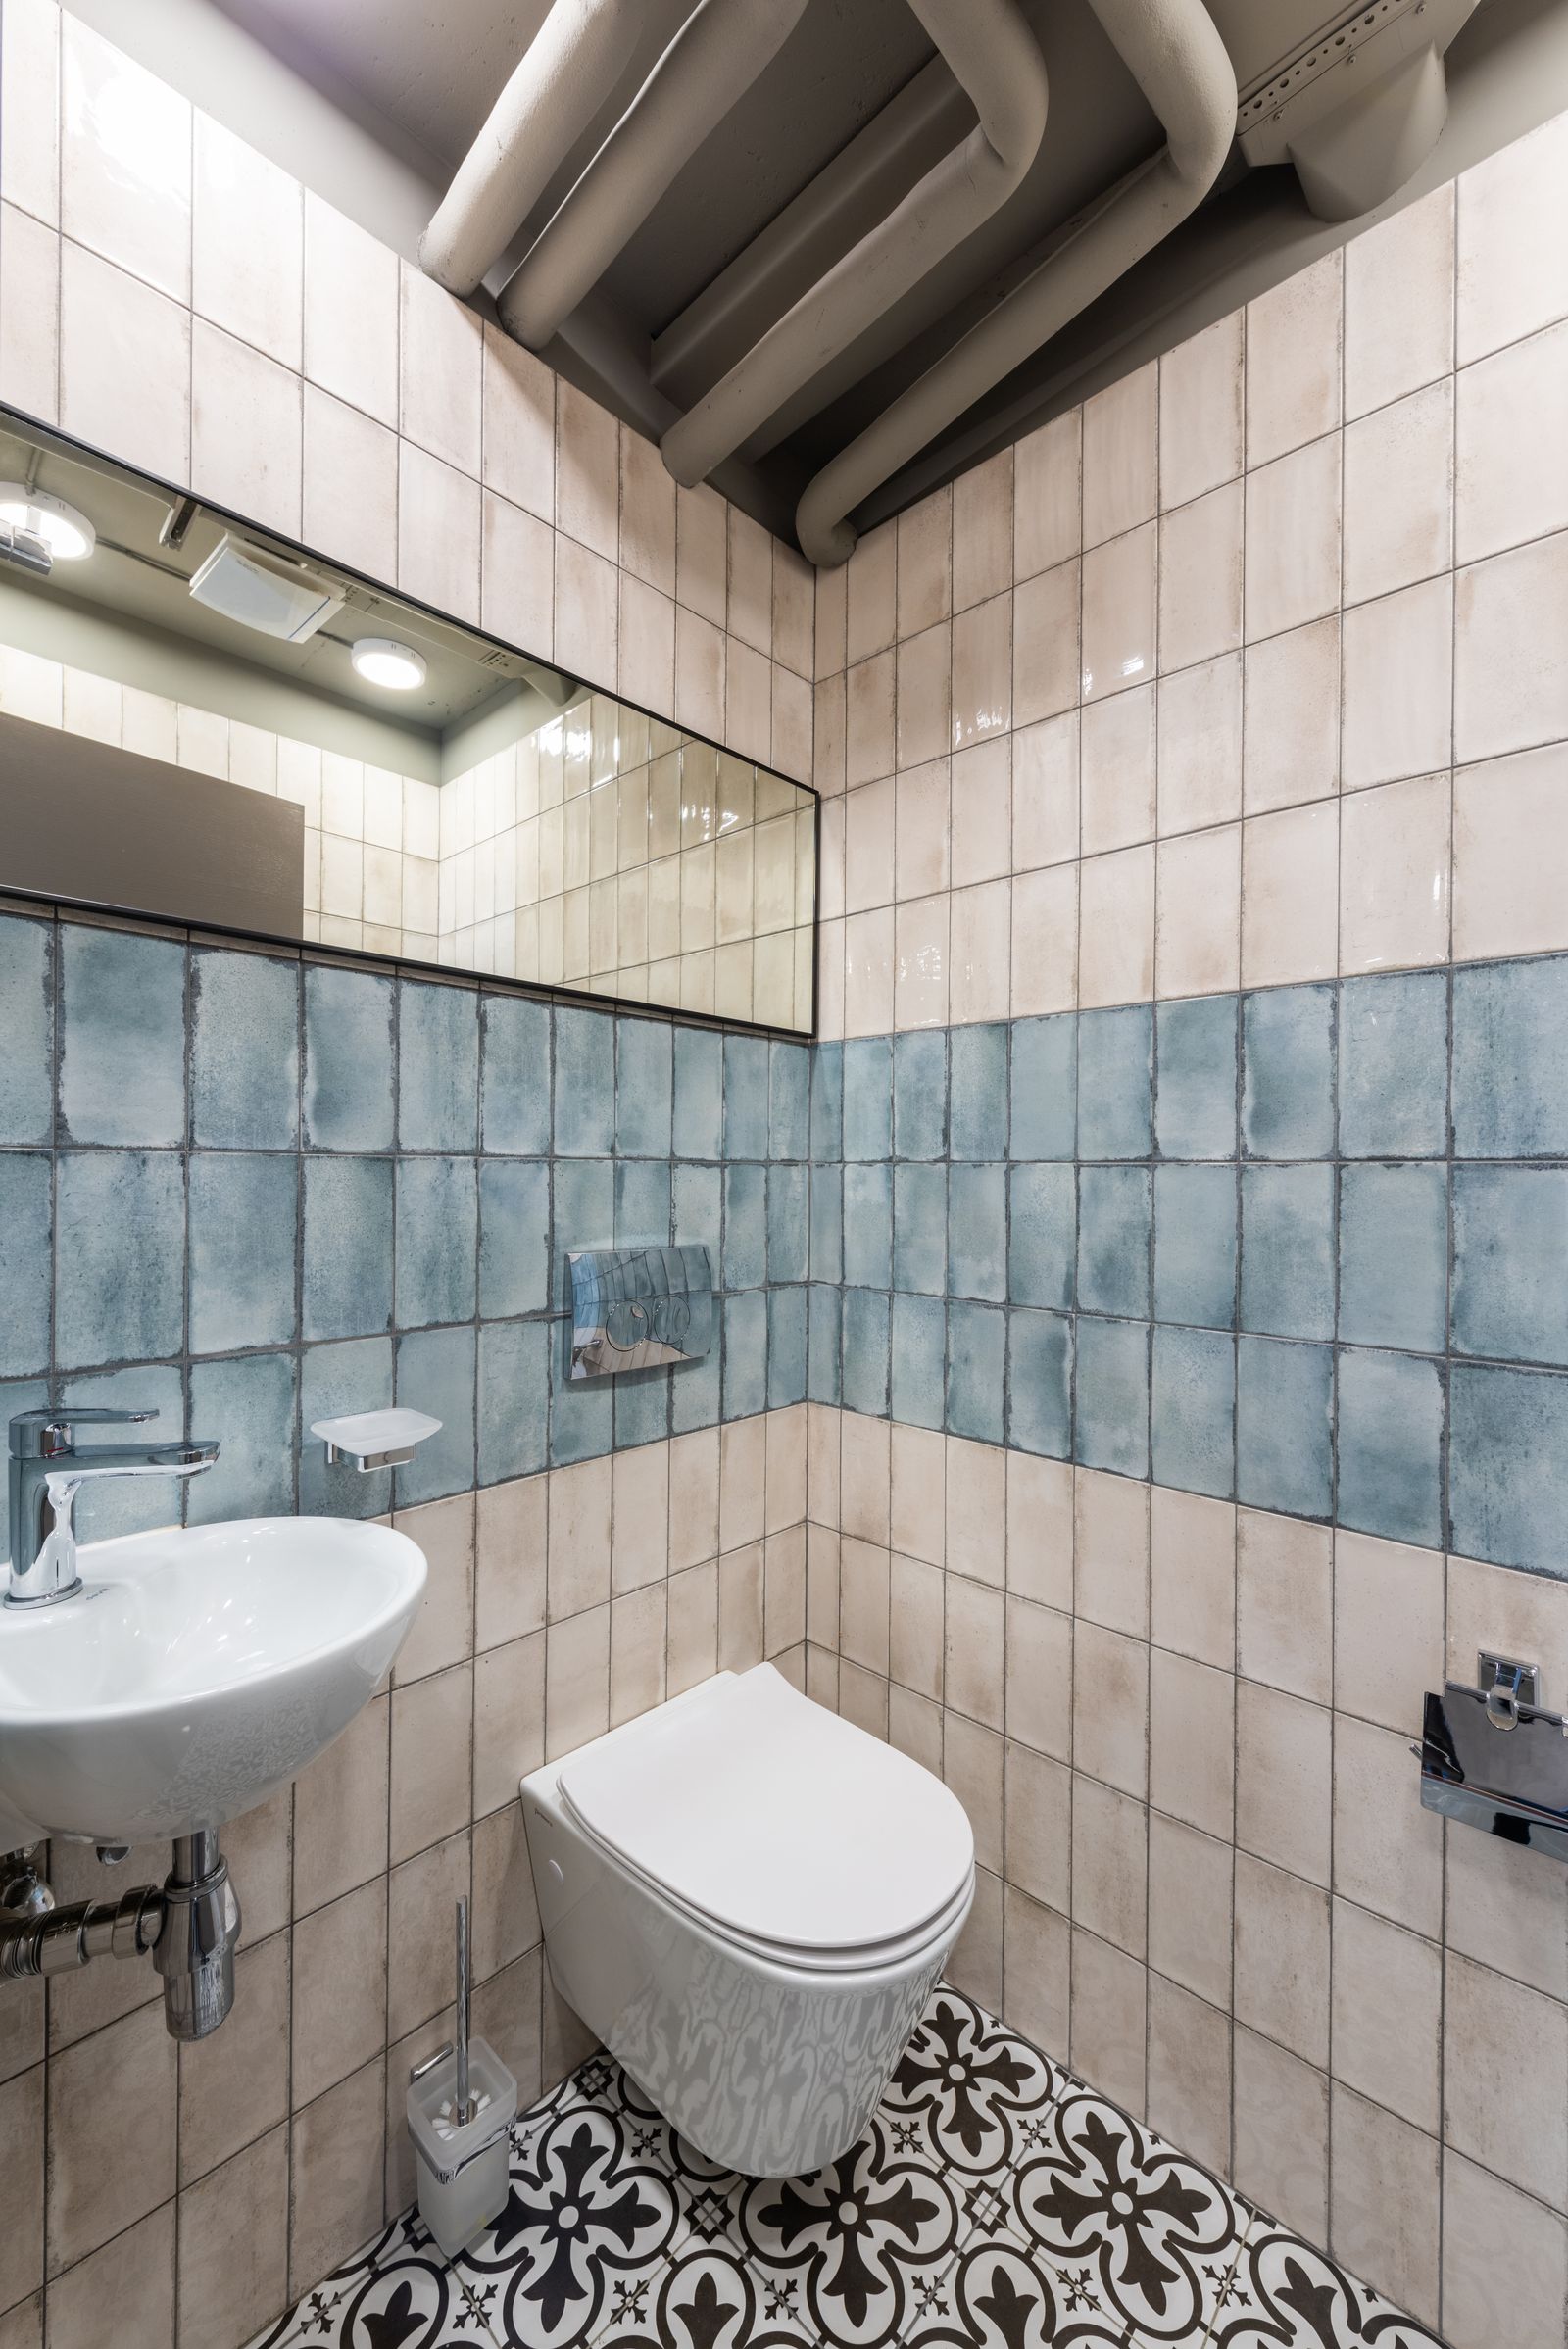
A graphic, printed design, often called encaustic-look, that makes the floor the room's main pattern. It suits plain walls and simple fixtures where the floor is the one statement.
Pairs with: white or single-color wall tile, a plain vanity and simple hardware. Skip it beside patterned wall tile you are keeping.
Test it: get several tiles and arrange a 2×2 or larger group to see the repeat, how many different designs come in the carton and whether tiles are rotated. Check where the motif lands at the vanity, tub front and doorway.
Watch for: the printed look is not real cement tile. Real cement tile is porous and handmade, and its producers publish their own rules; care, sealing and cleaning requirements depend on the exact cement tile. Obtain that maker's instructions rather than using a porcelain care method. A cement-look porcelain follows its own manufacturer's care page instead, so confirm which material you are buying.
Compare the directions
| Direction | Best fit | Grout/layout consideration | Main trade-off |
|---|---|---|---|
| Quiet large-format porcelain | Busy wall tile that stays; wall-hung vanity | Larger cuts at toilet and threshold; setting instructions are product-specific | Fewer joints, but not always an easier install |
| Hexagonal | Open floor under a pedestal or open-leg vanity | Grout contrast outlines or softens the shape; partial pieces at straight edges | Many cuts at the perimeter; small sizes mean more joints |
| Penny-round or small mosaic | Floor edges hidden by a solid vanity base and tub apron | Sheet seams and grout color dominate the look | More grout to clean; not automatically slip-resistant |
| Checkerboard | Enough open floor for several squares to read | Exposes walls out of square; diagonal setting adds edge cuts | Fragments when fixtures interrupt it |
| Terrazzo-look porcelain | Colored or metal finishes that echo the chips | Chip scale against exposed floor; shade variation | Not poured terrazzo; competes with busy wall tile |
| Wood-look porcelain | Warmth with plain wall tile and a painted vanity | Plank direction; product-specific offset limits | Awkward end cuts in short rooms; not wood |
| Small rectangular herringbone | A clear floor run from door to vanity; quiet walls | Sawtooth cuts along every wall and the doorway line | Busy; must be a floor-rated tile |
| Cement-look porcelain | Plain walls where the floor is the statement | Pattern repeat and tile rotation | Printed look, not real cement tile care; clashes with patterned walls |
Measurement steps
How to measure
- Sketch the room and mark the tub, toilet, vanity and doorway.
- Outline the floor visible from the entrance; distinguish the installation area from the visible pattern.
- Test full-size tile outlines or mosaic sheets with the intended grout joint included.
- Review cuts at the threshold, tub front, toilet and vanity with the installer.
- Record exact tile and carton dimensions, product approvals, cut allowance and the finished threshold height.

Advertisement
Choose for the bathroom you already have
Start with what you cannot or will not change, then decide which surface gets the strongest pattern. One rule helps: let one surface lead. If the walls or tub surround are staying and already carry color or pattern, make the floor the quiet partner (direction 1, a tonal checkerboard, a subtle terrazzo look). If the walls are plain, the floor can carry the pattern: hexagons, herringbone, cement-look or a high-contrast checkerboard. If both are plain, put the pattern on whichever surface you see first from the doorway.
Busy wall tile that will stay. Choose a floor that reads as one calm field and hold a sample against the wall tile in your light. Two competing patterns tend to cancel each other.
A dark or windowless bathroom. Tile and grout can shift under artificial light. Check samples under the bulbs you will actually use, at the hours you use the room. A lighter floor will not automatically feel brighter. And do not pick a glossy or polished floor for its shine alone: Daltile does not recommend polished surfaces where water exposure is expected, and a matte look is not proof of wet-use suitability either. Check the product data.
Very little visible floor. If only a strip shows, skip patterns that need an open field, such as checkerboard and herringbone. Choose a tile that tolerates interruption, or put the strongest pattern on a wall instead.
A narrow room. Direction matters as much as size. Test tile or planks running both ways, and check the last row against the wall: a large tile in a narrow room can leave a sliver on one side.
A large vanity and an interrupted floor. A pattern that must be seen whole will be chopped up. A wall-hung or open-leg vanity shows more floor. Hexagons, mosaics and quiet large tile tolerate interruption better.
Simpler routine cleaning. Fewer joints mean less grout, but grout color, surface texture and cleaning products matter too. Daltile's care guidance says no-rinse cleaners can leave a residue that reduces slip resistance, bleach and alkaline cleaners may need repeated rinsing, and sealed or epoxy grout still needs periodic cleaning. Read the care page for the exact product. Real cement tile and natural stone are porous and have sealing and cleaner requirements that glazed porcelain does not share.
None of this means a small bathroom needs small tile, or that large tile always enlarges one. Daltile's own consumer guidance says larger formats generally look better in larger rooms, then notes that designers break the rule successfully. Your layout test is the better judge.
Test the layout before choosing the size
Sketch the room. Draw it to scale and mark the vanity, toilet, tub or shower, and doorway.
Find the visible floor. Shade the floor you can see from the entrance and during everyday use, such as standing at the sink. That is the floor your pattern has to work on.
Compare outlines. Use full-size tile outlines, in paper or cardboard, or a correctly scaled layout drawing, across that exposed floor. Try at least two sizes or orientations.
Check the cuts. Look at the threshold, tub front, toilet and vanity edge. The Tile Council of North America advises laying out carefully to avoid small cuts along walls or transitions, and notes that adjusting centerlines and joints can help. Small cuts are hard to make and do not look good.
Include the joint. Do not butt samples edge to edge. The intended grout joint changes the look and shifts where cuts fall. Let the installer and manufacturer set the joint for your tile.
Compare grout in your light. Hold grout samples against the tile under the room's actual lighting, not the store's.
Review with the installer. Go over the proposed layout and substrate requirements together. The existing floor is not automatically a suitable base for new tile; its flatness, construction and the setting materials the tile maker calls for are the installer's call.
Main bathroom floor versus shower floor
The tile you choose for the room is not automatically a shower-floor tile. Manufacturers treat them as separate approvals. Daltile's selection guidance, for example, lists Floor and Shower Floor as different usage categories, and its floor definition excludes shower floors, which have their own criteria.
Three things decide a shower floor, and none is visible in a showroom photo:
The exact tile's approved application. Look for shower-floor use on the product page or sales sheet, not just “floor.”
Slip-resistance data and its limits. Read the manufacturer's stated use classification and slip-resistance guidance for the exact finish. A laboratory wet DCOF result is only part of that decision. Daltile cautions that DCOF measurements compare products under controlled conditions and should not be read as an indicator of whether a slip can occur. No floor tile is slip-proof, and one number does not prove suitability for a sloped, constantly wet surface.
Drainage geometry and shower construction. Small tiles can follow changes of plane around a point drain more readily than a large tile. Grout joints are not the shower's drainage or waterproofing system; the finished tile surface must shed water toward the drain as the approved assembly requires. Other systems are built differently: Schluter describes its linear KERDI-LINE drain as accommodating single-plane slope and large-format tile. Neither statement transfers to your shower. The tile, drain, base and waterproofing system have to be approved to work together.
Waterproofing is not the tile's job. Schluter states that tile and grout joints, even sealed ones, are not waterproof, and TCNA says the same about grout joints. A shower needs a waterproofing assembly beneath the tile, installed to that system's instructions.
So if you want a large floor tile to flow into the shower, ask the installer and manufacturer early whether it is approved for shower floors and which drain and base arrangement the chosen system supports. A mosaic from the same series, or a different tile altogether, may be the right shower answer. This guide does not cover shower construction. If you are still weighing tub against shower, see our 5×8 bathroom remodel guide.
Before you order
Fill this in from the product page, sales sheet or carton label, and from your installer.
Exact tile, finish and approved applications. Record series, color and finish, and whether the maker lists it for floors and, separately, for shower floors.
Actual dimensions. Face size, thickness and, for mosaics, sheet size. Nominal and actual sizes can differ, and edge type (rectified or not) can affect the joint.
Planned grout joint and layout. Write down the joint the installer and manufacturer approve and the layout (grid, offset, herringbone). Both drive cuts and quantity.
Wet-use recommendations. Note the DCOF value, listed use categories and what the maker says about wet areas.
Cleaning and care. Save the care page for both tile and grout, including any sealing the product needs.
Floor area and room shape. Measure the finished floor to be tiled, including alcoves and the door opening. Do not subtract every fixture footprint automatically; what is tiled under the vanity, toilet or tub depends on the installation scope.
Installer-reviewed cut allowance. Ask the installer to state the allowance for your tile and layout. It varies with pattern, tile format and room shape.
Carton coverage and rounding. Read coverage per carton from the label; cartons are sold whole.
Batch and shade. Record lot or shade codes, order all cartons together, and decide with the installer whether to keep spares. TCNA suggests checking that boxes share size tolerance and shade, then mixing tiles from several boxes before setting.
Threshold and finished height. Tile and setting materials raise the floor. Ask how it will meet the hallway floor and tub or shower curb, whether a transition is needed and whether the door needs attention.
Extra tile and carton rounding are separate decisions. First settle the quantity the job needs, including the installer's allowance for cuts and breakage. Then round up to whole cartons. Leftover tile from rounding is not a spare unless you have agreed it is. Keeping spare tile for future repairs is a third, optional choice.
Once you have measurements, EstimatorPad's tile calculator can help with quantity planning. It does not establish tile suitability, waterproofing, a full cut layout or installation compliance.
Your first step
Pick two or three candidates and lay full-size samples or full sheets beside the vanity, tub, wall tile and hardware that will stay, in your own light. Choose the one that still looks right with the fixtures in the way. Then verify the exact product's approved use, wet-use data, care instructions and installation requirements with the manufacturer and installer before you order.
Project checklist
Before you buy or build
- Exact finish approved for the intended floor use
- Separate shower-floor approval checked if needed
- Full-size layout and edge cuts reviewed
- Tile and grout care instructions saved
- Quantity, carton rounding and repair spares decided separately
Planning note
Verify before buying or building.
Photographs are visual references, not EstimatorPad projects or verified installations. Confirm the exact product instructions and suitability for your own room before buying; construction, waterproofing and repair details need the appropriate installer.
FAQ
Common questions
01Can large tiles work in a small bathroom?+
They can. Fewer joints may make the floor read as one plane, but each cut at the toilet, tub and threshold becomes more noticeable, and large formats often have stricter installation requirements. Test full-size outlines in the room before deciding.
02Should grout match or contrast?+
Matching grout softens a pattern; contrasting grout draws it. With mosaics, hexagons and herringbone, grout is a large share of what you see, so test it beside the tile in your light. Whichever you choose, plan on periodic cleaning.
03Can the same tile be used on the main floor and the shower floor?+
Only if the manufacturer lists it for shower-floor use and the drain, base and waterproofing system support its size and layout. See the shower-floor section above and ask for approved use in writing.
04Are mosaics easier or harder to maintain?+
More joints mean more grout to clean, but surface finish, grout color and cleaning products all play a part. Read the care guidance for the exact product, and do not assume more joints mean safer footing.
05What if the wall tile is already patterned?+
Choose a quieter floor and hold a sample against the wall tile. Two strong patterns in a small room tend to compete.
06Should the floor pattern run into the doorway?+
It is a layout decision. You can end the pattern at the threshold with a deliberate finish or carry it through. Look at how the pattern is cut along the door line and ask the installer about the height transition.