Interior Finishes guide
Small Bathroom Remodel Ideas for a 5×8 Bathroom: 8 Smart Designs & Layouts
See eight photo-led small bathroom remodel ideas, compare tub and shower layouts, and learn exactly what to measure before ordering tile.
- By
- EstimatorPad Editorial Team
- Published
- October 25, 2026
- Reading time
- 17 min

Before you choose
Eight design directions. One compact room that has to work.
A nominal 5×8 bathroom has 40 square feet of gross floor area, but fixtures consume much of it. Start with eight real-photo design references, decide what you can keep, compare tub and shower layouts, and only then measure the floor and wet walls for tile. Our example 60×30-inch tub leaves 27.5 square feet of exposed floor, but its surrounding walls require a separate estimate. Photos illustrate the styles; none is proven to show a 5×8 room.
See eight photo-led small bathroom remodel ideas, compare tub and shower layouts, and learn exactly what to measure before ordering tile.
- By
- EstimatorPad Editorial Team
- Published
- October 25, 2026
- Reading time
- 17 min
On this page
- 8 design ideas
- 1. Keep the tub, renew everything around it
- 2. Shower-first: replace the tub only when it makes sense
- 3. A quiet, low-contrast tile palette
- 4. One statement tile wall, not four competing patterns
- 5. Choose the vanity by depth, not just width
- 6. Warm wood, a generous mirror and better face lighting
- 7. Budget makeover: decide what cosmetic really means
- 8. Bigger moves: doors, borrowed space and relocated fixtures
- Compare the designs
- Choose for your bathroom
- Tub-first floor plan
- Shower-first floor plan
- Measure your bathroom
- Tile calculation
- Tile calculator
- Worked example
- Measure the room before buying tile or fixtures
- FAQ
1. Keep the tub, renew everything around it

At a glance
- Best for: households needing a tub and satisfied with the existing fixture positions.
- Complexity: moderate for like-for-like replacement, higher for a wet-wall rebuild.
- Before buying: measure the alcove in several places, confirm drain side, flange and rough-in.
- Photo is an inspiration reference; its room dimensions are undocumented.
The most affordable plumbing change is often the one you do not make. If your tub, toilet and sink work in the existing positions, a new surround, vanity, flooring and lighting can change the room without rerouting waste lines.
A common 5×8 arrangement places a nominal 60-inch tub along the short end, with the toilet and vanity along one long wall. This is a planning example, not a guarantee your finished room accommodates a 60-inch product. First measure the finished alcove, framing and drain-side rough-in. Replace the tub only with a product whose specifications match the space.
The difficult part is usually the wet wall behind the new tile, not the tile pattern. The shower surround needs an appropriate waterproof assembly, sloped transitions and penetrations sealed per the manufacturer. Surface tile and grout alone do not waterproof a shower. If the plumbing and tub are sound, renewing only worn finishes may be sufficient; if the substrate is damaged, the work expands into a wet-area rebuild.
2. Shower-first: replace the tub only when it makes sense
At a glance
- Best for: predominantly showering households, particularly homes with another bathtub.
- Complexity: high; potentially much higher if drains or walls move.
- Before buying: measure finished shower width/depth, door opening and the drain location.
- Code and safety glazing requirements are jurisdiction-specific.
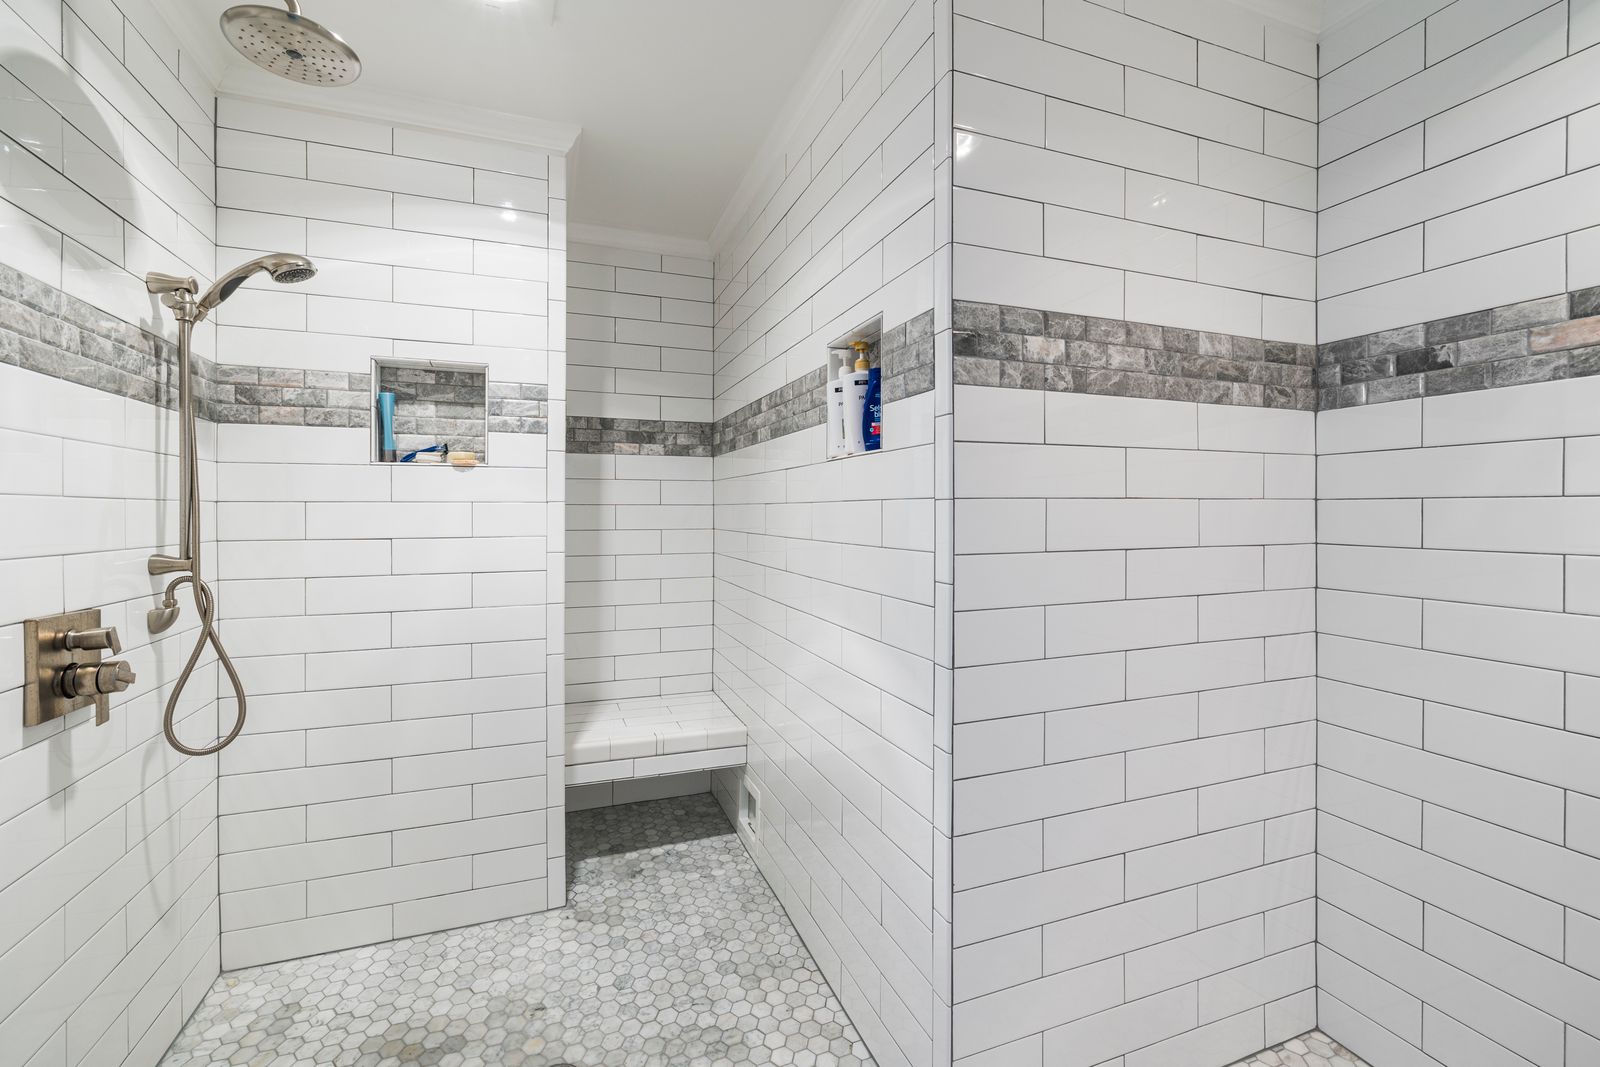
A glass-fronted shower can make a compact bathroom feel more open because you see the wall and floor beyond the glass. It does not automatically create more usable floor area. A 60 × 30-inch tub and a 60 × 30-inch shower have exactly the same nominal 12.5-square-foot footprint.
A 60 × 36-inch shower consumes 15 square feet, leaving only 60 inches of the original 96-inch room length for the other fixtures rather than 66. Shower interior dimensions are measured after finishes; the 2024 IRC generally calls for at least 900 square inches and a 30-inch minimum dimension, subject to exceptions and local adoption. A hinged shower door must open outward, with suitable access and egress clearance.
Before you commit, weigh whether your household uses the tub, whether it is the home's only bathtub, how the drain can be positioned and whether the existing subfloor suits the chosen receptor. A shower replacement involves the receptor or pan, drainage, waterproofing, glass and potentially permits. Avoid treating a photo of a large walk-in shower as proof that it fits a 5×8 room.
3. A quiet, low-contrast tile palette

At a glance
- Best for: a calm, versatile small bathroom with a restrained look.
- Complexity: low to moderate depending on substrate condition and tile format.
- Before buying: check face size, grout joint and wet-floor suitability.
Fewer competing color breaks can help a small room feel calm. Soft warm whites, muted green, pale gray and natural stone-look porcelain can make walls, floor and cabinetry feel coordinated without pretending the physical room has grown.
A continuous tonal palette is an aesthetic choice, not a measurable increase in space. Mix matte, textured and glossy surfaces deliberately: a glossy shower wall tile is not necessarily rated as safe for a wet floor. Check the exact manufacturer's floor-use classification and slip-resistance specifications rather than extrapolating from the photograph.
Large-format tile cuts down on visible joints, but it may require a flatter substrate and careful dry-layout; the last narrow cut at the ceiling or tub can look awkward. Bring samples into your own bathroom and see them in its existing daylight and artificial light before choosing grout.
Advertisement
4. One statement tile wall, not four competing patterns
At a glance
- Best for: people who want visual personality while keeping the rest of the room restful.
- Complexity: moderate to high for a wet-zone accent.
- Before buying: verify pattern repeat, carton coverage and wet-area approval.
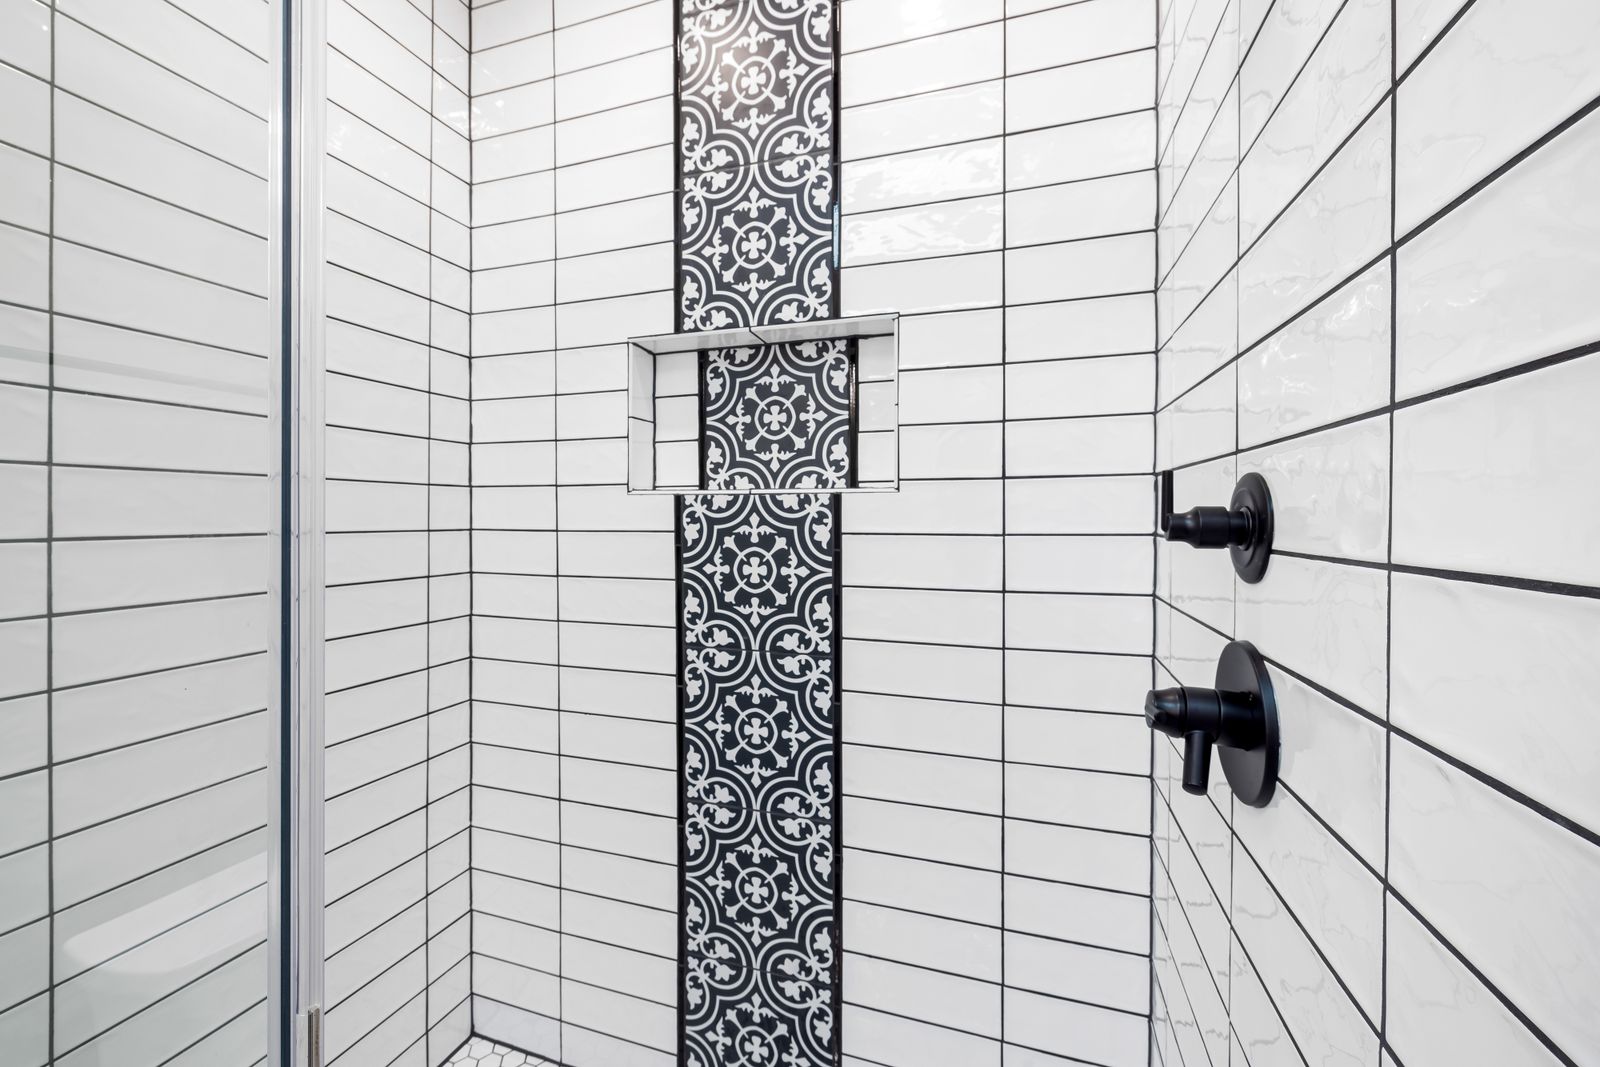
You can give a 40-square-foot room character without filling every surface with busy tile. A well-placed feature wall is often enough: behind the vanity, on one dry wall, or as a shower accent with materials rated for wet service.
Pattern repeats change where cuts fall. The tile that looks centered in a showroom may leave tiny slivers against a niche or door trim in your bathroom. Mark the center of the chosen focal wall, dry-fit sample rows and count the likely cut pieces before deciding the quantity allowance.
Decorative cement-style, encaustic-look or patterned tiles have product-specific sealing, cleaning and substrate requirements. In a shower, the waterproof membrane and full system still matter even if the design covers only one wall. The photo illustrates graphic contrast; it does not document the material or the installation assembly.
5. Choose the vanity by depth, not just width
At a glance
- Best for: tight circulation beside a sink and households needing efficient storage.
- Complexity: moderate with existing plumbing, higher if connections move.
- Before buying: measure the sink centerline, countertop overhang and nearest door/fixture.
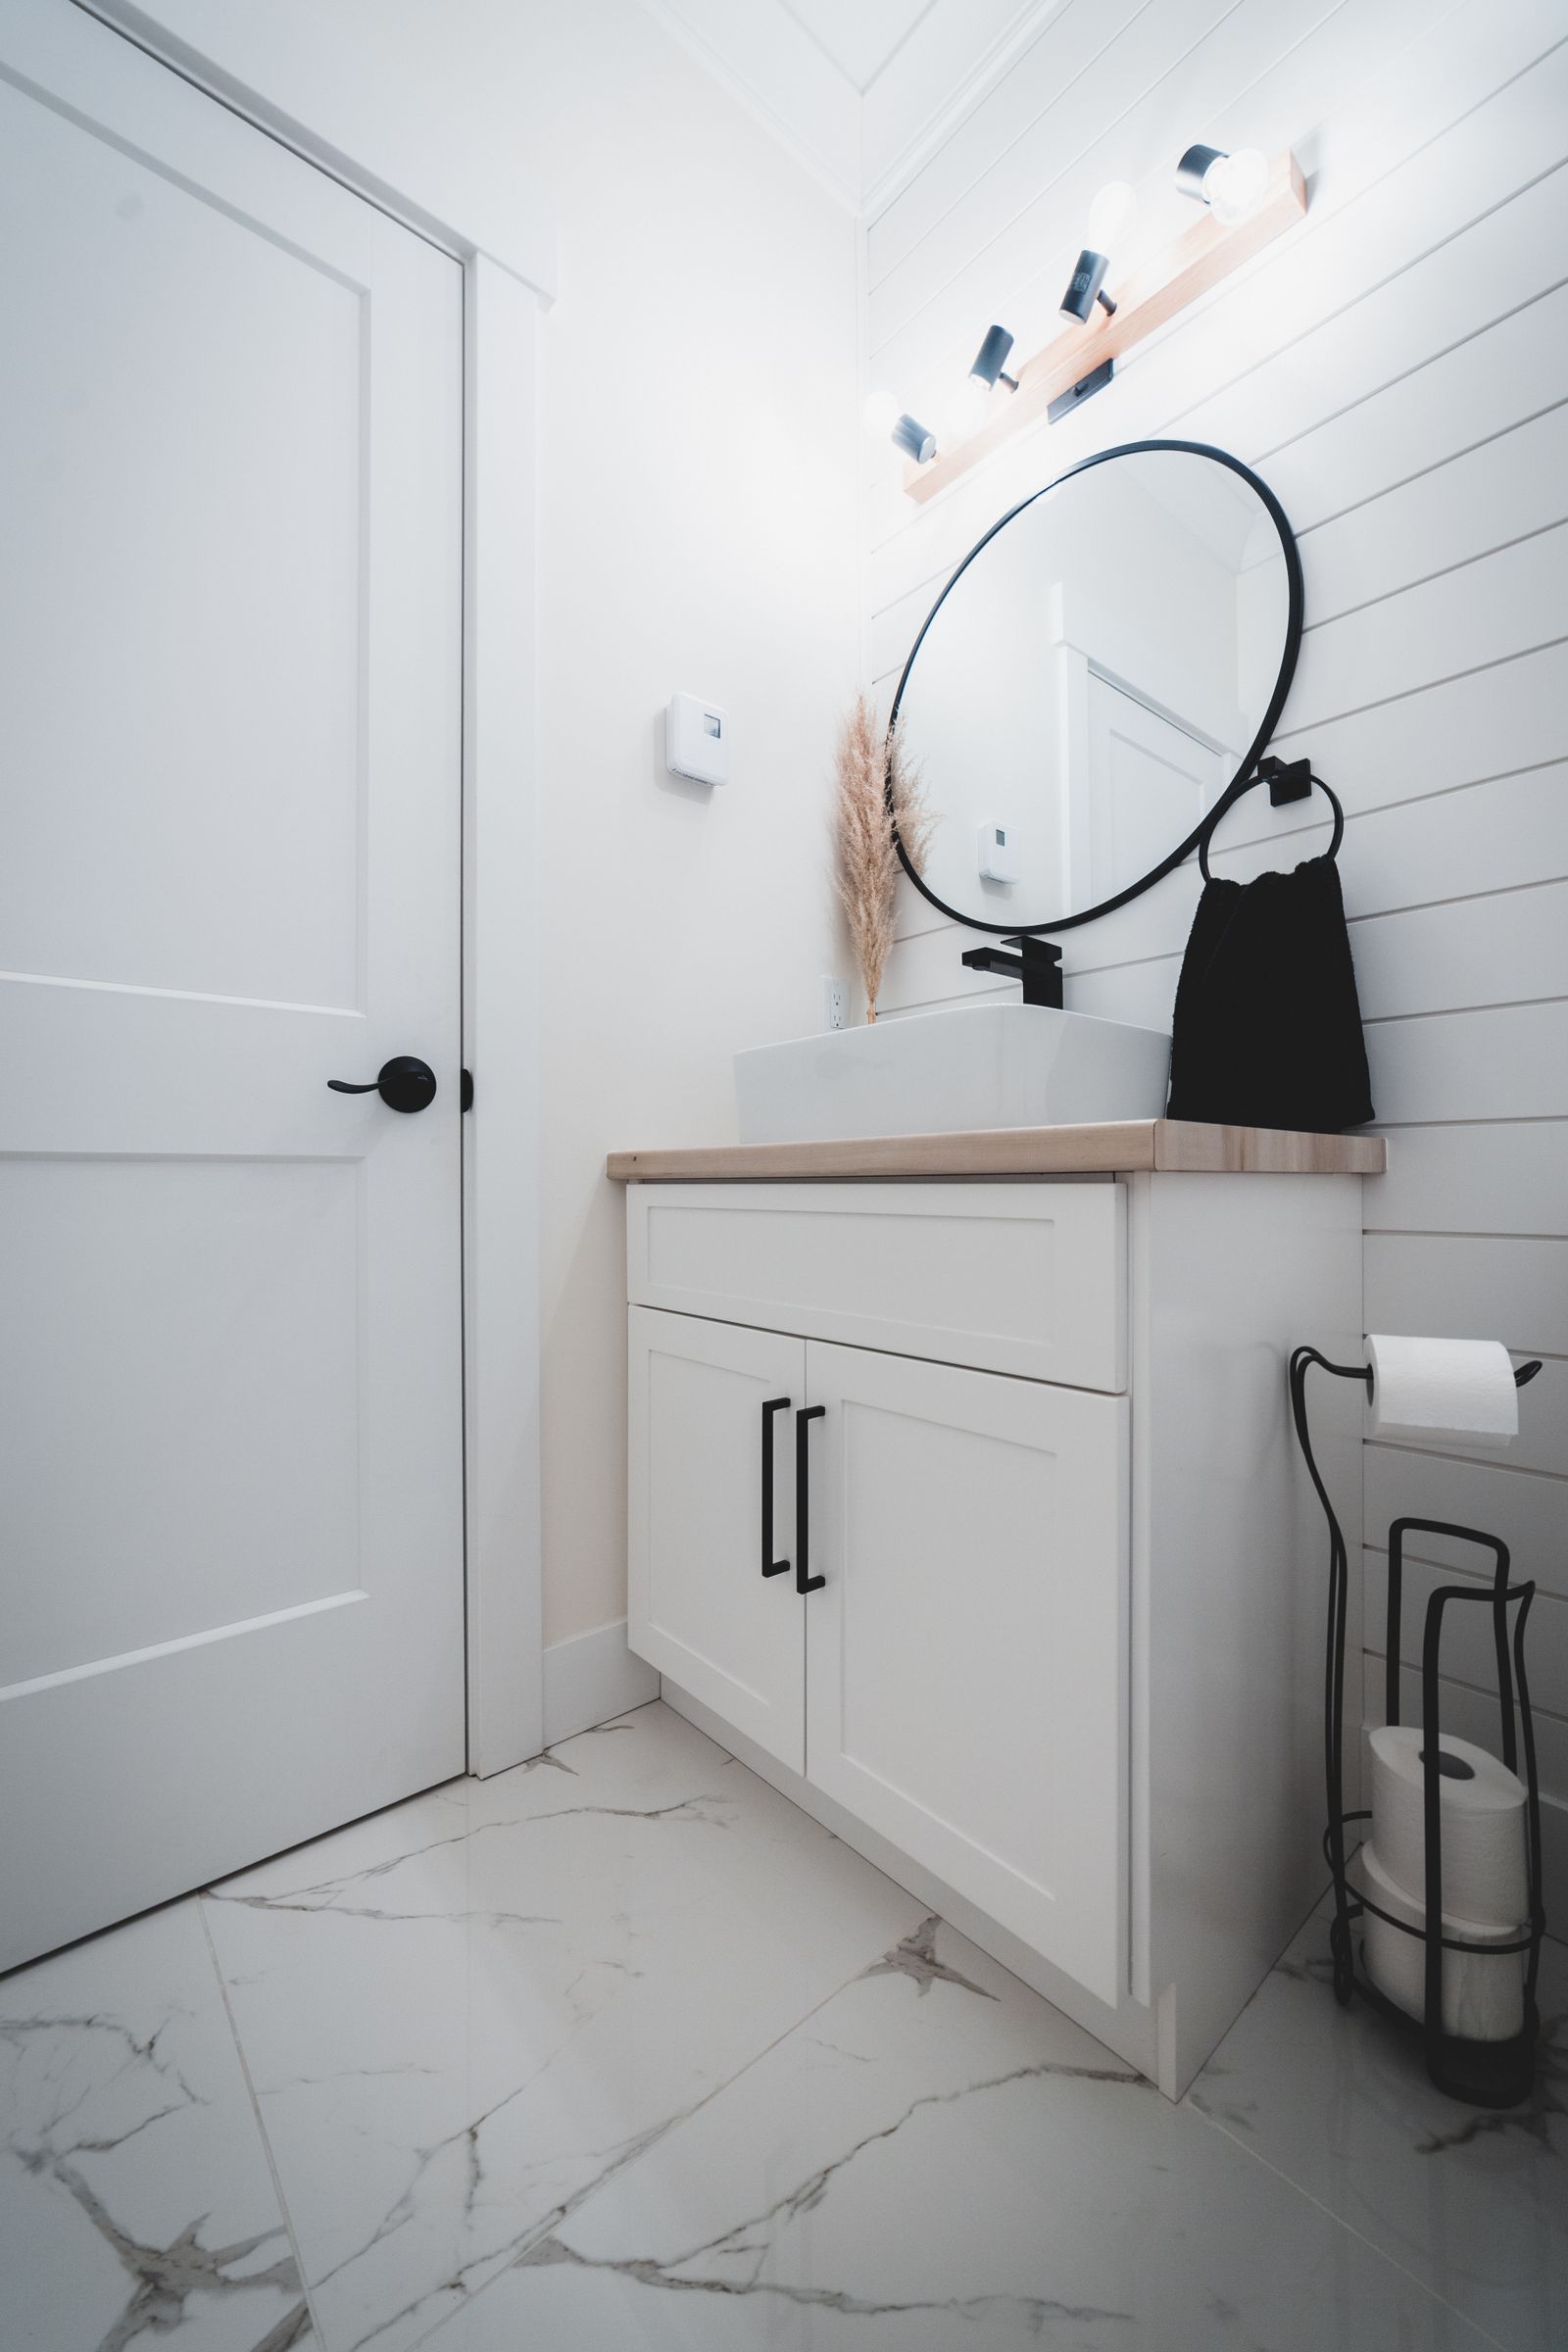
A narrow vanity can change how easily people move around the room. Against a nominal 60-inch width, a 21-inch-deep vanity leaves 39 inches measured to the opposite wall, while a 16-inch-deep vanity leaves 44 inches—before any projection, trim or other obstruction. That is five inches of real depth gained, not a claim of extra room area.
But width matters too. The 2024 IRC requires a lavatory center at least 15 inches from adjacent obstructions and 30 inches center-to-center from another relevant fixture. A centered sink in a 24-inch-wide cabinet set hard against a side wall is only 12 inches from that wall and may be unsuitable; a narrower unit is not automatically a compliant solution. Test the exact sink position, vanity projection and nearby toilet clearance.
Drawers may make toiletries more accessible than a deep cabinet door, and a recessed medicine cabinet can save projection where the wall is clear. Floating vanities require suitable structural backing. A source photograph is a style reference, not dimensioned clearance evidence.
6. Warm wood, a generous mirror and better face lighting
At a glance
- Best for: bathrooms with acceptable plumbing but poor lighting and visual warmth.
- Complexity: low if using existing safe locations; higher for new circuits and wall blocking.
- Before buying: record mirror width, fixture electrical ratings and wall-box locations.
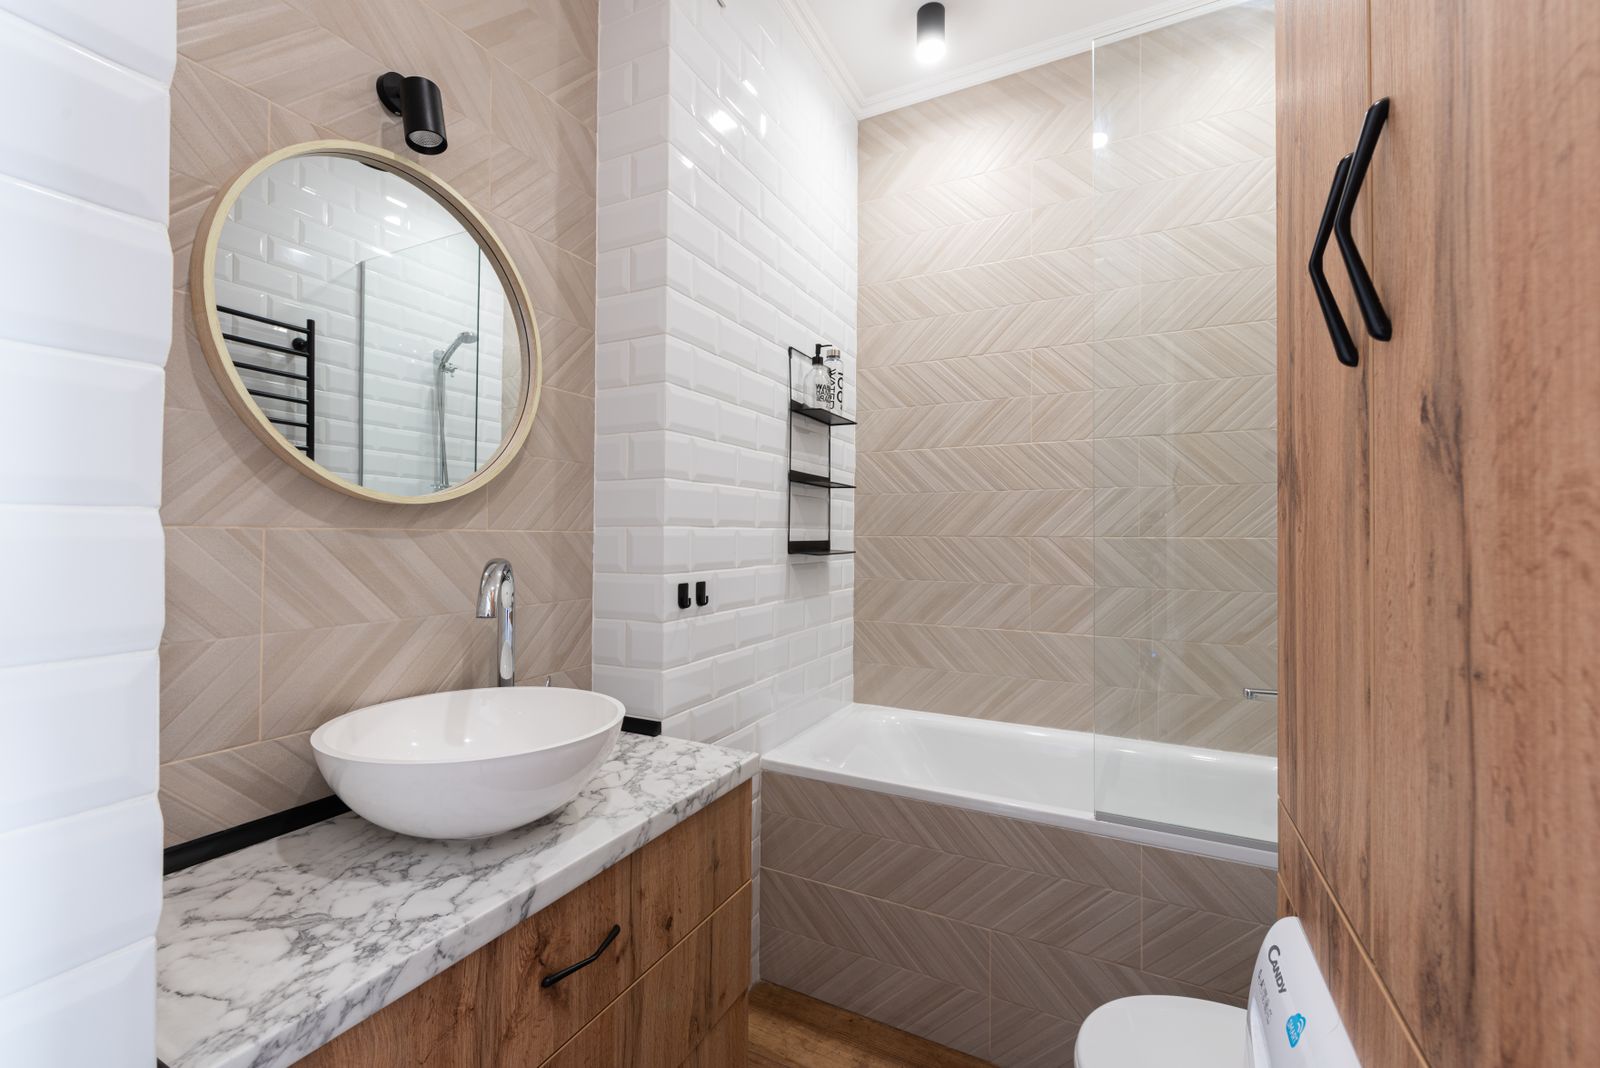
If the finishes are serviceable but the bathroom feels flat or dim, changing the mirror and light placement can be a more focused investment than rebuilding every wall. Pale tile plus warm wood and soft metal accents creates contrast without relying on busy patterns.
A mirror close to the vanity's usable width reflects light and gives the sink zone a clearer center. Wall lights on both sides of the mirror can illuminate faces with fewer shadows than a single overhead fixture, though placement is constrained by available electrical boxes and cabinetry. A dimmable ceiling source helps with general illumination.
Verify whether each fixture is listed for the actual damp or wet exposure location; bathroom receptacles need required GFCI protection. Have an appropriate electrical professional check the applicable rules. Wood or wood-look finishes still need to tolerate humid conditions, and an exhaust fan should vent outdoors. The image demonstrates mirror and light styling, not certified wiring.
Advertisement
7. Budget makeover: decide what cosmetic really means
At a glance
- Best for: sound bathrooms needing a fresh look, not structural or waterproofing repairs.
- Complexity: low when walls and systems remain intact.
- Before buying: measure painted areas and check exhaust fan performance and ducting.
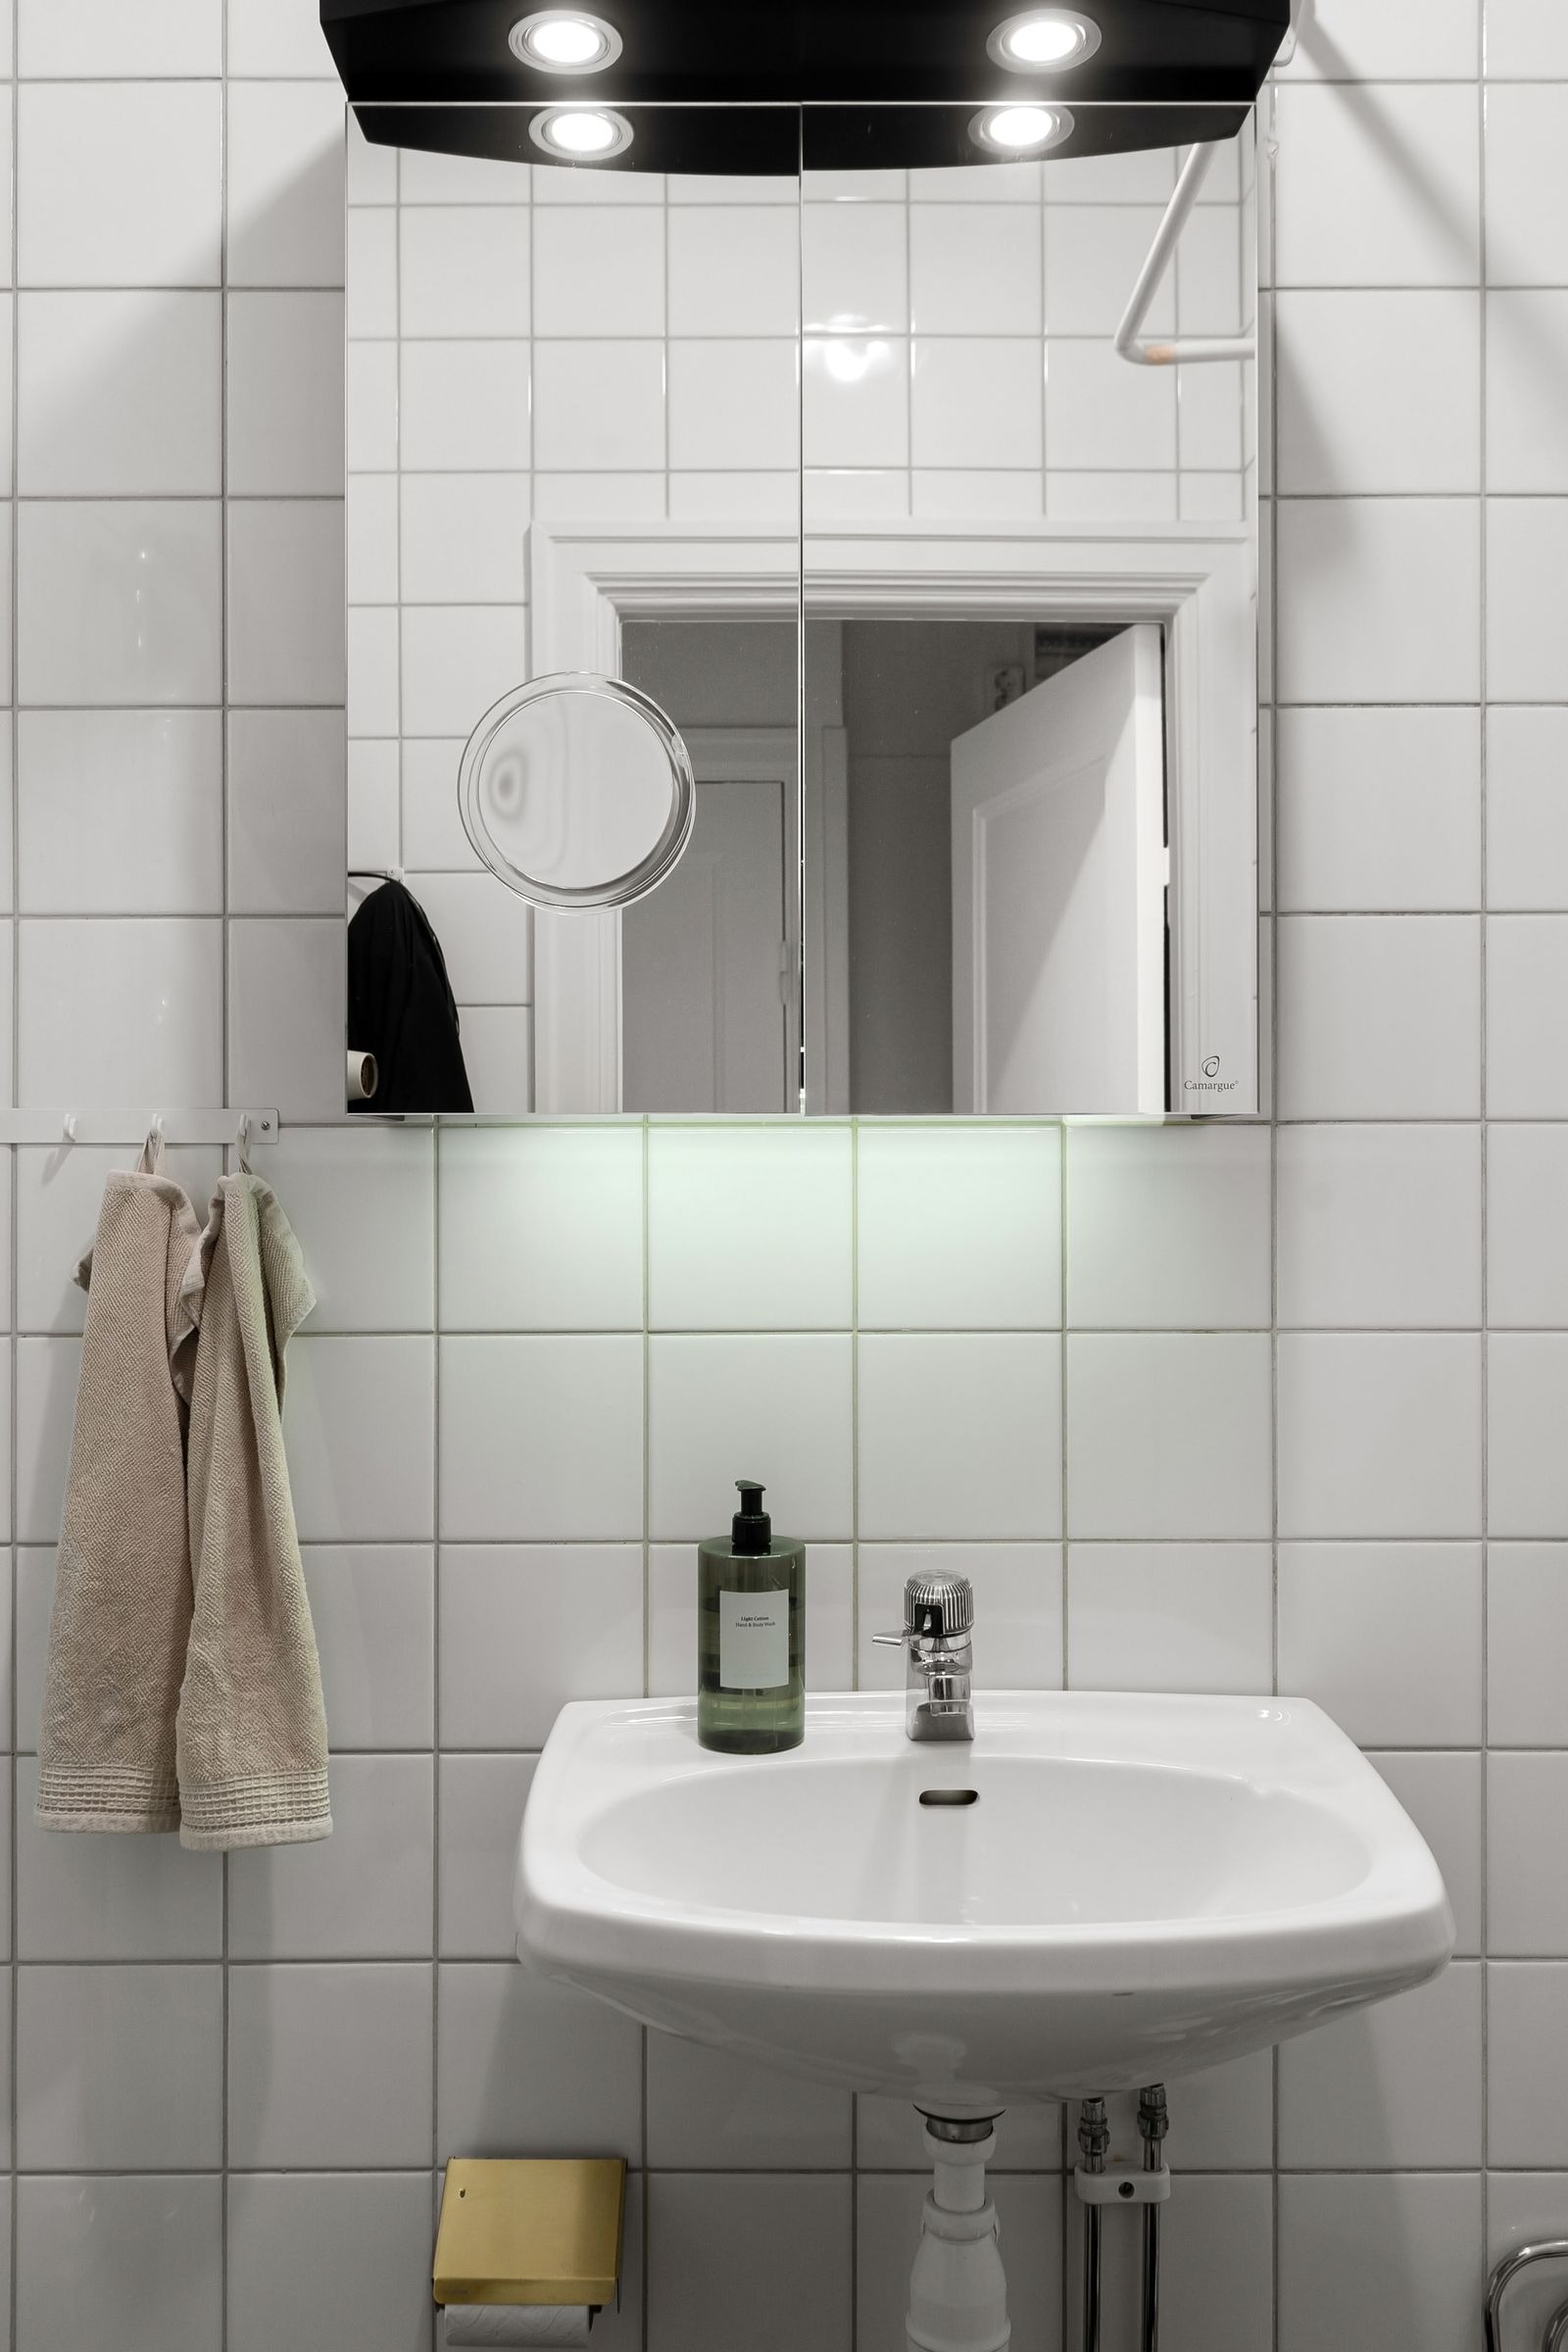
A useful budget bathroom plan starts by writing down what you are NOT doing. Replacing a mirror, repainting dry walls, refreshing hardware, improving lighting and recaulking suitable joints can give an older bathroom a cleaner appearance without removing tile or moving drains.
Cosmetic does not mean covering over leaks. Soft drywall, recurring mold, failed caulking in a wet location or a noisy fan ducted into an attic are reasons to investigate the underlying assembly before painting over the symptoms. A shower tile replacement that opens wet walls is no longer simply a cosmetic refresh.
When choosing paint, use the manufacturer's bathroom suitability, coverage and curing directions. Measure only the exposed painted surface; do not treat tiled shower walls as painted area. If the ventilation needs attention, determine the correct fan capacity and outdoor duct route before selecting a unit. The reference photograph shows a neat vanity scene—not a verified before-and-after makeover.
8. Bigger moves: doors, borrowed space and relocated fixtures
At a glance
- Best for: layouts that fail on access or fixture clearances, not just dated aesthetics.
- Complexity: highest and most variable.
- Before buying: confirm room boundaries, drain/joist locations and permit requirements.
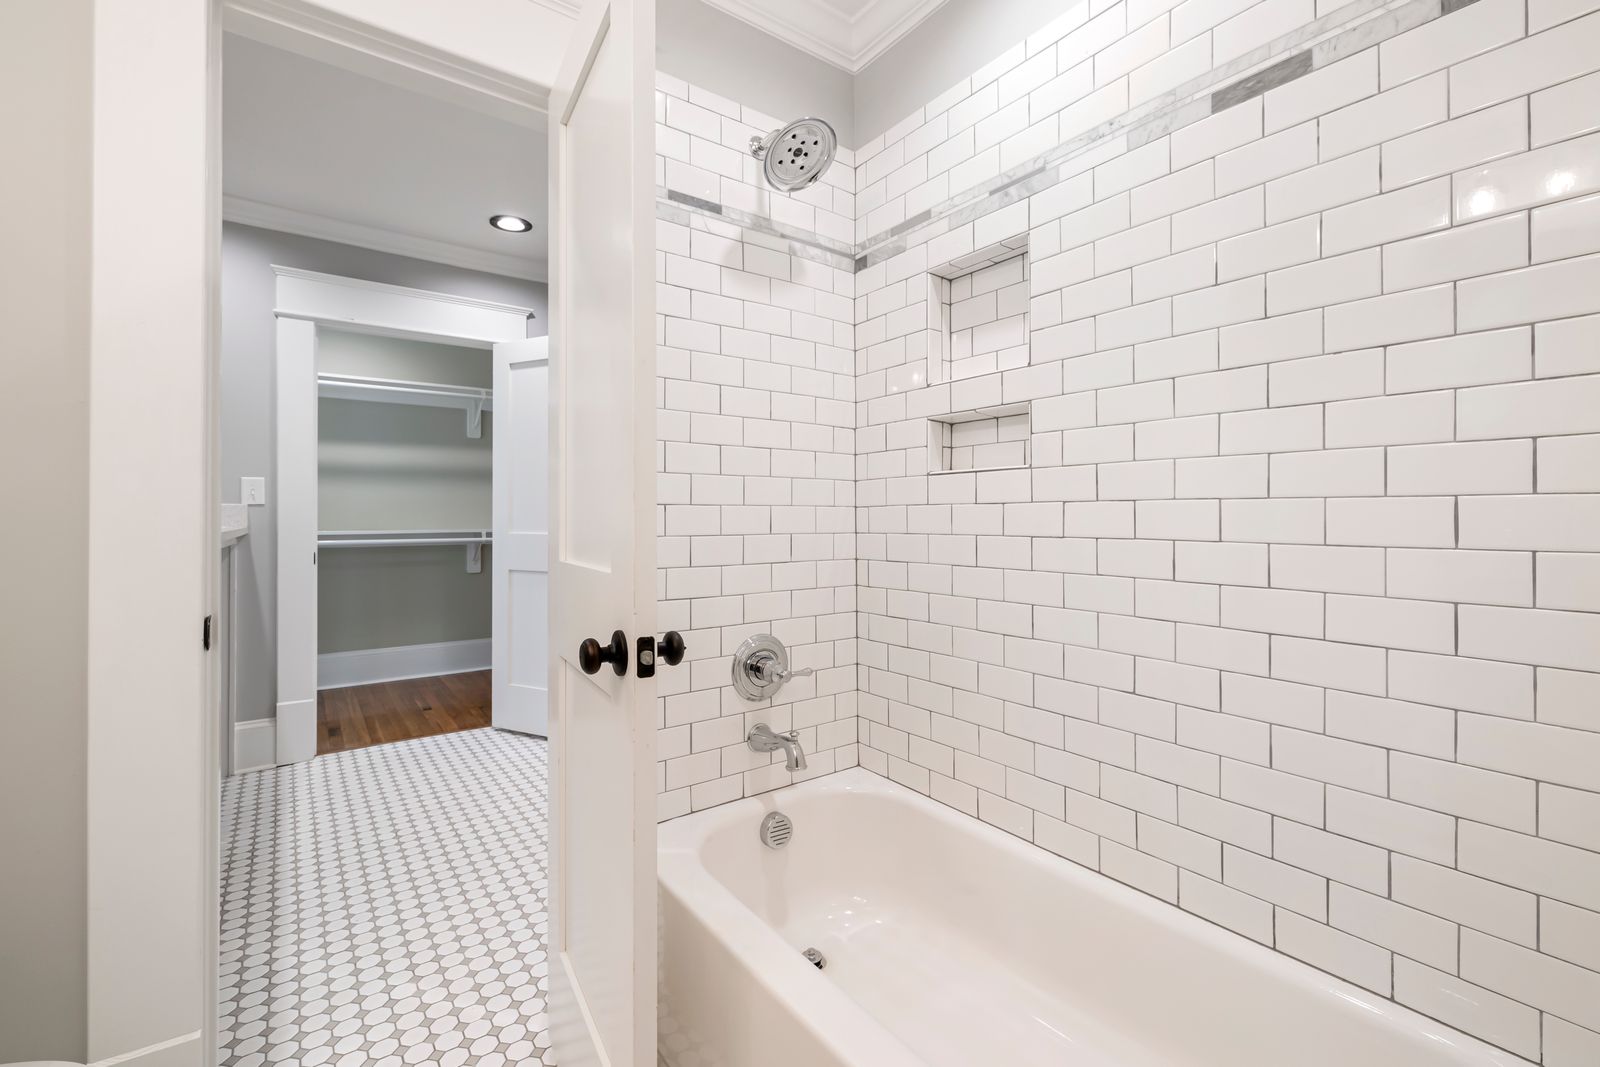
Some compact baths feel crowded because a door swings through the middle or a toilet sits in the wrong place. Before removing a wall, ask whether an outward-opening door or a pocket door would resolve the conflict. Any change must respect egress, accessibility needs and the wall's wiring and plumbing.
Borrowing width from an adjoining closet, shifting a toilet or extending a shower can be worthwhile where the existing plan fails basic function. But moving waste piping, vents or load-bearing partitions costs far more than a new tile finish. Sometimes the ideal Pinterest photo simply does not fit the building you own.
Have a qualified professional establish the floor framing, plumbing stack, vents and any structural constraints before assuming a dimension on a sketch is buildable. Permit requirements vary by locality. The photograph is a reference for adjacent-space planning, not evidence of a completed wall relocation.
Which small-bathroom update fits your project?
A comparison of scope, not current price quotes. Real cost depends on work discovered behind finishes.
| Design direction | Best for | Typical complexity | Critical check |
|---|---|---|---|
| Keep the tub | Families and workable plumbing | Moderate to high | Wet-wall waterproofing |
| Shower first | Adults who rarely use the tub | High | Pan, access and drain |
| Quiet palette | A calm, flexible look | Low to moderate | Wet-floor tile rating |
| Statement wall | One memorable focal point | Moderate | Pattern cuts and wet suitability |
| Shallow vanity | Tight sink circulation | Moderate | Sink-center and front space |
| Wood, mirror, light | Dim or flat-looking rooms | Low to moderate | Electrical/wet listings |
| Cosmetic refresh | Sound bathroom, limited scope | Low | Hidden water damage |
| Bigger moves | Nonfunctional existing plan | Highest | Drain, structure and permits |
Choose for your household and your budget
Need a bathtub? Start with the keep-the-tub option, then pair it with a calm palette or improved lighting. If the room feels tight at the sink, measure whether a shallower vanity actually solves the circulation problem without violating sink-center or toilet clearances.
If your plumbing works and the budget is limited, define a cosmetic scope before shopping. If showering dominates and another tub is available, model shower-only dimensions and door behavior. If nothing fits on paper after accounting for wall finishes, consider a professional layout review before spending on decorative tile.
Avoid comparing a cosmetic paint job to a full wet-area rebuild as though both were a single 'bathroom remodel cost.' Request quotes with the same scope and itemized labor, substrate, waterproofing, fixtures and disposal.
5×8 layout A: a 60 × 30-inch tub at the short end
Start with the nominal 60 × 96-inch inside plan. A tub 30 inches deep takes the end of the room and leaves a 66-inch run along the long wall. This arithmetic assumes the finished room actually measures 60 × 96 and the tub fits; measure before ordering.
A simplified side-by-side toilet and 30-inch vanity arrangement can add up to 15 inches from the tub obstruction to toilet center + 15 inches from the toilet center to vanity edge + 30-inch vanity = 60 inches, leaving a nominal six-inch margin. These are model-code spacing components, not a guaranteed buildable floor plan. Sink centerline, actual fixture projection, any 24-inch shower-front zone, doors, finished wall thickness and local amendments must ALSO be checked. Do not claim this layout meets the newer NKBA recommendations without the actual 2026 guidelines.
A vanity nominally 21 inches deep projects into the 60-inch width leaving about 39 inches in front of it, before nearby fixtures and doors. A 28–30-inch-projecting toilet leaves 30–32 inches only if it faces an unobstructed wall. Use manufacturer specifications rather than a generic projection estimate.
Concept only — fixture placements and clearances require an individual code review.
5×8 layout B: what a deeper shower changes
If a wall-to-wall 60-inch shower replaces the tub, a 30-inch-deep shower leaves 66 inches of room length. A 32-inch shower leaves 64 inches; a 36-inch shower leaves 60 inches. More shower depth means less longitudinal space for the toilet and vanity in the example layout.
These dimensions are gross footprints, not finished shower clearances. A 60 × 30-inch shower occupies the same 12.5 square feet as the example tub; a 60 × 36 shower takes 15 square feet. A 36-inch shower may look generous in the photograph but push the toilet too close to the vanity or complicate access. Verify finished inside dimensions, door access and all fixture spacing against the local adopted code.
This diagram is intentionally illustrative rather than a permit drawing. Your door location, drain, tub apron or receptor, studs and wall finishes are not known.
Concept only — fixture placements and clearances require an individual code review.
From inspiration to installation
Found two ideas? Now check what actually fits.
Compare fixture clearances, door swing and the plumbing you can keep. Then measure exposed floor and wet-wall tile separately before ordering.
See how to measure →Measurement steps
How to measure
- Measure finished room length, width and height at multiple points; do not substitute framing dimensions.
- Record tub/shower finished footprint, door swing, window, toilet flange, vanity depth and sink-center positions.
- Determine which part of the floor is actually to be tiled, making deductions only where your installer will skip tile.
- Measure each shower or tub-surround wall and returns from the actual tile start to the finished tile end; include niches and edges.
- Check local wet-wall height rules independently from any illustrative 60-inch tile height.
- Dry-lay the selected pattern, record waste for the chosen product and round to actual carton coverage.
- Compute floor and wet-wall quantities separately; compare with EstimatorPad tile and grout calculators.
Formula explanation
The formulas to use
Gross floor area (sq ft) = finished width (in) × finished length (in) / 144
Exposed tile floor (sq ft) = gross floor area − floor area under fixtures that will not be tiled
Tub surround wall tile (sq ft) = (back wall width + left return depth + right return depth) × measured tile height / 144
Purchase area = measured tile area × (1 + appropriate waste fraction); whole cartons = round up(purchase area / product carton coverage)
Use with this article
Tile Calculator
Enter the article's measurements and assumptions to check the rounded planning estimate.
Open calculatorProject cluster
Interior planning pages
Open the full hub when you need the matching calculator, sibling guides, and related material estimates in one place.
Worked example
How much floor and tub-wall tile for a nominal 5×8 bathroom?
- 1Gross floor: 60 in × 96 in ÷ 144 = 40.0 sq ft. That number is the entire room, not the tiled floor.
- 2Nominal 60 × 30-in tub footprint: 1,800 sq in ÷ 144 = 12.5 sq ft. If the floor beneath the installed tub is not tiled, exposed floor = 40 − 12.5 = 27.5 sq ft.
- 3If a 30 × 21-in vanity is also left untiled under: 630 ÷ 144 = 4.375 sq ft, so exposed floor becomes 23.125 sq ft. Whether to deduct it depends on installation scope.
- 4At a hypothetical 15% allowance, 27.5 × 1.15 = 31.625 sq ft. At a hypothetical 8.0 sq ft per floor-tile carton, round up(31.625 ÷ 8) = 4 cartons.
- 5Tub surround: example back wall 60 × 60 in plus two 30 × 60-in returns = 7,200 sq in ÷ 144 = 50.0 sq ft of wall tile. The 60-in height is measured above the tub rim and MUST be checked against actual wet-area finish height requirements.
- 6With hypothetical wall-tile cartons covering 8.0 sq ft each: 10% allowance gives 55.0 sq ft = 7 cartons; 15% gives 57.5 = 8 cartons; 20% gives 60.0 = 8 cartons.
- 7Do not combine wall and floor cartons unless they are genuinely the same suitable tile and packaging. The examples are area-based; tile-unit and layout rounding inside the calculator may differ.
Example ordering illustration: four floor-tile cartons and eight separate wall-tile cartons at 15% allowance, assuming each selected product happens to cover 8.0 sq ft/carton. Different tiles, cuts, niche returns, waterproofing scope and local code can change the actual order.
Use /tile-calculator with measured net floor area and separate wet-wall area. Enter actual product size, waste and box coverage. Its full-tile layout calculation may not exactly match this simple area-only example; check both before ordering.
5×8 bath example: wall-to-wall shower depth trade-off
Illustrative gross dimensions only; not a code-compliant construction drawing.
| Shower depth | Shower footprint | Length left of 96 inches |
|---|---|---|
| 30 inches | 12.5 sq ft | 66 inches |
| 32 inches | 13.33 sq ft | 64 inches |
| 36 inches | 15.0 sq ft | 60 inches |
Tub-surround cartons at three hypothetical overages
Example: 50 sq ft tiled wall at an assumed 8 sq ft per carton. Verify your product label.
| Scenario | Area with waste | Whole cartons |
|---|---|---|
| 10% | 55.0 sq ft | 7 |
| 15% | 57.5 sq ft | 8 |
| 20% | 60.0 sq ft | 8 |
Advertisement
Measure the room before buying tile or fixtures
Take multiple finished-surface measurements of length, width and ceiling height; record the smallest usable dimension. Mark the door swing, window sill, alcove drain side, toilet flange rough-in, sink supply/drain, outlet and switch positions. Then measure tiled walls and floor as separate surfaces, noting returns and niches.
Ventilation matters more in a small wet room, not less. HVI guidance uses one cfm per square foot for rooms below 100 square feet with a 50 cfm minimum; model code rates often state 50 cfm intermittent or 20 cfm continuous, with local variations. A properly sized fan must exhaust outdoors, not into an attic. Confirm duct run and noise requirements against the selected model.
For a tub-surround calculation, do not confuse the height above the tub rim with minimum finish height above the bathroom floor. In the example, 60 inches above the tub rim may or may not be sufficient for your local requirement, depending on tub rim height. Check the local code and the waterproofing system's full wet-zone details.
- Measure length/width at several heights and note finish thickness.
- Record door swing, window and all rough-in locations.
- List each wall and floor tile area separately; confirm niches and returns.
- Confirm ventilation route, materials, actual carton coverage and installer scope.
Ordering margin
Waste and ordering margin
- These examples use 10%, 15% and 20% overage as transparent scenarios, not universal installation rules.
- Floor and tub-surround tile may have different coverage, slip suitability, cuts and product details; calculate separate orders.
- A niche or returns can increase tile and waterproofing area; do not blindly subtract its front opening.
- The manufacturer and installer should determine actual overage, compatible waterproofing and product ordering.
Avoid these
Common mistakes
- Treating a 40-sq-ft bathroom as 40 sq ft of installed tile.
- Assuming a shower creates more floor space even when its footprint matches or exceeds the old tub.
- Buying a narrow vanity without checking the sink centerline and adjacent fixture clearance.
- Treating the 2026 NKBA 5th edition's unverified advice as code.
- Installing wall-only glossy tile on a wet floor without a suitability rating.
- Omitting waterproofing behind shower tile because the grout looks sealed.
- Using the wrong finished wall height for tub-surround quantities.
- Ordering cartons from generic estimates rather than product box coverage.
Project checklist
Before you use the result
- Shortlist two genuinely suitable design directions and view tile samples in your own light.
- Measure the finished room, tub alcove and every fixture rather than assuming exact 5×8 dimensions.
- Sketch tub and shower alternatives with actual drain and door swing positions.
- Verify toilet and sink centerlines, fixture projections and shower door egress under the locally adopted code.
- Confirm waterproofing, ventilation and electrical requirements with qualified installers.
- Measure floor tile and wet-wall tile separately and verify tile height above the room floor.
- Check face dimensions, floor slip suitability, grout joints, box coverage and waste guidance for each selected product.
- Run Tile, Grout, Square Footage and Paint calculators using their actual supported inputs.
- Ask for comparable line-item quotes distinguishing cosmetic work from wet-area rebuilds and plumbing relocation.
Estimate disclaimer
Verify before buying or building.
Design and material planning information only. Reference photographs are not verified as 5×8 rooms or completed renovations of the described scope. Verify fixture rough-ins, local adopted plumbing/electrical/building code, manufacturer instructions and wet-area waterproofing with qualified professionals before purchasing or installing.
FAQ
Common questions
01Can a tub, toilet and vanity fit in a 5×8 bathroom?+
Many 5×8 bathrooms contain all three, often with a nominal 60-inch tub across the short wall. Fit depends on actual finish dimensions, sink/toilet centerlines, projections and local code; a simple arithmetic example is not construction approval.
02Does replacing a bathtub with a shower free floor area?+
Not by itself. A 60×30-inch shower uses the same nominal 12.5 sq ft footprint as a 60×30-inch tub. A deeper 60×36-inch shower occupies 15 sq ft and leaves less floor outside it. Clear glass may improve the visual sense of openness.
03How much floor tile do I need for a 5×8 bathroom?+
A 5×8 room has 40 sq ft gross floor. In our hypothetical 60×30 tub case, 27.5 sq ft remains exposed if the floor under the tub is not tiled. Determine any other deductions with your installer, apply product-specific overage, and round up cartons.
04What size shower will fit in a 5×8 bathroom?+
A wall-to-wall 60-inch-wide end shower might be 30–36 inches deep as a gross illustration. Finished interior dimensions, access opening, door clearance, plumbing and your jurisdiction's shower requirements determine what can be installed.
05What exhaust fan size is suitable for a 5×8 bathroom?+
HVI guidance suggests one cfm per square foot in rooms under 100 sq ft with a 50 cfm minimum, so that minimum applies to a 40 sq ft room. Codes and the right fan for the duct run can vary; vent outdoors.
06Is a budget bathroom makeover the same as a full remodel?+
No. A cosmetic refresh retains sound plumbing, wet-area substrates and layout while improving paint, mirror, lighting or hardware. Rebuilding a shower or moving plumbing is a different project with more work and potential permitting.