Storage guide
Small Pantry Ideas: 8 Practical Storage Layouts
Choose shelves, bins or pull-outs around the clear opening and the way your household shops, then test a normal grocery restock.
- By
- EstimatorPad Editorial Team
- Published
- October 26, 2026
- Reading time
- 15 min

Find the idea that fits
Start with the room you already have.
Open the door and a box of pasta slides out. The rice you know you bought is somewhere behind the broth. The pull-out rack you installed clips the door frame, and the matching jars look lovely until restocking after a grocery trip takes ten minutes.
On this page
- Choose an idea
- 1. Shallow Adjustable Shelves for a Narrow Reach-In Pantry
- 2. Deep Shelves With Removable Category Bins
- 3. Pull-Out Shelves Inside a Pantry Cabinet
- 4. A Compact Door Rack for Small, Frequently Used Items
- 5. A Narrow Freestanding Cabinet When There's No Pantry
- 6. Corner Storage With a Turntable, Only Where It Helps
- 7. A Daily-Use Zone With a Separate, Visible Backstock Shelf
- 8. Mixed Containers That Keep the Useful Original Packaging
- Compare the options
- Measure and test
- Measure Before You Buy
- A Practical Mock-Up Before You Buy
- Food Storage, Briefly
- Before You Shop: A Worksheet
- Common Mistakes
- Before buying
- FAQ
1. Shallow Adjustable Shelves for a Narrow Reach-In Pantry
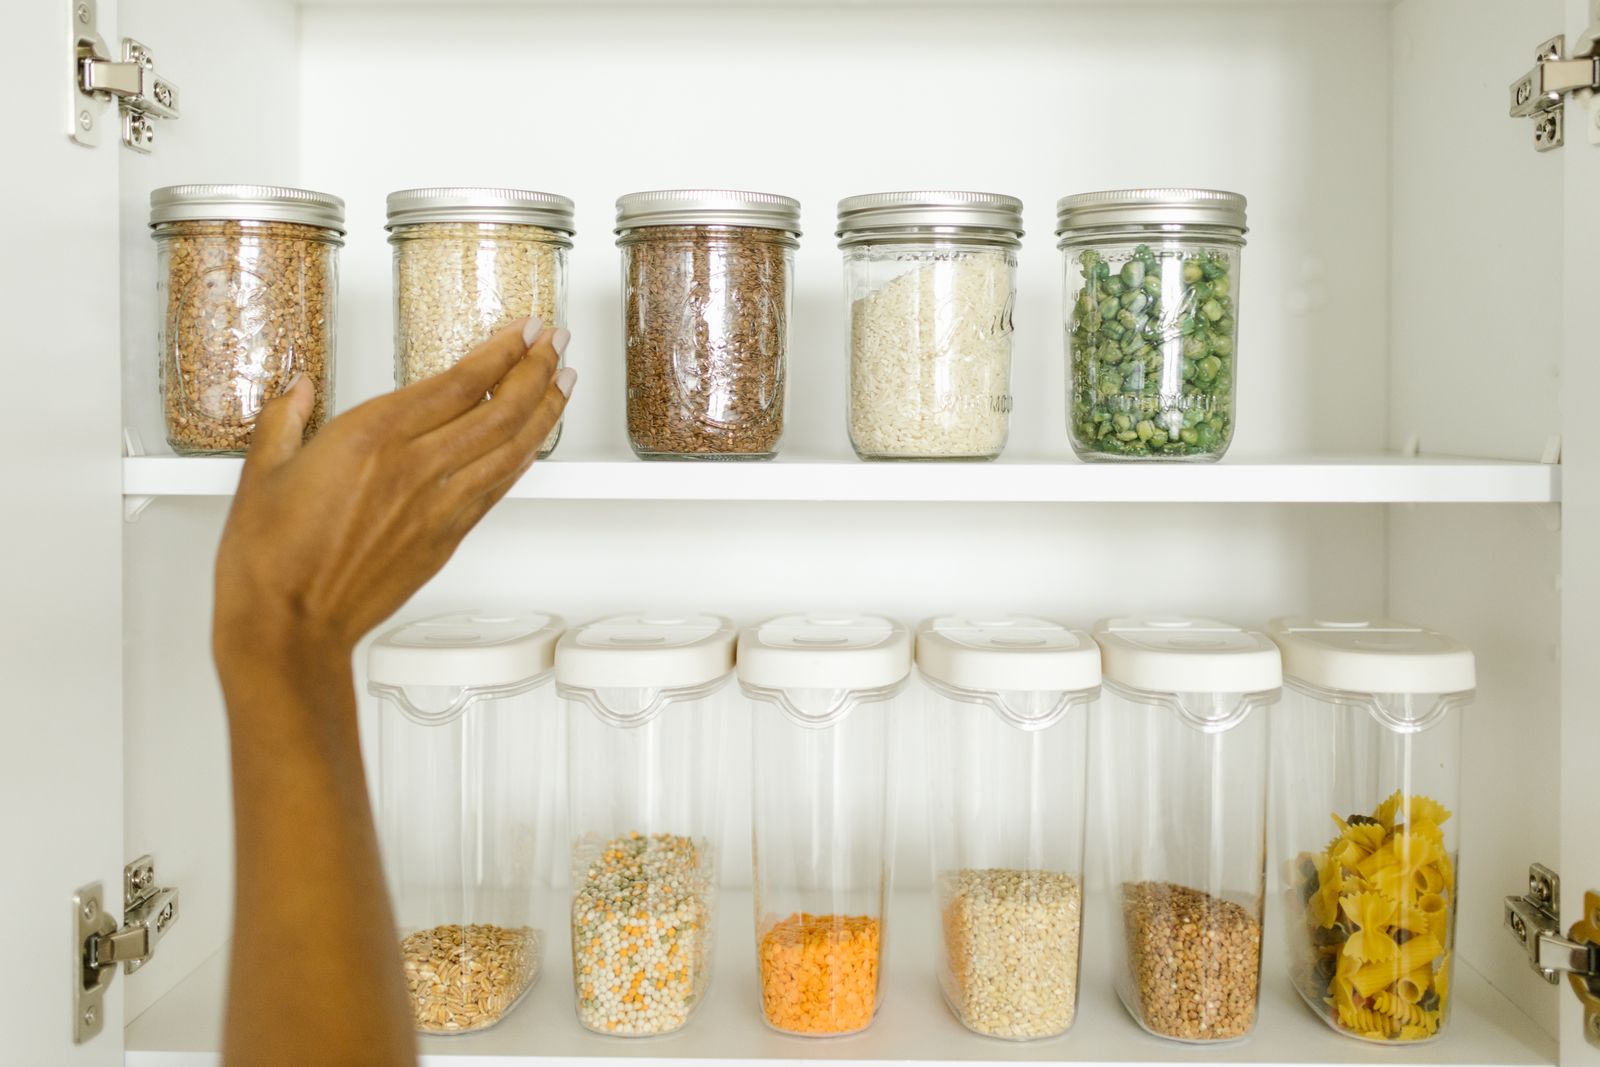
What it looks like. One visible layer of food on each shelf, with shelf heights set to what actually sits there: a tall slot for cereal and oil, a tighter one for cans and jars.
The problem it solves. Nothing hides behind anything else, and you stop paying for air above short items. Gaps that are too tight to use or unnecessarily tall can waste space even when shelf depth is suitable.
Where it works best. A narrow reach-in closet or tall cabinet where shelf positions can move (pins, tracks or adjustable standards) and you buy a fairly consistent range of packages.
The limit. You trade total volume for visibility. Tall packages can force a tall gap that is wasted above their neighbors. There is no universal shelf depth or spacing; yours comes from what you buy.
Set it up. 1. Stand your tallest everyday packages on a shelf and measure their real heights, not an estimate. 2. Set each shelf for the tallest item it will hold plus room to lift that item out and put it back. Keep the tall items together so one tall gap serves them all. 3. If a gap remains that nothing fits, move the shelf or give it a job, such as a low step shelf for short cans. A step shelf only works if the front row is short enough to see over.
2. Deep Shelves With Removable Category Bins

What it looks like. A deep shelf holding two or three bins, each a category: breakfast, baking, pasta night. Pull a bin forward and the back of the shelf comes to you.
The problem it solves. Deep shelves hide whatever is behind the front row. A bin lets you reach the back without unloading everything in front.
Where it works best. Deep shelves behind a door that opens wide, where a bin can leave the shelf and be set down on a counter.
The limit. A deep bin is not automatically an improvement. If it is too long to see into, it simply relocates the lost-at-the-back problem. Bin walls and handles take up shelf space, and a loaded bin can be heavy to lift from shoulder height.
Set it up. 1. Check that the whole bin can leave the cabinet. Measure the narrowest point of the opening (hinge, trim, door edge) and compare it with the bin's outside width, handles included. 2. Fill one bin with real groceries and lift it from where it will live. If it is awkward, split it into two shorter bins. 3. Keep one category and mostly one layer per bin, with sides low enough to see into, so the bin shows its contents rather than hiding them.
3. Pull-Out Shelves Inside a Pantry Cabinet

What it looks like. A tall cabinet whose shelves or baskets slide out toward you, so you look down on the contents instead of reaching into a dark slot.
The problem it solves. A narrow, deep cabinet where the back is out of sight and out of reach.
Where it works best. A cabinet with a straight, unobstructed interior and a door that swings clear of the pull-out's travel.
The limit. Slides and frames take width, so the usable opening is smaller than the nominal cabinet width. Hinges, door angle and fixed obstructions can all stop a pull-out that looks right on paper. Fit and loading are product-specific. For example, IKEA lists UTRUSTA's overall dimensions, compatible SEKTION frame and separate per-shelf load limits. Those are different specifications to check together, not universal pantry standards.
Set it up. 1. Measure the clear opening with the door open as far as it goes, at the narrowest point, and note hinge and trim positions. 2. Compare your numbers with the maker's listed dimensions, compatibility, mounting method and load limits, and follow the installation instructions. UTRUSTA's instructions, for instance, call for the supplied wall attachment devices to prevent tip-over, and the wall screws and plugs are not included. 3. Check the travel: you need room to stand where you can see the extended shelf, and the door must stay out of its way.
Advertisement
4. A Compact Door Rack for Small, Frequently Used Items

What it looks like. A shallow rack on the back of the pantry door holding spice jars, seasoning packets, small bottles and snack bars.
The problem it solves. Small daily items get lost on deep shelves, while the door face sits unused.
Where it works best. A pantry door with real clearance when it is closed, between the door and the front of the shelves or the packages on them.
The limit. Door clearance is the deciding number. A rack that leaves the door unable to close fully, or that hits shelf contents, is worse than no rack. Door construction matters too: thin or hollow doors and some mounting styles may not suit a given rack.
Set it up. 1. With the door closed, measure the gap from the door face to the nearest shelf edge or package. Compare that gap with the rack's total loaded projection, including anything extending beyond the rack; do not count the same depth twice. 2. Check the rack's mounting method against your door's thickness and construction, and stay inside the maker's load limit. 3. Reserve it for light, small items. Do not rely on adhesive hooks for heavy jars.
5. A Narrow Freestanding Cabinet When There's No Pantry

What it looks like. A slim cabinet on a clear wall in a kitchen, nook or hallway end, with one shelf of daily food at easy reach.
The problem it solves. Food scattered across several cabinets, with no single place to look.
Where it works best. A spot outside the main traffic path, with room to open the doors fully and stand in front of them.
The limit. Real capacity is smaller than the exterior suggests, because panels, shelf thickness and door swing use space. Tall furniture needs anchoring, and that comes from the manufacturer, not from a general rule. Check the freestanding cabinet's own instructions for the required restraint and wall hardware; instructions for an internal pull-out are not a substitute.
Set it up. 1. Choose the spot by testing: open every nearby door and drawer, and make sure the cabinet blocks no doorway, vent or appliance. USDA advises keeping shelf-stable food away from places such as above or beside the stove, so avoid those too. 2. Estimate capacity from interior shelf dimensions and your tallest packages, not from the outside size. 3. Anchor it exactly as the manufacturer instructs for your wall type, and buy any hardware the instructions list as separate.
6. Corner Storage With a Turntable, Only Where It Helps

What it looks like. A round spinning tray in a corner, holding bottles, jars and sauces that rotate into reach.
The problem it solves. A corner where reaching is the real obstacle, not volume.
Where it works best. A corner holding many small, similar items you pick up one at a time: oils, vinegars, sauces, jars.
The limit. A round tray can leave useful corners of a square shelf unused. Tall items can also hit the shelf above or the door edge. A turntable does not always add capacity, and a simple bin may hold more.
Set it up. 1. Cut a cardboard circle the size of the turntable and set it in the corner. Check that the tallest item clears the shelf above and that it can spin without catching a hinge or door edge. 2. Use it for items you take one at a time, not for stacks. 3. Load a square bin with the same items and compare. If the bin holds noticeably more and you can slide it out, choose the bin.
Advertisement
7. A Daily-Use Zone With a Separate, Visible Backstock Shelf
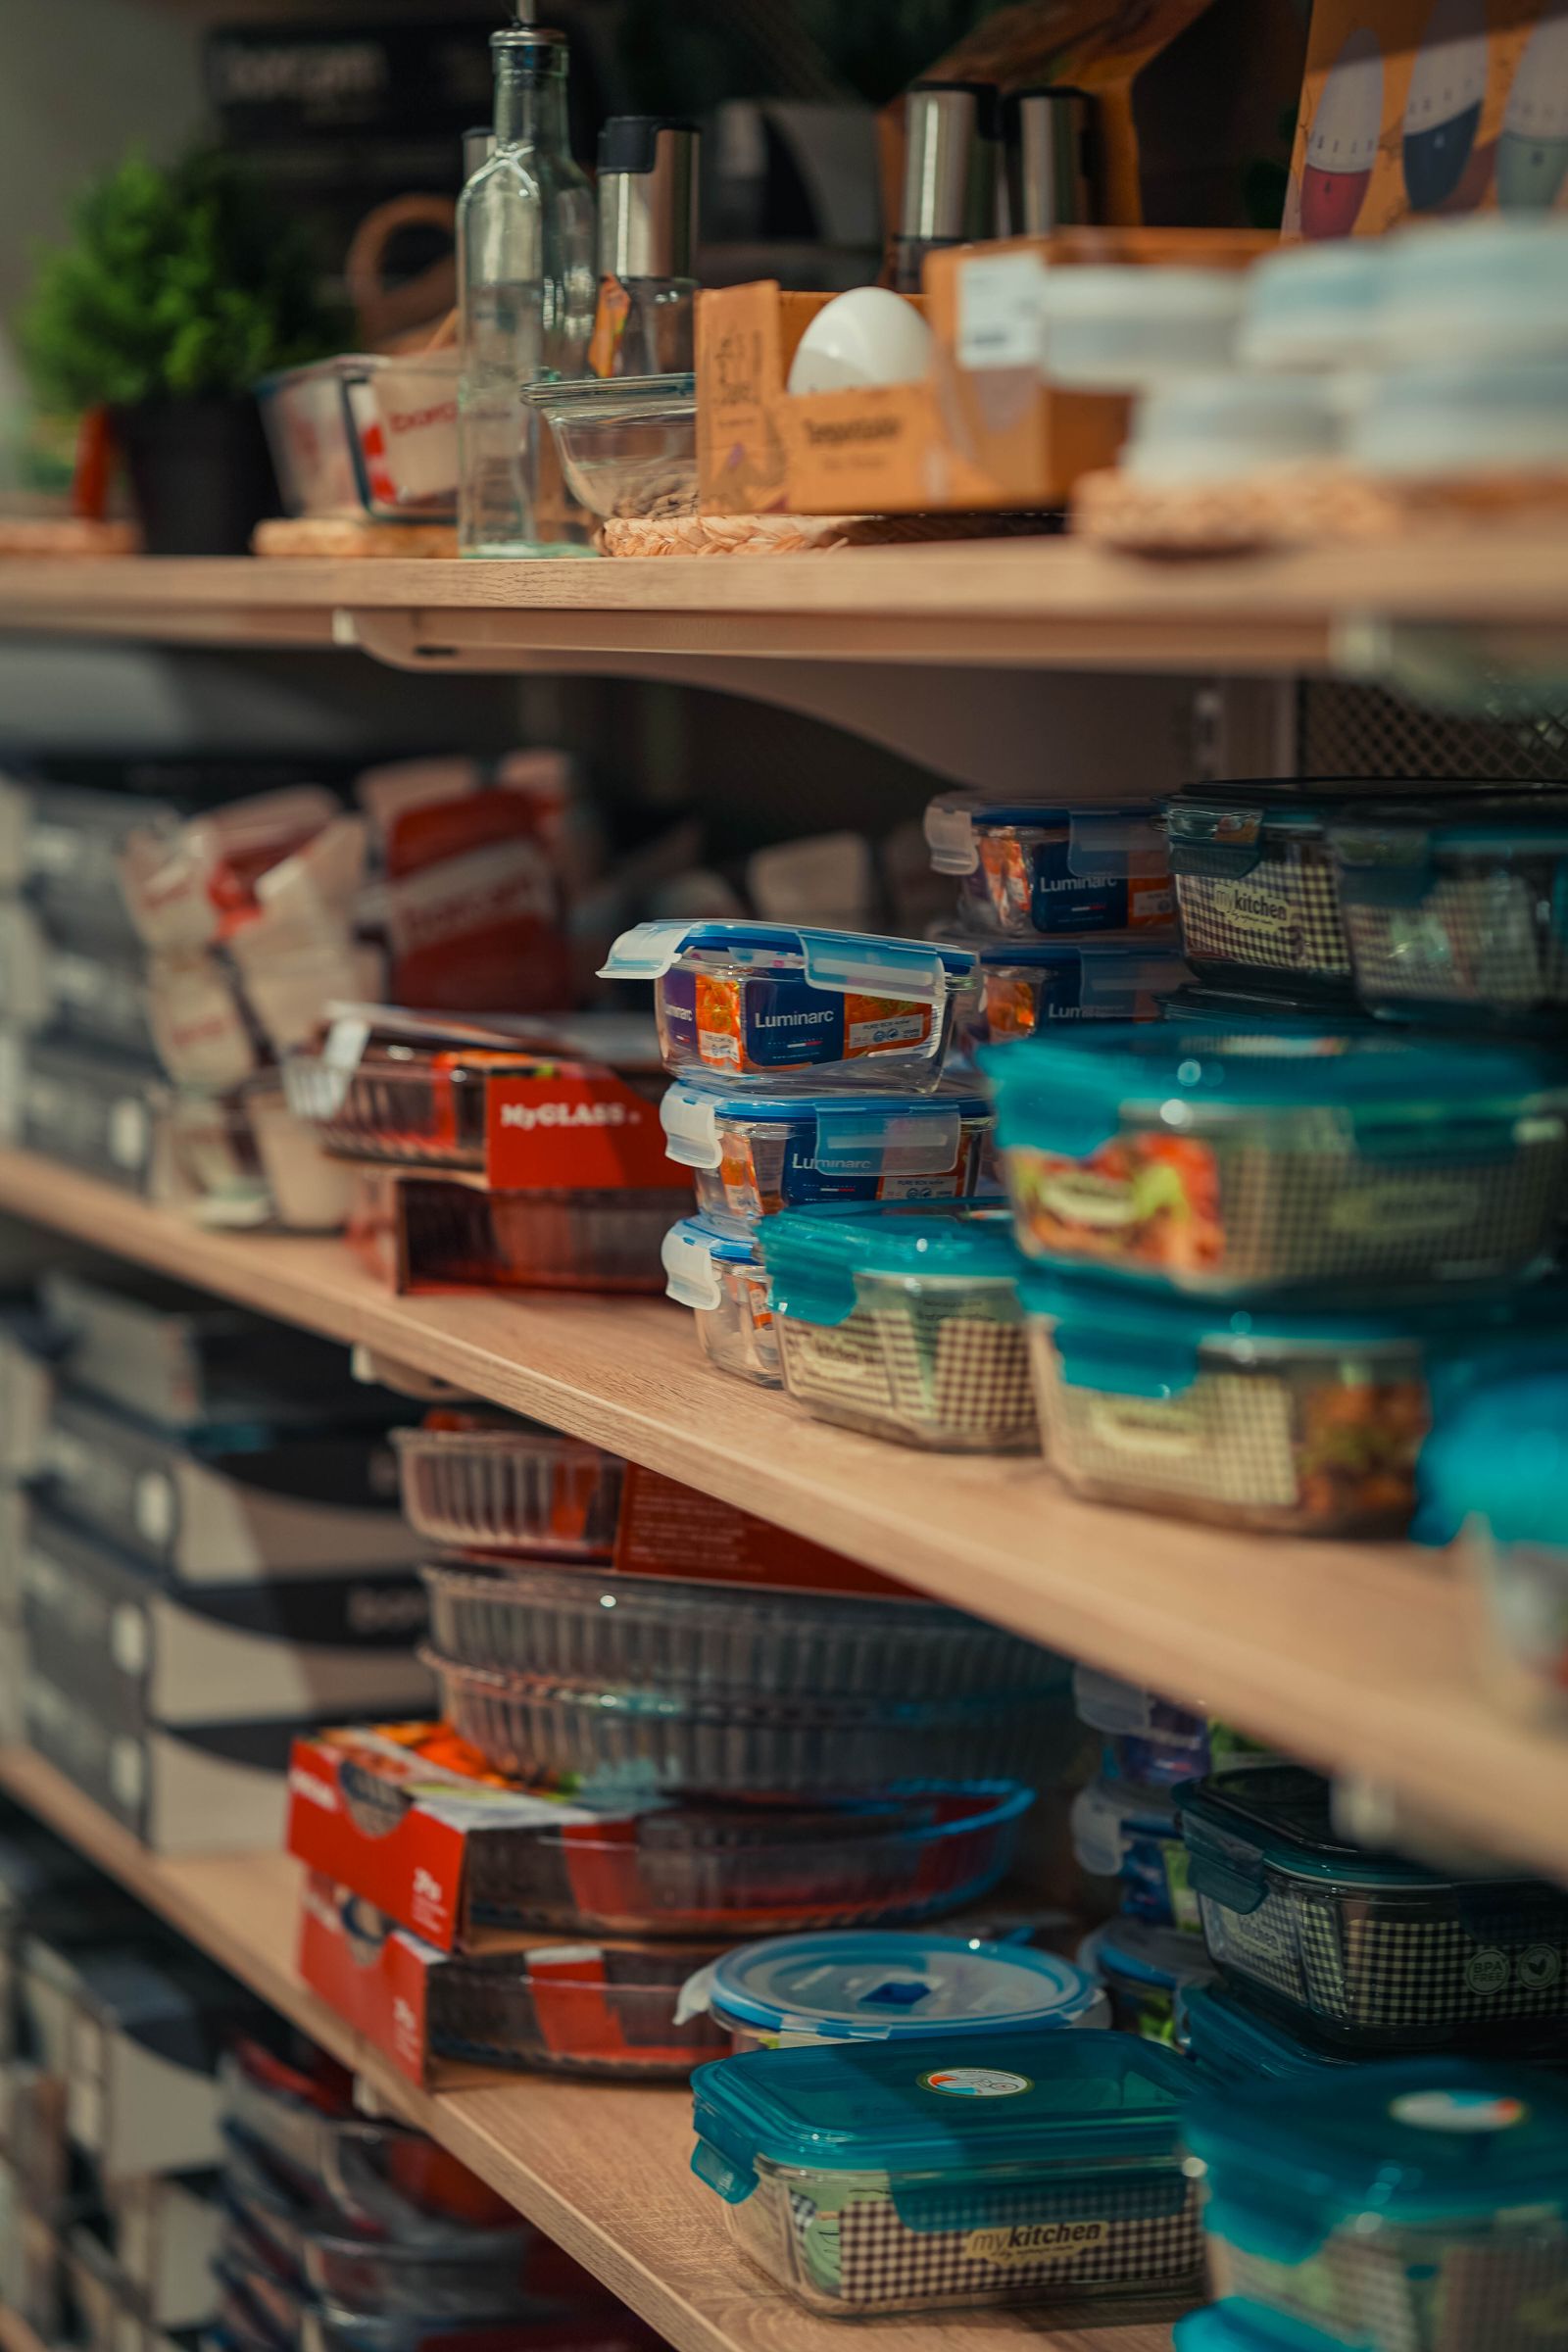
What it looks like. An eye-level "in use" area holding one open item of each kind, and a separate, clearly marked backstock shelf or bin holding the spares.
The problem it solves. Duplicate purchases, surprise run-outs and a front row crowded with six identical cans.
Where it works best. Households where more than one person shops, or where you buy multiples when prices drop.
The limit. It only works if everyone follows the rule, and backstock takes space. When the backstock area is full, the system says stop buying, which can feel strict.
Set it up. 1. Decide the rule for each item, such as one in use plus one backup, or whatever your backstock shelf can hold. Duplicates go to backstock, never to the daily zone. 2. Place backstock where anyone opening the door can see it, in one layer, with newer items behind older ones where they remain accessible so older stock gets used first. 3. Link replenishment to the move. When you bring a backup forward, add that item to the shared list right then. The list tells you what is missing, and the backstock tells you what you already own.
8. Mixed Containers That Keep the Useful Original Packaging
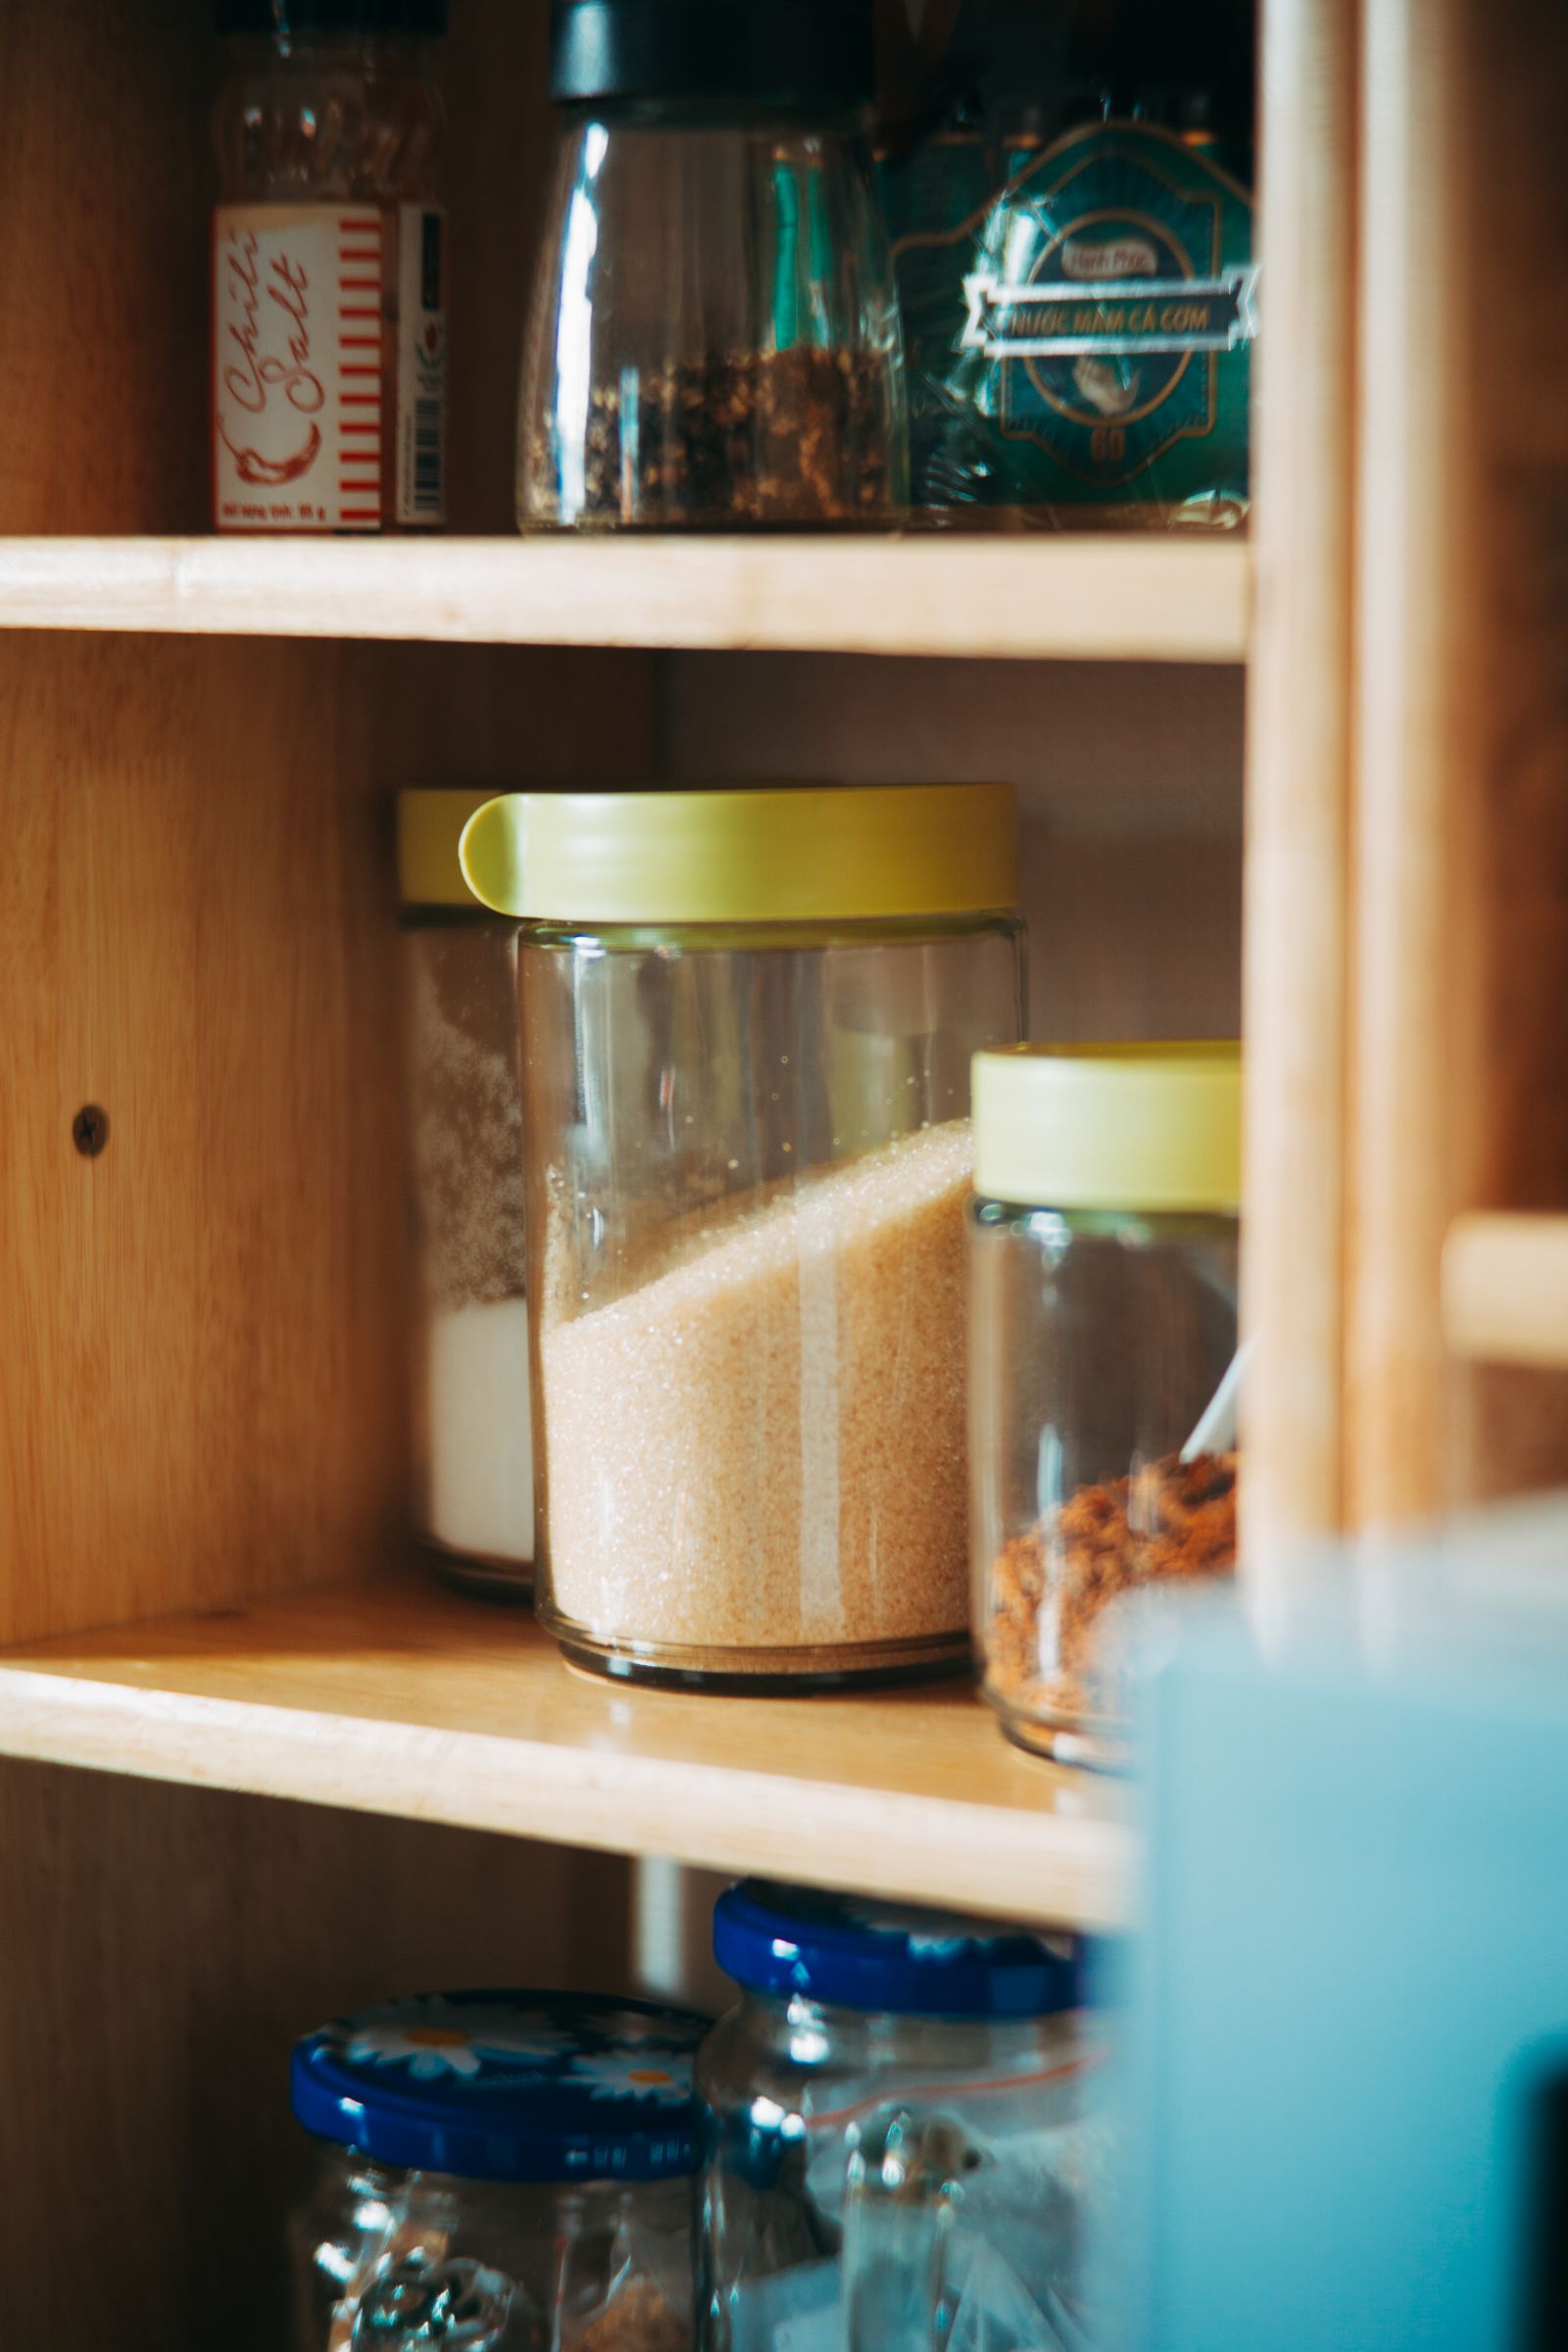
What it looks like. Boxes of pasta and cereal left in their boxes, a few lidded containers for opened bulk items, and small bins corralling loose packets.
The problem it solves. Decanting fatigue and the loss of package information. Pouring everything into jars can separate food from its cooking instructions, dates and allergen statement.
Where it works best. Households that cook from boxed and packaged foods, or that need allergen information to stay with the food.
The limit. The shelf looks less uniform, and boxes vary in size. Opened packages still need closing, since Illinois Extension advises covering opened food with a storage bag or lidded container to keep pests out. No single container type suits every food.
Set it up. 1. Start with original packaging for everything. Note which opened items cause trouble: bags that won't close, flour that spills, packets that slide. 2. Decant only those, into lidded containers sized to the amount. Keep the label's cooking instructions, allergen statement and any date, by keeping a clean copy on the outside of the container or in an accessible label pocket. Keep paper and tape away from contact with the food, and retain product and lot information for recalls. 3. Leave sealed items that stack well in their packaging, and use small bins for the loose packets.
Which Layout Fits? A Quick Comparison
| Layout | Best fit | What to measure or check | Main tradeoff |
|---|---|---|---|
| 1. Shallow adjustable shelves | Narrow reach-in pantry with movable shelves | Tallest everyday packages; shelf adjustability | Less volume, tall packages force tall gaps |
| 2. Deep shelves with removable bins | Deep shelves with a wide-opening door | Narrowest opening vs. bin width with handles; loaded bin weight | Bins use shelf space and can be heavy |
| 3. Pull-out shelves in a cabinet | Straight, unobstructed tall cabinet | Clear opening; hinges; door angle; travel; maker's fit and load limits | Hardware reduces usable width; product-specific |
| 4. Compact door rack | Pantry door with closed-door clearance | Gap between closed door and shelf contents; door construction; mounting | Can stop the door closing; light items only |
| 5. Narrow freestanding cabinet | No pantry; clear wall outside traffic | Door swing; vents; interior capacity; anchoring instructions | Smaller real capacity; needs secure anchoring |
| 6. Corner turntable | Corner with hard reach and small, similar items | Tallest item vs. shelf above; spin clearance | Round footprint wastes corners |
| 7. Daily zone plus backstock | Multi-shopper households, bulk buyers | Space for one visible backstock area | Needs household habit; caps what you buy |
| 8. Mixed containers | Cooks who use packaged foods | Which opened items need lidded containers | Less uniform look; some decanting remains |
Measurement steps
How to measure
- Measure the narrowest clear opening, including the hinges and door edge.
- Measure usable depth with the door closed and record fixed shelf obstructions.
- Compare real package heights with the available shelf adjustments.
- Check the organizer’s total loaded projection, pull-out travel and compatible mounting.
- Test capacity with normal groceries and a comfortably loaded existing bin before ordering.

Advertisement
Measure Before You Buy
Three different numbers get confused:
Outside dimensions are the overall size of the cabinet, bin or organizer.
Internal space is what's left inside walls, shelves and panels.
Usable clear opening is what you can actually pass something through, with the door open, hinges and trim in the way.
The third number decides most purchases. Measure these before you buy:
Narrowest clear opening. Find the tightest point from the front, not the cabinet's nominal width.
Usable depth with the door closed. Anything that sticks out must still let the door shut.
Hinges, trim and fixed obstructions. Note anything that takes opening width or stops a drawer or pull-out.
Existing shelf adjustability. Find out whether shelves move, and in what steps.
Tallest everyday packages. Measure them standing, not guessed.
Pull-out travel and space to stand. You need room to stand where you can see the extended shelf.
Door-rack clearance. Compare the closed-door gap with the total loaded projection of the proposed rack.
Size and weight of a realistically loaded bin. Weigh one filled with real food, and check the bin still clears the opening.
A product page may list width, depth, frame size and per-shelf load as separate figures, so read the whole specification and the installation instructions rather than the width alone. This article doesn't give clearance rules or building requirements; for built-in changes, rely on manufacturer instructions and any rules that apply to your home.
A Practical Mock-Up Before You Buy
Test one shelf or one cabinet before spending anything.
Take the groceries out of one shelf or cabinet and group them the way you would store them.
Make footprints of what you're considering. Use a spare box cut to the bin or rack size, and mark shelf and door positions with removable tape.
Run the routine. Retrieve an item and put it back. Open the door as far as it goes. Use cardboard to check dimensions, then test a suitably strong existing bin with a comfortable load through the opening. Do not rely on a cut-down cardboard mock-up to carry heavy jars. Check the door still closes with the rack footprint in place.
Restock a normal grocery trip into it. If the new groceries have no home, the layout holds too little.
To see why this matters, take an illustrative example, not a recommendation. Suppose the narrowest point of a cabinet opening is 14 inches and the bin you like is 14 1/2 inches wide with handles. The cabinet is wider inside, but the bin won't come out. Cardboard finds that out for free.
Food Storage, Briefly
Layouts should respect how food is meant to be stored:
Follow the label. Illinois Extension notes that some shelf-stable foods need refrigeration once opened, and USDA says some canned foods labeled "Keep Refrigerated" are not safe at room temperature.
Keep it dry, off the floor and away from cleaning products. Illinois Extension advises a dry storage area, food off the ground and no food and cleaning supplies in the same area.
Avoid heat. USDA says not to store shelf-stable foods above or beside the stove, under the sink or in damp spaces, and says temperatures below 85 °F are best. For the same reason, don't run heat-producing appliances inside a closed pantry, and follow an appliance's own instructions.
Rotate stock. Both sources support using older items first. USDA suggests checking the pantry every few weeks.
Don't assume decanting helps. A lidded container can keep pests out of an opened package, but a new container does not override the food label’s storage instructions or date information. Illinois Extension notes that "best if used by" dates are about quality, not safety, and that dates such as expiration dates on yeast or baking powder matter, so keep package dates with the food.
For storage questions about a specific food, USDA's FoodKeeper is the resource Illinois Extension points to.
Before You Shop: A Worksheet
Copy this and fill in the middle two columns before buying anything.
| Space/problem | Measurement or observation | Proposed change | Check before purchasing |
|---|---|---|---|
| Narrow reach-in shelves; items lost or gaps wasted | Tallest package: ___ ; shelf adjustable? yes / no | Reset shelf heights; add step shelf | Does door still close? Can I lift items out? |
| Deep shelf; back is invisible | Shelf depth: ___ ; narrowest opening: ___ | Removable bins by category | Bin width with handles vs. opening; loaded weight |
| Narrow tall cabinet; can't see the back | Clear opening at hinge: ___ ; door opens to: ___ | Pull-out shelf or basket | Maker's fit, mounting, load limit; room to stand |
| Pantry door unused | Closed-door gap: ___ ; door type: ___ | Light door rack | Rack depth plus contents; mounting; maker's limit |
| No pantry | Free wall: ___ ; nearby door swing: ___ | Slim freestanding cabinet | Interior capacity; anchoring; away from heat and vents |
| Hard-to-reach corner | Corner footprint: ___ ; tallest item: ___ | Turntable or simple bin | Cardboard test of spin, clearance and capacity |
| Duplicates and run-outs | Backstock space: ___ ; who shops: ___ | Daily zone plus visible backstock | Rule for each item; shared list |
| Opened packages and lost label info | Items that spill or won't close: ___ | Decant only those | Label, dates and allergen info stay with food |
Common Mistakes
Measuring the cabinet instead of the opening. The clear opening decides what fits through.
Ignoring hinges or the closed door. Racks and bins that fit open may fail when the door closes.
Organizers that use more capacity than they recover. If a fully loaded organizer holds less than the open shelf did, it hasn't earned its place.
Bins too heavy to lift comfortably. If you dread pulling it out, you'll stop using it.
Decanting everything before testing the routine. Start with the items that cause trouble.
Filling every shelf. Leave a place for the next grocery trip.
Building a system only one person understands. If others can't find or return things, the system fails.
Project checklist
Before you buy or build
- Clear opening measured rather than nominal width
- Loaded rack or bin clears the closed door
- Comfortable retrieval tested
- Mounting and loading checked for the actual product
- Food labels and a usable backstock routine retained
Planning note
Verify before buying or building.
Photographs are storage references, not verified installations. Check usable openings, mounting, anchoring and loading for the actual organizer or cabinet, and follow each food’s own storage label. A styled photograph does not establish food-storage suitability.
FAQ
Common questions
01How do I organize a deep pantry?+
Bring the back forward. Use bins or pull-outs that clear the opening, keep one layer where you can, and put daily items at the front. Check the loaded weight before committing.
02What if I have no pantry?+
Make one place for it: a slim freestanding cabinet or a single kitchen cabinet. Choose a spot away from heat, doors and vents, and anchor tall furniture as the manufacturer instructs.
03Are matching containers necessary?+
No. Use lidded containers for opened items that need them, and keep original packages where they hold instructions, dates or allergen information.
04How do I stop buying duplicates?+
Use a daily zone plus a visible backstock area, with a rule for how many spares you keep and a shared list you update when you bring a spare forward.
05Are door racks suitable for every pantry?+
No. They need closed-door clearance, a suitable door and mounting, and loads within the maker's limit. Measure first.
06Should a small pantry use open shelves or closed storage?+
Open shelves make food easier to scan, which IKEA cites as a benefit for grocery lists. Closed storage hides visual clutter. Either way, cover opened food, because a door alone is not a substitute for a lid.