Interior Finishes guide
Small Laundry Room Ideas with a Top-Loading Washer: 10 Practical Fixes
Keep the lid free, add storage you can reach and choose one or two changes that make laundry easier.
- By
- EstimatorPad Editorial Team
- Published
- October 26, 2026
- Reading time
- 14 min

Start with the lid
A useful room starts with space to load.
Plan around the open lid first. Add a shelf or cabinet only where your model allows it, put folding space beside the washer, and keep baskets outside the walking route. The best starting point is the one change that fixes your biggest daily annoyance—not all ten at once.
Room photos are styling references, not proof of fit. Find your model’s lid-open height, check the full lid travel in person, and preserve every clearance in its installation instructions.
On this page
- Start with the lid
- Choose an idea
- 1. One lid-clearing shelf, styled on purpose
- 2. Closed cabinets that work around the lid
- 3. A folding counter beside the washer, not on it
- 4. A fold-down table that disappears
- 5. Slim storage at the end of the row
- 6. A drying rail or fold-flat rack on the side wall
- 7. Detergent storage you can reach and kids can’t
- 8. Sorting that keeps the floor route open
- 9. Narrow laundry room ideas that keep the aisle usable
- 10. Small laundry room makeover ideas: paint, light and a forgiving floor
- Compare the options
- Measure before shopping
- Where to start
- Before buying
- FAQ
1. One lid-clearing shelf, styled on purpose

At a glance
- Choose one basket size before setting shelf spacing; measure the basket with its handle raised.
- Keep frequently used non-chemical supplies at a comfortable reach and occasional lightweight items higher.
- Repeat the lid and control-access check with the shelf’s brackets included, not just the shelf board.
Picture a single shelf holding a wire basket of dryer balls and a small decorative object. It is a light way to make a top-loader nook look finished, especially when the laundry is visible from a hallway. Keep detergent in its original packaging in locked storage, rather than styling it on the shelf.
Position the shelf outside the lid’s full travel and any clearance required by your model’s installation instructions. Check the controls, your hands while loading and the shortest adult user’s reach. A shelf you can only use from a stool is better for lightweight occasional items than everyday supplies.
Make a paper outline of the shelf’s depth and place it at the proposed height before ordering. Stand where you load the washer and reach toward the back of the outline. If that reach feels awkward, a shallower shelf or storage beside the washer is a more useful choice than another high shelf.
The catch: a shelf high enough to clear the lid is often just high enough to be annoying. Keep daily items lower and let this shelf hold lightweight extras.
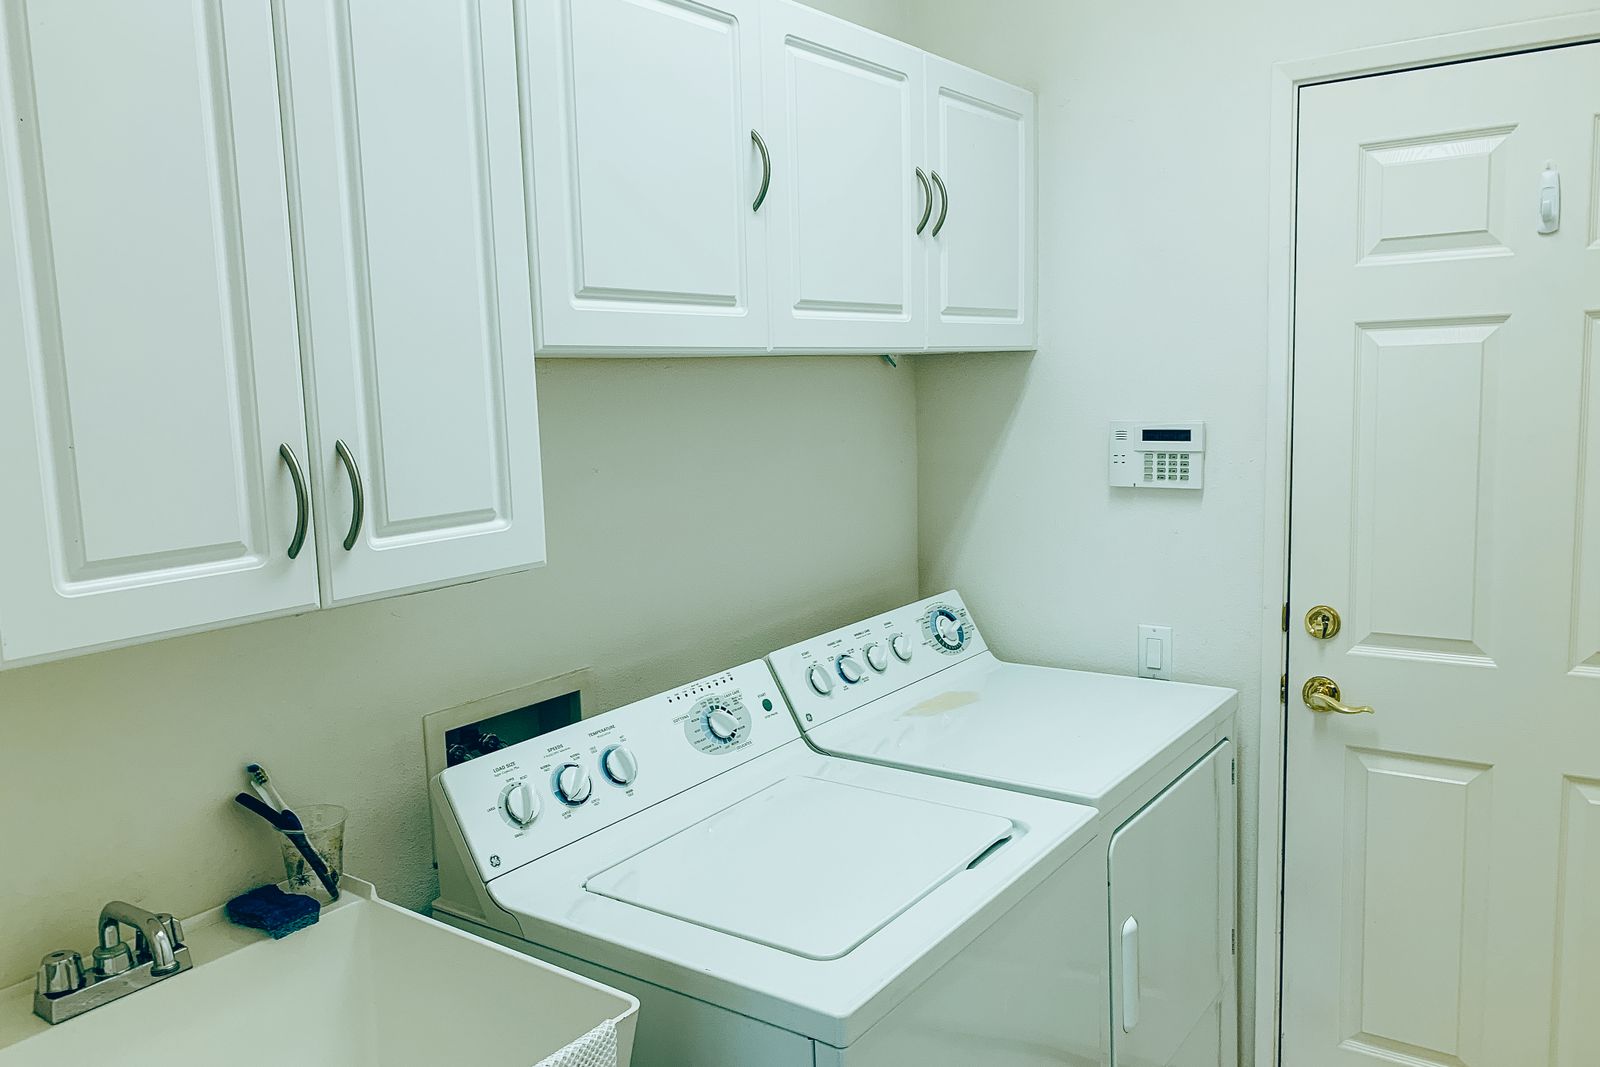
2. Closed cabinets that work around the lid
At a glance
- Make a paper door template and test its swing against the open washer lid.
- Measure the tallest item you plan to store with its cap or handle in place.
- Choose a simple door finish that works with the adjacent room if the laundry is visible from a hallway.
In a garage, hallway or any room where dust and visual clutter pile up, doors beat open shelving. Use a shallow wall cabinet above the lid zone, or a taller cabinet beside the washer that leaves the lid zone clear.
Check the cabinet bottom, handles and door swing against the fully open lid. Then test reach from where you actually stand. Avoid heavy glass jars overhead; light baskets and occasional supplies are easier to handle. A tall cabinet beside the washer can keep useful storage lower without taking the lid’s airspace.
Choose the contents before the cabinet. A cabinet for towels needs different usable space from one holding tall original detergent bottles. Check internal shelf spacing, hinges and the door opening rather than relying on the cabinet’s advertised outside dimensions. Reserve one accessible, lockable area for laundry products.
The catch: the height you need can put the best storage where reach is worst. Save the top for light, occasional things.
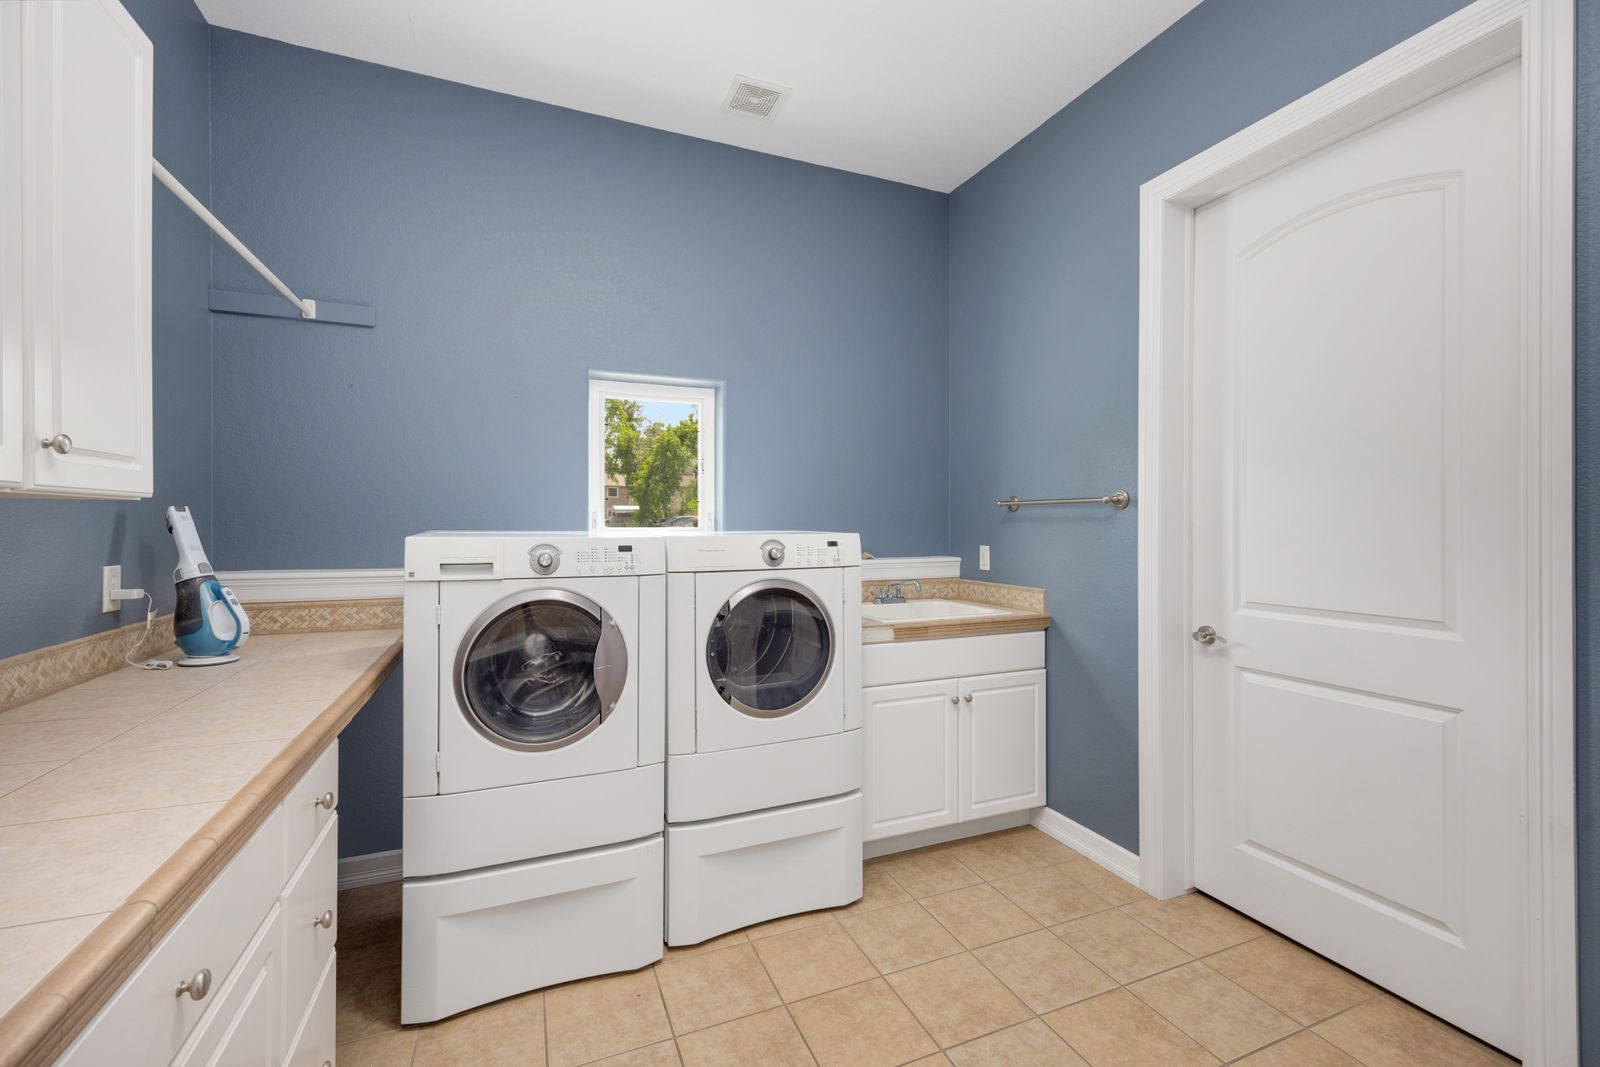
3. A folding counter beside the washer, not on it
At a glance
- Mock up the full footprint, including handles and any stool or basket underneath.
- Check where clean clothes land so they do not share a surface with laundry chemicals.
- Confirm that drawers and baskets can open without making you stand in the doorway.
The classic counter-across-the-machines photo is the one fix a top loader can’t borrow, because it covers the opening you load through. Move the work surface sideways instead: a counter-height cabinet or slim table at the end of the row gives you folding space, with baskets or a shelf below. It suits rooms with a little spare width.
Follow the installation spacing for your exact washer and dryer; a furniture gap is not automatically spare storage space. Keep shutoff valves, hoses, the outlet and dryer vent accessible. The side counter needs its own support and must not transfer weight or vibration onto the washer.
Test the work surface with the job you actually do: lay out one of your towels, fold it, and put it into a basket. A small counter that cannot hold that routine may add furniture without solving the problem. An existing table outside the laundry can also be a better folding spot when the room itself has no spare width.
The catch: it costs floor width. In a truly narrow room, it may be the first idea to go.
Advertisement
4. A fold-down table that disappears

At a glance
- Check the folded thickness and projecting hardware as well as the open depth.
- Decide where the basket and folded clothes will go before closing the table.
- Choose hardware with documented installation and load instructions for the intended use.
A hinged wall table is a flat panel most of the time and a place to fold towels when you need one. It suits rooms too tight even for a slim counter.
Check both positions: open for folding and closed against the wall. Neither should obstruct the lid, controls, door or route out. Follow the table and mounting-hardware manufacturer’s instructions for wall construction, backing and rated load; get help if the wall support is uncertain.
Before committing to a wall table, mark the open tabletop footprint on the floor and hold a light cardboard template at the intended height. Try the whole sequence: enter with a basket, load the washer, fold a towel, and leave. If the surface must be cleared before every load, decide whether that routine is realistic for your household.
The catch: it’s a temporary surface. Folded down, it can swallow the walkway, so test it with a laundry basket in your arms before you commit.
5. Slim storage at the end of the row

At a glance
- List exactly what the unit will hold before adding more compartments.
- Keep its contents and wheels clear of appliance connections.
- Check that storage can be moved without first disconnecting or shifting a machine.
When there’s width left over beyond the spacing your appliances call for, a narrow cabinet or a tall, slim rolling unit at the end of the row adds storage without crowding the machines. Don’t wedge anything into the gaps the instructions reserve for hoses, venting or servicing.
Check the spacing diagrams for both washer and dryer, then confirm you can still pull each machine out and reach the shutoffs.
Measure the unit at its widest point, including handles, wheels and projecting shelves. Then measure the access it needs to roll out or open. A narrow cart only helps when it can move into usable space; fitting its closed width into a gap is not enough.
The catch: units jammed into gaps become clutter traps and can hide the very valves you’ll need in a hurry.
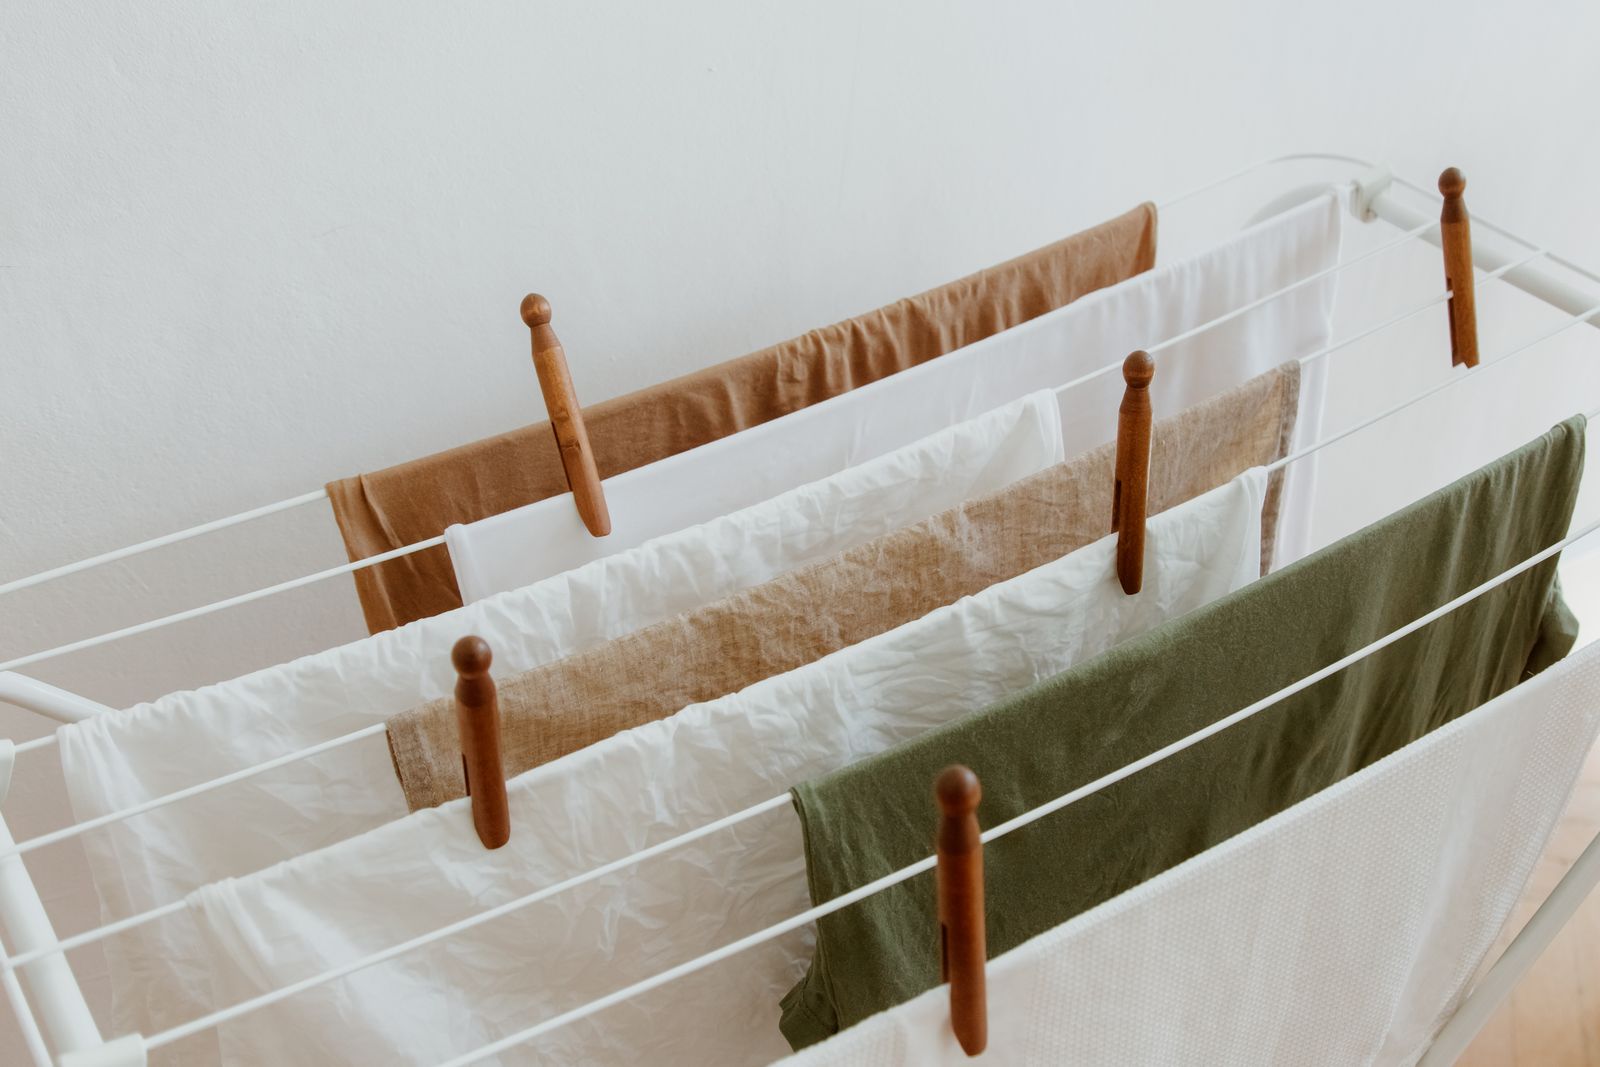
6. A drying rail or fold-flat rack on the side wall
At a glance
- Test the position with your longest commonly air-dried garment.
- Check that clothing will not drape over controls, chemical storage or a walking route.
- Plan where the dry items go so the rack can return to its closed position.
A rod on a side wall, or a rack that folds flat against it, gives sweaters and delicates somewhere to dry without a floor-standing rack. Keep it outside the lid’s arc and the walking path, and clear of the dryer’s vent and any other service points.
Follow the rack manufacturer’s mounting instructions and rated load for the wall construction. Wet clothing adds weight, so do not choose fixings by appearance alone. Keep drips away from sockets and appliance controls, and use finishes beneath that tolerate the expected moisture.
Match the drying station to your clothes. Items whose care labels call for flat drying need a supported flat surface, while suitable hanging garments may use a rail. A fold-flat rack is useful only if you also have room for the garments when it is open; the empty rack’s dimensions do not describe the whole drying footprint.
The catch: hanging laundry adds moisture and visual clutter to a small room. It works for a few delicate items, not a family’s whole week.
7. Detergent storage you can reach and kids can’t

At a glance
- Confirm that your actual product containers fit upright with their closures intact.
- Check that the selected lock works with the cabinet door and its installation instructions.
- Make the return-and-lock step part of every load, rather than relying on cabinet height.
A tidy row of decanted detergent jars may look good in a photo, but laundry products belong in their original packaging. The American Academy of Pediatrics recommends locked cabinets or containers, out of children’s sight and reach.
Give these products a dedicated locked cabinet near the washer and put them away after each load. Choose a position adults can use safely; height or a closed door alone is not a substitute for locked storage. Keep the original labels and closures intact.
Keep the routine simple enough to repeat: unlock, take out the product, close its original container, return it, then lock the cabinet. Store measuring accessories with the product according to its label rather than leaving an open container on the machine. A tidy tray can organize the locked cabinet without replacing the original packaging.
The catch: the lock adds a step, and the best location may be beside the machines rather than on the shelf above them. Make this storage decision before buying decorative containers.
Advertisement
8. Sorting that keeps the floor route open

At a glance
- Measure a basket at its widest rim, including handles.
- Test removal with the adjacent cabinet and appliance doors in their normal positions.
- Keep the clean-clothes landing area separate from the dirty-laundry collection point.
A basket left in a narrow walking lane makes loading awkward. A pull-out hamper beside the machine, bins at the end of the row or hanging sorting bags can give laundry a designated place while keeping the route from door to washer clear.
Check how far a pull-out extends against your door swing and the open lid, and decide honestly whether you’ll sort at the machine.
Choose sorting categories from the way you wash, rather than buying the largest multi-bin system. If you normally separate loads in a bedroom, one carrying basket at the washer may be enough. If sorting happens in the laundry, label only the categories your household uses and give each container a defined parking spot.
The catch: pull-out hampers use up cabinet space and need front clearance, and hanging bags look cluttered in numbers.
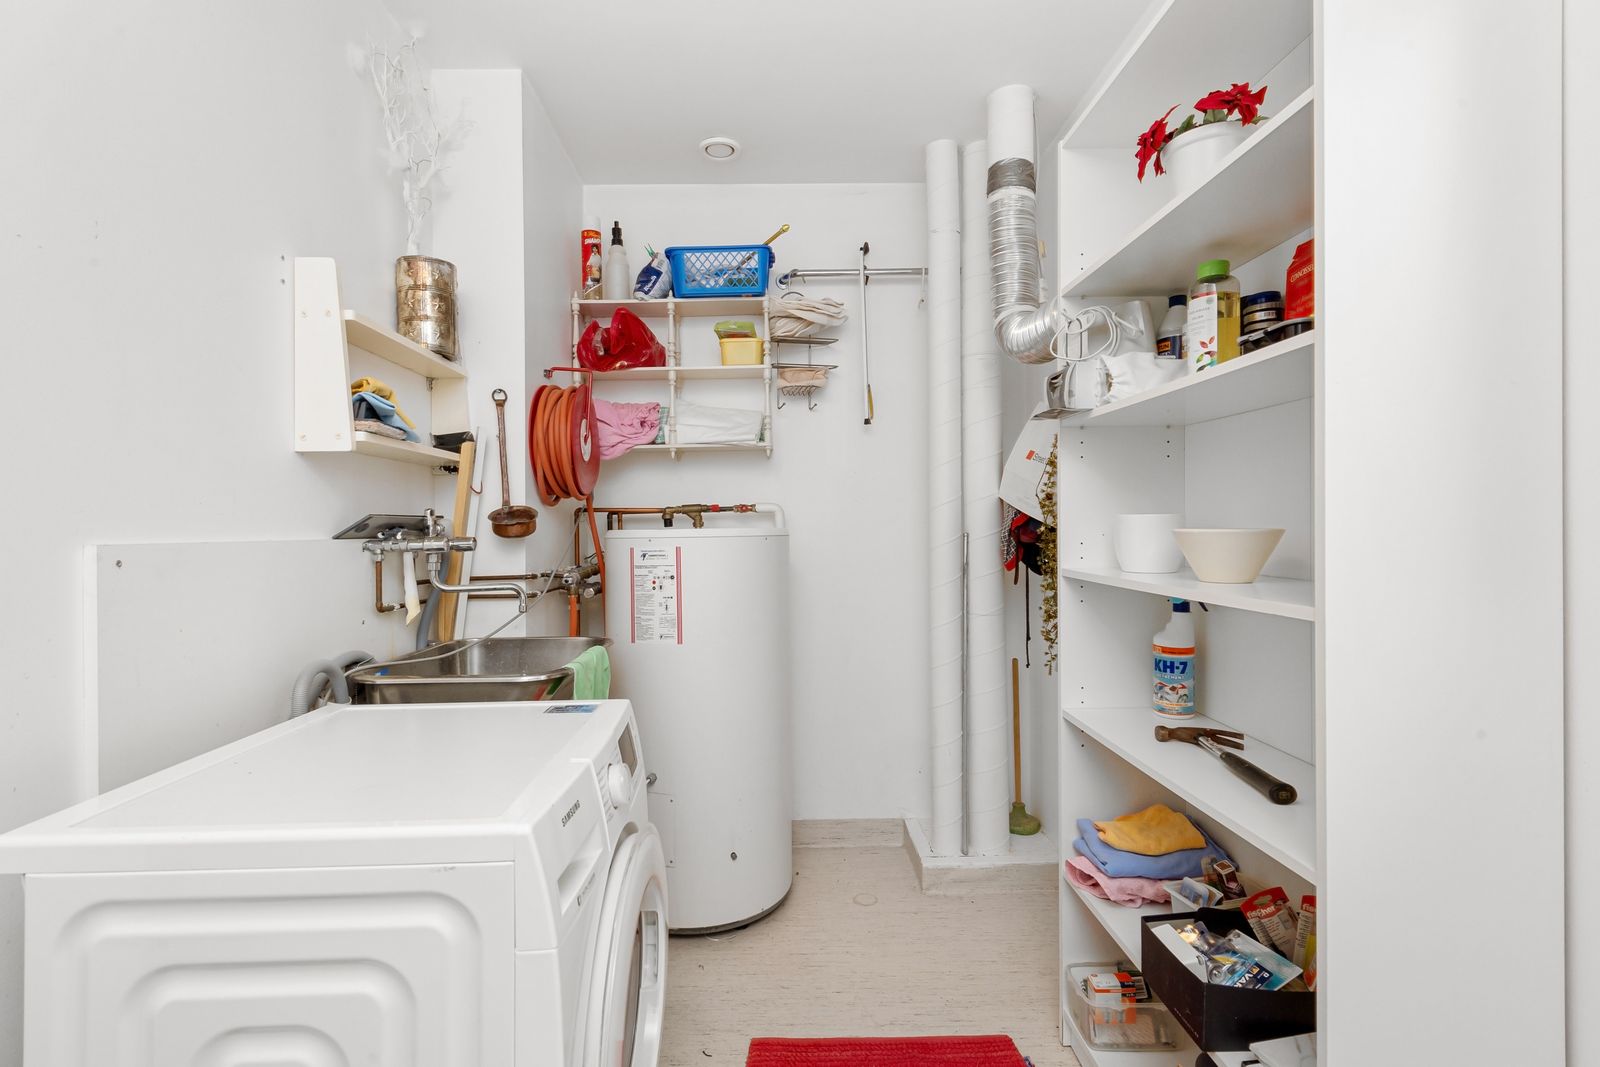
9. Narrow laundry room ideas that keep the aisle usable
At a glance
- Draw door swings and pull-out storage on your room sketch.
- Mark a basket landing spot outside the required appliance and walking space.
- Check the proposed arrangement with the lid, cabinet doors and drying station in use together.
In a narrow room, begin with a clear route between the door and the appliances. A single run of machines and storage can work well, but it is not a universal layout rule. Add shallow storage opposite only after checking doors, loading space and the aisle with a basket in your arms.
A sliding, bifold or pocket door may reduce door-swing conflicts. Check the wall and any plumbing or electrical work before choosing a pocket door. For laundry closets, follow the washer and dryer instructions and applicable local requirements for ventilation and access; a solid decorative door cannot simply replace required ventilation openings.
Treat the laundry as a sequence rather than a storage wall: enter, put the basket down, open the washer, transfer clothes, and leave. Test that sequence before adding a cabinet opposite the machines. If two additions compete for the same standing space, keep the one that fixes the more frequent problem and move the other task elsewhere.
The catch: changing a door can become a construction job. A suitable vented door and storage on an adjacent wall may solve more than expensive cabinetry above the lid.
10. Small laundry room makeover ideas: paint, light and a forgiving floor
At a glance
- Decide which existing finishes will stay before choosing a wall color.
- Measure only the wall surfaces you intend to paint and use the selected paint’s coverage instructions.
- Test the room’s function before spending on decorative accessories.
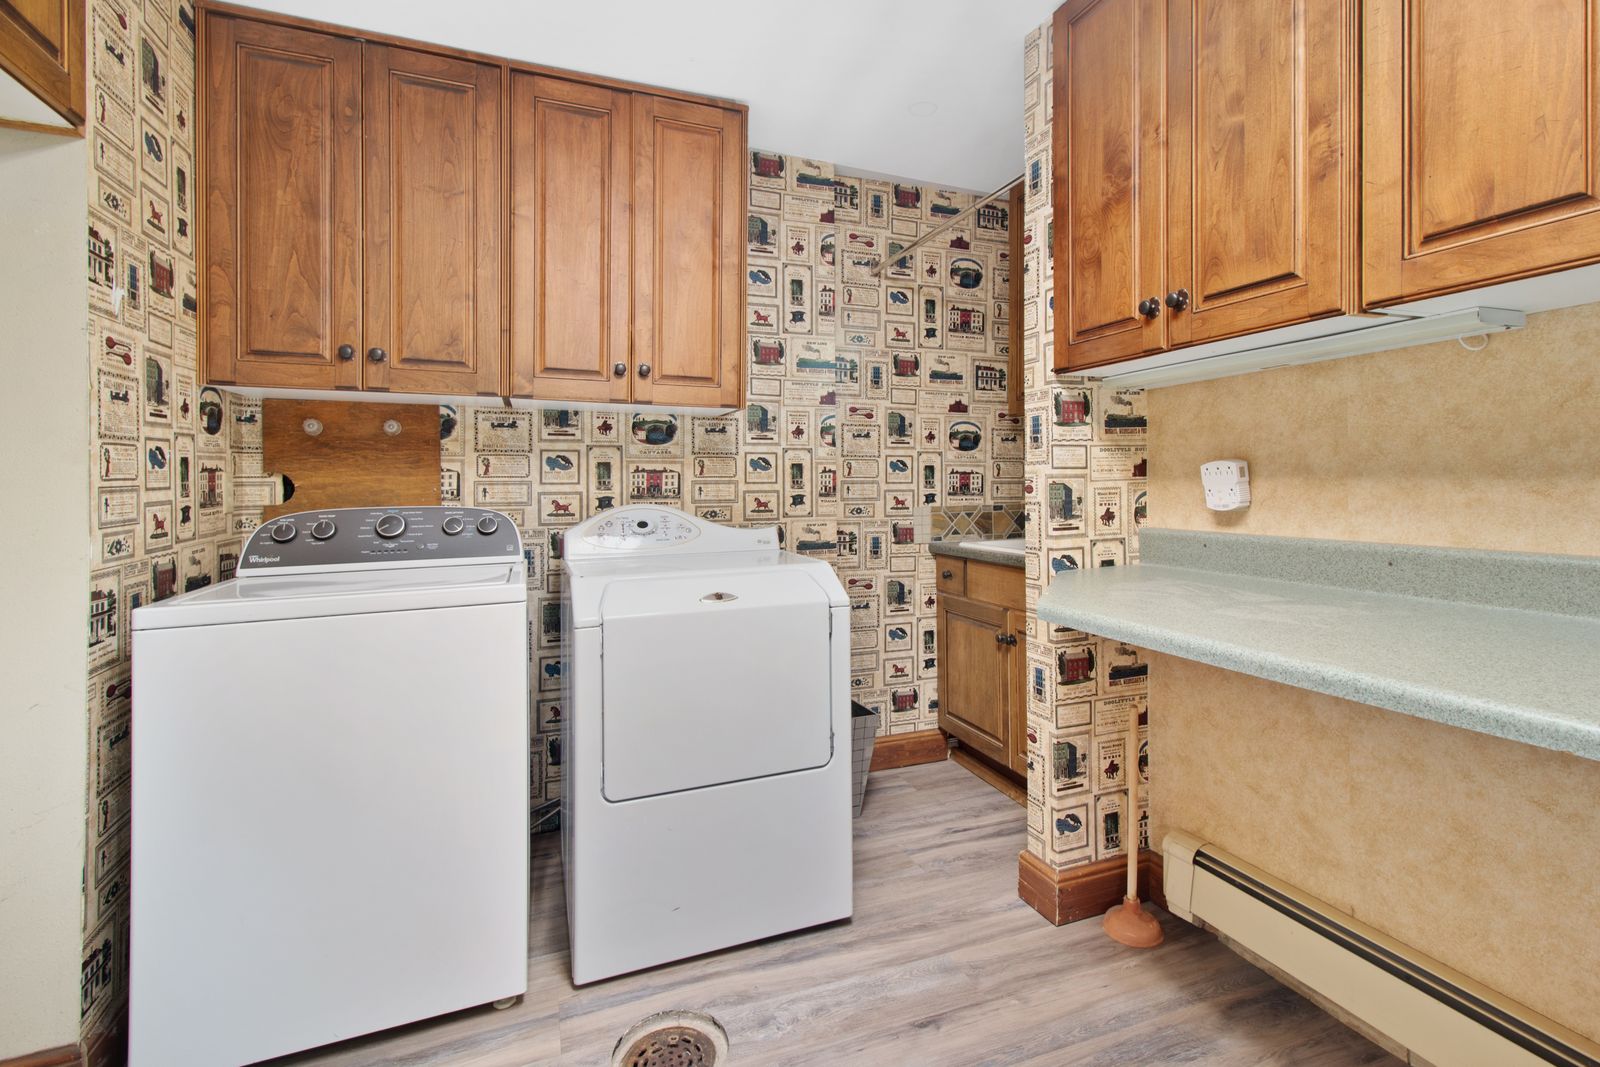
Small laundry room makeover ideas can start with a washable paint finish, better task lighting and a floor that is easy to clean. Warm white walls with wood-toned storage feel calm; a muted blue or green on one wall adds color without filling the room with objects.
Use lighting and electrical accessories suitable for their location and follow their installation instructions. Keep fixtures, cords and power supplies clear of water, moving parts and the lid. A plug-in light is not automatically suitable for a laundry room; have new wiring assessed by a qualified electrician.
Choose finishes together in the actual room. Hold paint samples beside the appliance finish, floor and cabinet door, then view them with the lighting you use for laundry. A repeated wood tone or basket color can make mixed storage feel intentional. Focus the light on the loading and folding tasks rather than adding a decorative fixture where it may conflict with the lid.
Check your appliance’s floor and leveling requirements before changing flooring. Paint and light improve the mood, but they cannot create missing loading space. Fix the functional problem first.
Which improvement fits your room?
| Your main problem | Try first | Check before buying |
|---|---|---|
| Bare wall above the washer | One shelf | Full lid travel and reachable lightweight storage |
| Dust or visual clutter | Closed cabinets | Door swing and adult reach |
| Nowhere to fold | Side counter | Width, appliance spacing and independent support |
| No permanent counter space | Fold-down table | Wall support and walkway in both positions |
| Unused width at row end | Slim storage | Service zones and shutoff access |
| Delicates on every door | Side-wall drying rack | Wet load, mounting and drip location |
| Detergent left on machines | Locked original-package storage | Sight, reach and a reliable locking routine |
| Baskets in the walkway | Dedicated sorting storage | Pull-out depth and door swing |
| Door fights the machines | Review the narrow-room layout | Access, wall services and closet ventilation |
| Functional but dull room | Paint and task lighting | Finish suitability and electrical installation |
Measurement steps
How to measure
- Find the model numbers for both appliances and read their installation instructions, including required service and ventilation space.
- Open the washer lid fully. Measure floor to its highest point and mark it on the wall with painter’s tape; check the whole lid travel, not just the endpoint.
- Measure ceiling, soffit and existing cabinet height. Compare all proposed storage with the model’s requirements and comfortable loading access.
- Mark required side and rear spacing. Keep furniture, baskets and rolling units outside those zones.
- Locate the water shutoffs, hoses, drain, outlet, controls and dryer vent. Check that each remains accessible for inspection and service.
- Test the door, cabinet doors and pull-outs together. Walk from the door to washer and folding area carrying a basket.
- Check closet ventilation requirements before changing its door. Test storage reach with the adults who use the room.
- Confirm wall construction and the storage or table maker’s fixing instructions before buying hardware.
Advertisement
Choose the fix that solves your daily annoyance
Start with the lid measurement, then choose one or two changes. Nowhere to fold? Test a side counter or a fold-down table. Can’t reach supplies? Move daily storage lower and plan a locked detergent cabinet. Floor cluttered? Give baskets a home outside the walking lane. Tight closet? Settle access and ventilation before ordering doors.
Try the first change before adding another. A useful small laundry room lets the lid open fully, keeps service points accessible and puts the things you use within a comfortable reach.
Before shopping, make one short specification sheet for the first change. Record the real measurements and product requirements below, take photos of the service connections, and compare the proposed item against that sheet. A product that needs inaccessible storage or repeated furniture moving is not the best fit for your routine.
Your before-shopping worksheet
| Record this | What to include | Use it to decide |
|---|---|---|
| Appliances | Exact washer and dryer model numbers; installation guides | Which spacing and ventilation rules apply |
| Overhead space | Full lid travel, controls, shelf board and brackets | Whether a shelf or cabinet fits at a reachable height |
| Storage item | Outside dimensions, inside space, doors, handles and wheels | Whether the things you use actually fit |
| Moving parts | Room door, cabinet doors, pull-outs and open drying rack | Whether the room works during a load |
| Wall-mounted item | Wall construction and the product’s fixing and load instructions | Whether the proposed mounting needs professional help |
| Daily routine | Basket landing spot, folding task and locked-product return | Which single change to make first |
Avoid these
Common mistakes
- Copying a front-loader counter or stacking layout onto a top-loading washer.
- Treating a photograph or a universal shelf-height rule as proof of fit.
- Filling required appliance spacing with a slim rolling cart.
- Storing laundry chemicals in decorative jars or unlocked open storage.
- Choosing cabinetry before checking reach, door swing and maintenance access.
Project checklist
Before you buy or build
- The washer lid opens fully and controls remain easy to use.
- Both appliance manuals’ spacing and ventilation requirements are preserved.
- All shutoffs and service connections remain accessible.
- New storage is reachable and properly mounted.
- Detergent remains locked away in original packaging.
- The door and walking route work with a full basket.
Planning note
Verify before buying or building.
Photos and diagrams illustrate ideas, not verified installation layouts. Your exact appliance instructions, product instructions, wall conditions and applicable local requirements govern. Check fit and access before buying storage or changing doors, electrical work or finishes.
FAQ
Common questions
01How high should a shelf be above a top-loading washer?+
There is no universal shelf height. Use your model’s installation instructions and lid-open dimension, check the full lid travel in person, then test loading access and shelf reach. An open-lid measurement alone does not establish every required clearance.
02Can I put a countertop over a top-loading washer?+
A fixed full-width top blocks the opening used for loading. Plan a separately supported surface beside the washer or a wall table outside its lid and service zones. Do not assume a removable or hinged cover is manufacturer-approved.
03Can I stack a dryer on a top-loading washer?+
Conventional top-loading washers are not stackable. A separate front-loading pair may stack only when the manufacturer approves the exact combination and installation kit; purpose-built laundry centers are a different appliance design.
04Should I leave the washer lid open between loads?+
Follow your washer’s care instructions. Some top-load manuals recommend leaving the lid open between uses to help the interior dry. Keep that space clear if required, while following the appliance’s child-safety instructions and controlling access to the laundry area.
05What can I improve without adding cabinets?+
Start by removing items that have no laundry job, assigning one basket landing spot, and moving folding to an existing suitable surface outside the room if necessary. Then test a shelf, cart or rack footprint before buying. Keep chemicals in original packaging in locked storage throughout; organizing alone does not replace appropriate storage.